Installation
Reading time ~2 minutes
|
Important
|
Cinegize is currently an early beta version, and access is currently provided at no cost pending release. Visit the official Cinegize website to review the most important features and download the latest version. |
|
Caution
|
Administrator rights are required to complete the installation, but this ensures that any host sessions will allow full access to any elevated application windows. |
To start the installation, run the Cinegize-Installer.exe file. The setup wizard will be launched:
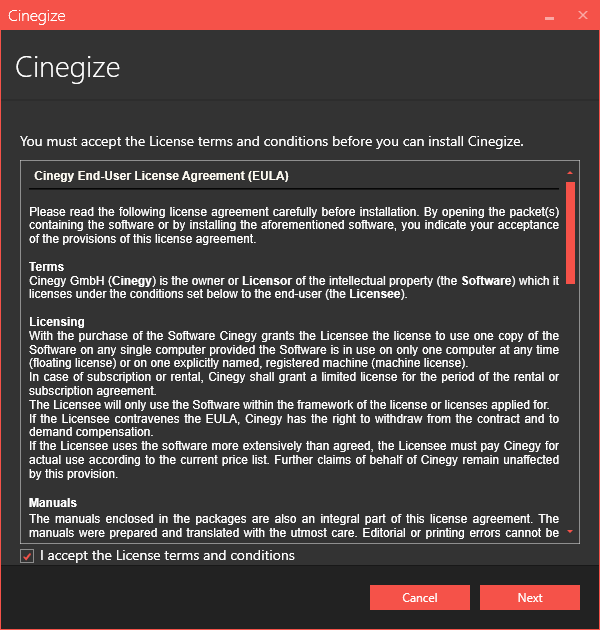
Read and accept the license agreement and press "Next" to proceed with the installation:
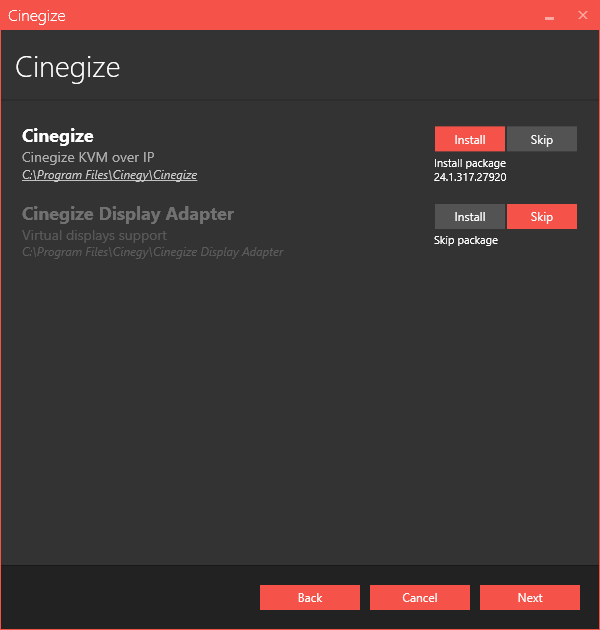
|
Note
|
By default installation of Cinegize Display Adapter is skipped. Virtual display adapter is required for use with virtual machines, cloud instances or VDI scenarios without screen attached. To enable it, press the "Install" button. |
|
Enabled installation of Cinegize component(s) is indicated by the "Install" option selected and highlighted with red. |
|
Select the "Skip" option to disable the installation of the Cinegize component. |
The default installation directory, which is indicated underneath the component name, can be changed by clicking the path:
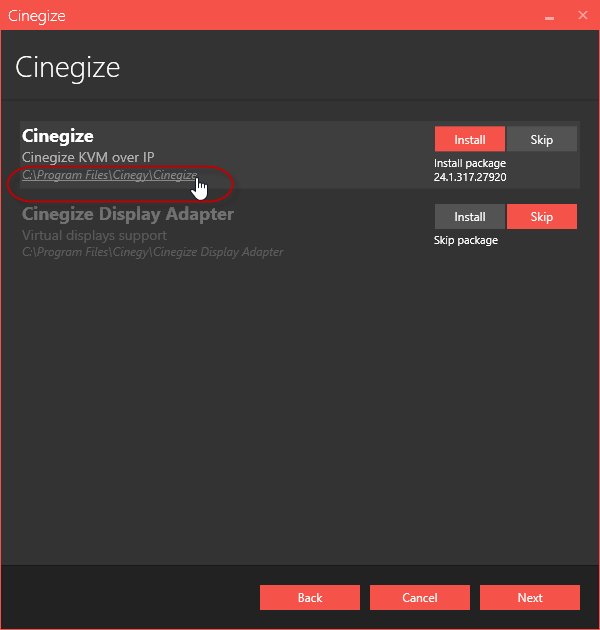
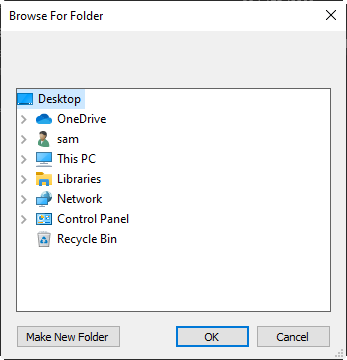
In the "Browse for folder" dialog that appears, select the required folder for your installation:
|
You can also create a new folder by pressing the "Make New Folder" button and entering a new folder name. Once the folder is selected, press the "OK" button. |
Press the "Next" button to proceed with the installation.
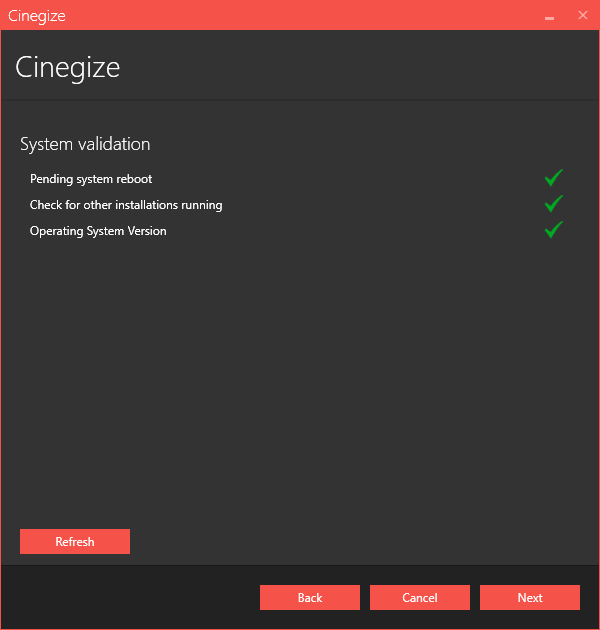
Check whether your system is ready for installation in the following dialog:
|
The green tick indicates that the system resources are ready and no other processes may prevent the installation. Clicking the validation entry field displays its detailed information. |
|
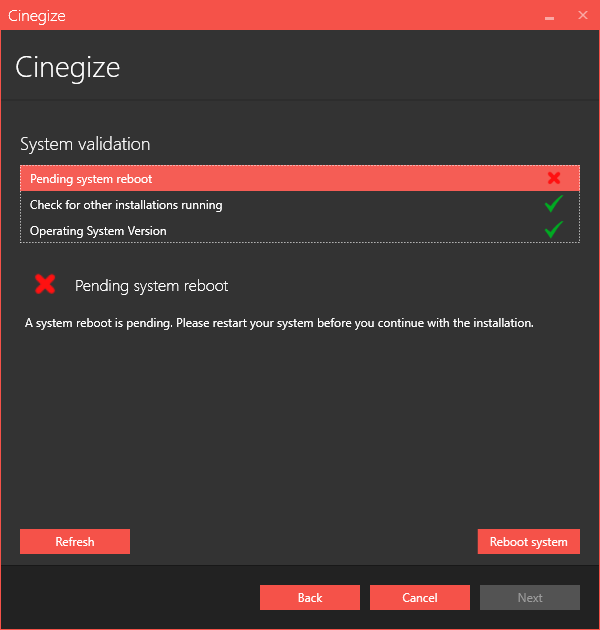
If any validation reveals that installation cannot be started, the respective field becomes highlighted and the red cross is displayed with the detailed information on the failure reason below. |
|
Note
|
The explanation differs depending on why the installation cannot proceed. |
|
Press the "Refresh" button for the system to recheck installation availability. Once the reason for prevention is excluded, you can proceed with the installation. |
|
Press the "Back" button to change the installation settings. |
|
Press the "Cancel" button to abort and exit the setup wizard. |
|
Press the "Next" button to begin the installation. |
The progress bar indicates the progress of the installation process.
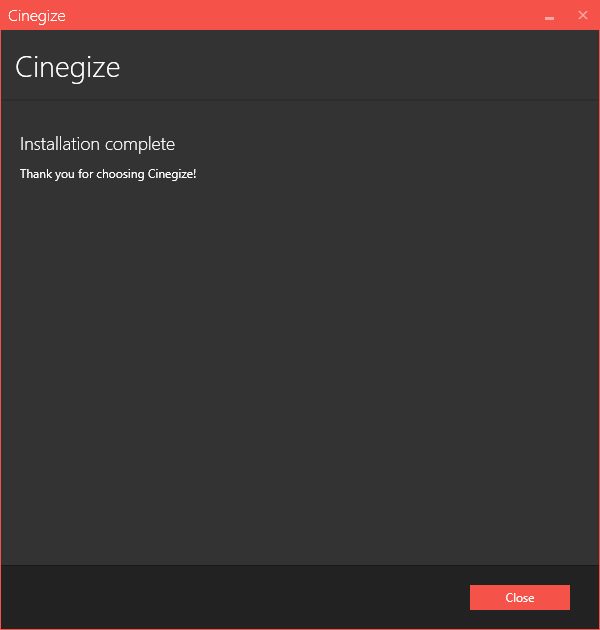
The following dialog informs that the installation is completed successfully:
|
Press the "Close" button to exit the setup wizard. |
|
After the installation, the Cinegize icon appears on your Windows desktop. Double-click it to start the application. |


