Components Installation
Reading time ~4 minutes
Overview
Cinegy Workspace is a unique integrated platform used to maximize efficiency when working with Cinegy Archive databases and provides web access through a user-friendly interface to media assets and production workflows.
Cinegy Workspace allows users to connect remotely through the Internet to their Cinegy Archive database in order to view and subclip content in web format. The number of simultaneous connections to the Cinegy Workspace portal server depends on the server capacity and the network bandwidth.
|
Caution
|
Cinegy Workspace requires a dedicated license. Please contact your local reseller to obtain one. |
Services Installation
Prior to Cinegy Workspace installation, the following components should be installed: the Cinegy Archive Service, the Cinegy Image Service and the Cinegy Media Asset Management Service.
Cinegy Archive Service
Make sure you have the Cinegy Archive Service up and running. The detailed installation and setup instructions are available here.
|
Note
|
The Cinegy Archive Service v15.2 or above is required for working with Cinegy Workspace v21. |
|
Note
|
You need to have a hardware or software license on the machine where the Cinegy Archive Service is launched in order to use Cinegy Workspace. |
Cinegy Image Service
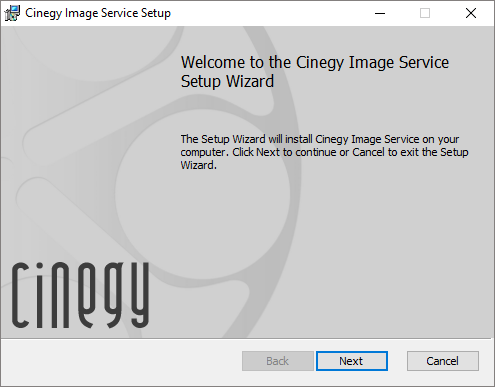
Run the ImageService.Setup.msi file from the downloaded installation package and simply follow the installation wizard instructions.
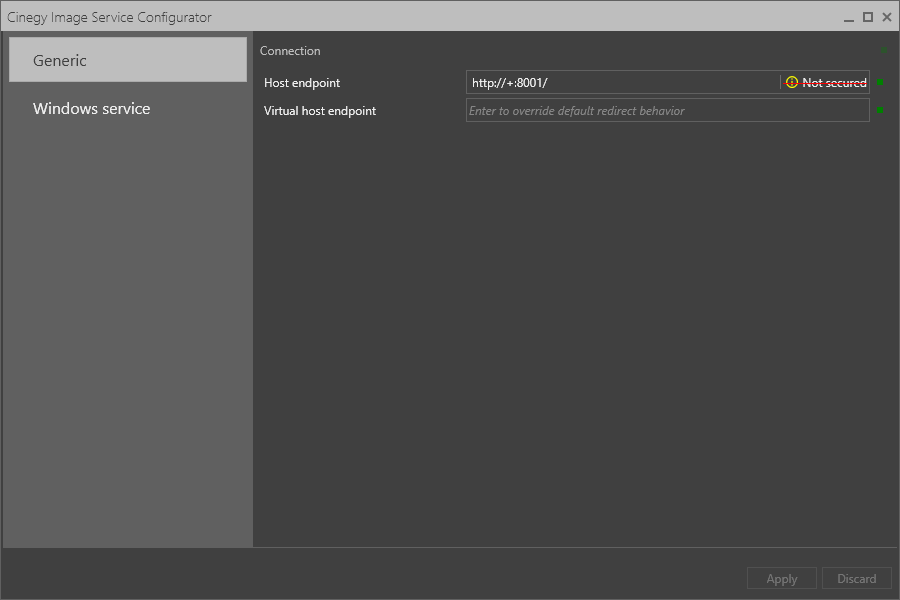
After the installation is complete, navigate to the folder where the Cinegy Image Service was installed and run the ImageService.Configurator.GUI.exe file. On the "Generic" tab, modify the port used by the service according to your requirements.
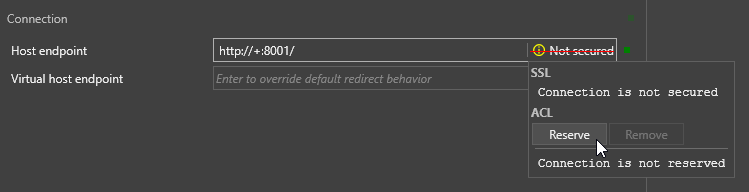
After that, hover the mouse cursor over the crossed "Not secured" message and press the "Reserve" button in the "ACL" section:
Then go to the "Windows service" tab.
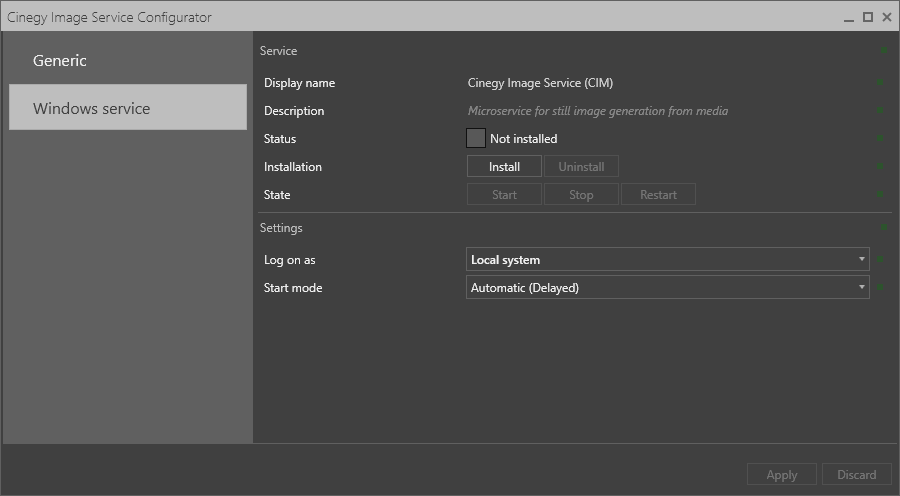
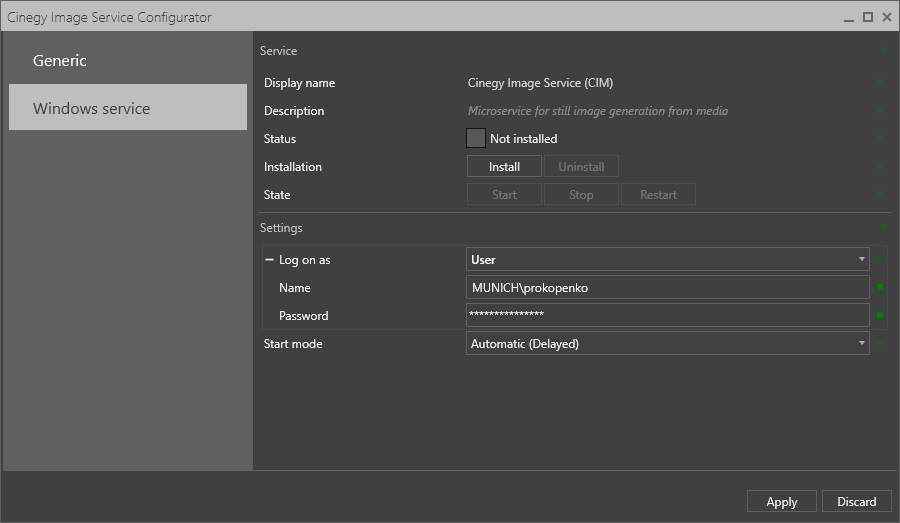
In the "Settings" section, define the user credentials under which the Cinegy Image Service will be installed and which has the corresponding rights to access the network shares containing media files. Define service start mode, if needed. Press the "Apply" button to apply the changes.
Press the "Install" button to install the Cinegy Image Service as a Windows service. Then press the "Start" button to start the service. The status will change to "Running".

Cinegy Media Asset Management Service
Run the MAMS.Setup.msi file from the downloaded installation package and follow the installation wizard instructions.
Read and accept the license agreement and proceed to the next step:
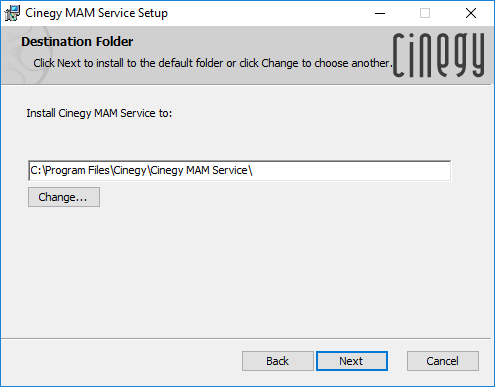
Define the installation folder or leave the default one and proceed to the next step.
Press the "Install" button to install the Cinegy MAM Service.
Then press the "Finish" button to complete the installation.
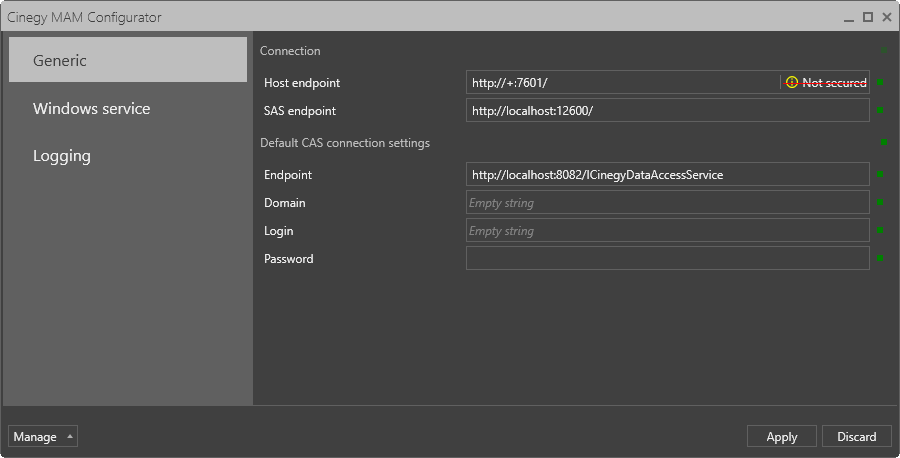
Next navigate to the folder where the Cinegy MAM Service was installed and run the MAM.Configurator.GUI.exe file. In the "Generic" tab, modify the port used by the service according to your requirements.
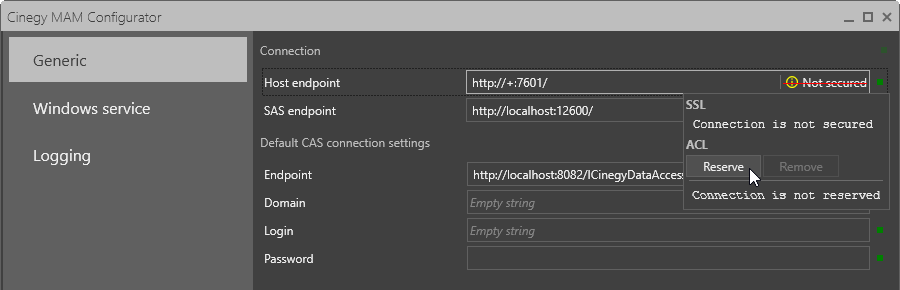
After that, hover the mouse cursor over the crossed "Not secured" message and press the "Reserve" button in the "ACL" section:
In the "Default CAS connection settings" configuration group, define the following parameters:
-
Endpoint – default configuration is set to connect to the CAS (Cinegy Archive Service) installed locally on the same machine (localhost) and use the default port 8082. In case the CAS is installed on another machine or another port is used, the endpoint value should be modified:
http://[machine name]:[port]/ICinegyDataAccessService/
where:-
machine name – specifies the name or IP address of the machine where the CAS is installed;
-
port – specifies the connection port configured in the CAS settings.
-
-
Domain – the name of domain you are using.
-
Login – the name under which the connection to Cinegy Archive will be established.
-
Password – the logon password.
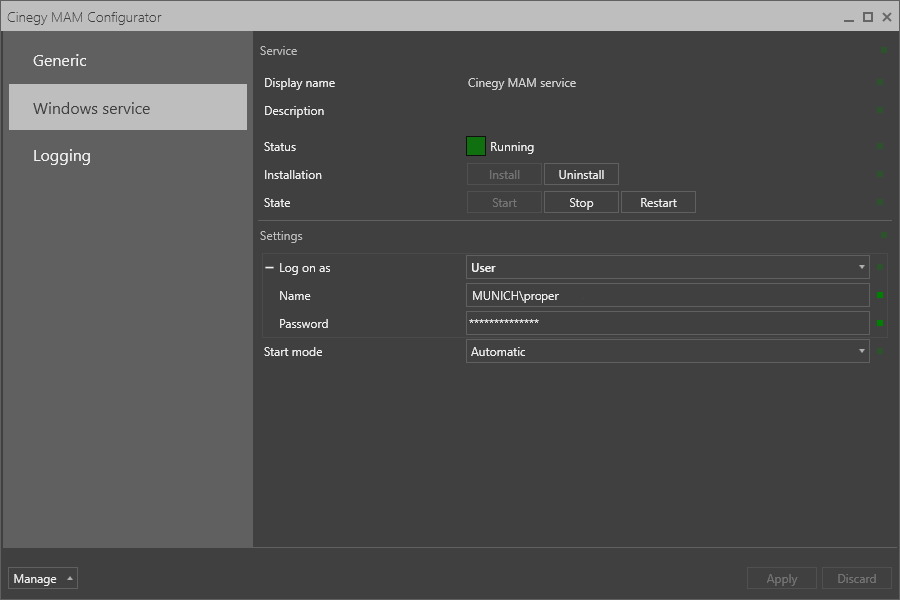
Then go to the "Windows service" tab.
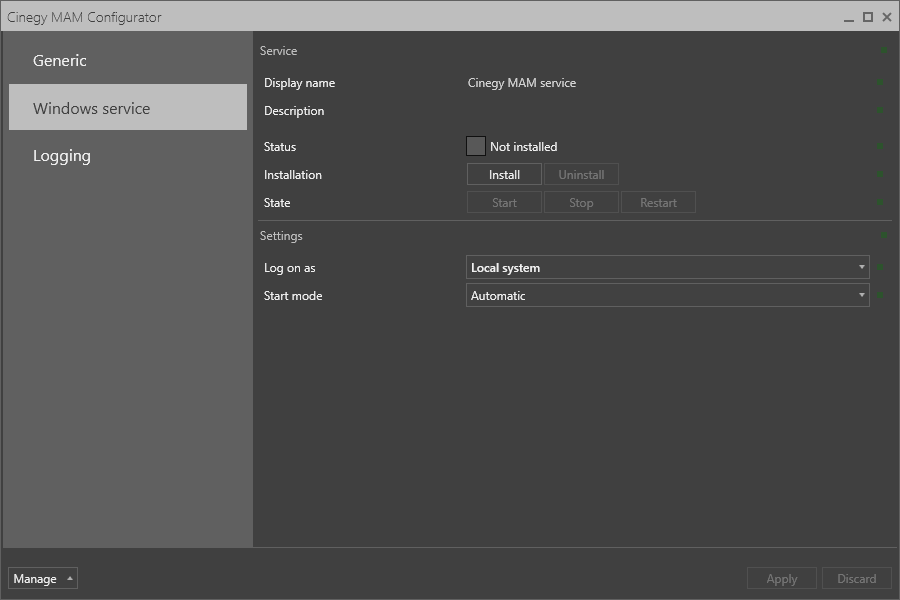
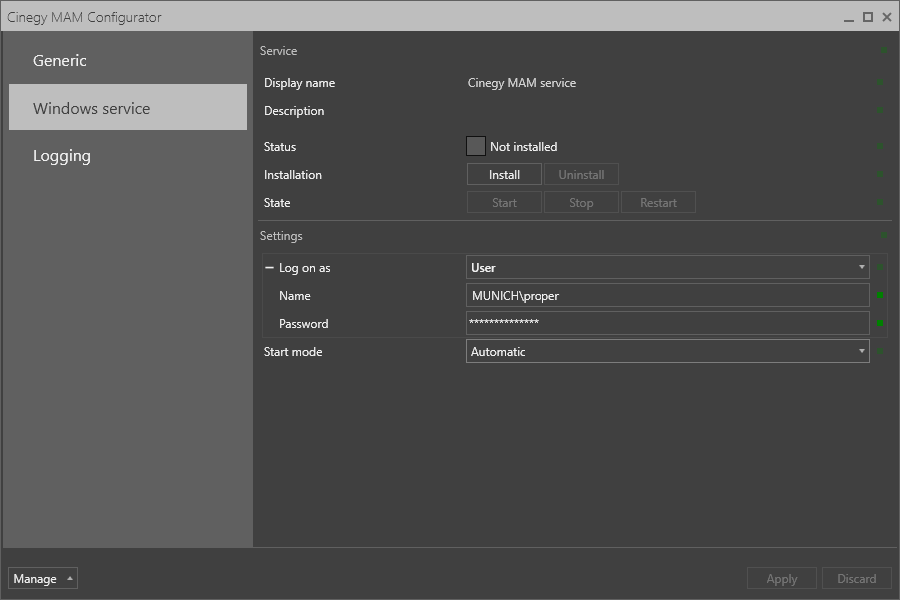
In the "Settings" section define the user credentials under which the Cinegy MAM Service will be installed and which has the corresponding rights to access the network shares containing media files. Define the service start mode, if needed. Press the "Apply" button to apply the changes.
Press the "Install" button to install the Cinegy MAM Service as a Windows service.
Then press the "Start" button to start the service. The status will change to "Running".