Settings
Reading time ~5 minutes
|
To open the configurator, press this button. The following "Settings" dialog appears: |
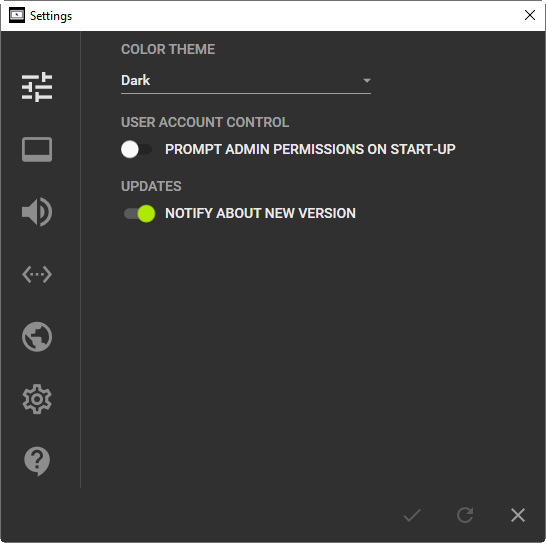
The "Settings" menu is split into the following configuration groups: general, video quality, audio, network, public sharing, service, and information about Cinegize.
In the lower right corner of each tab there is a set of buttons:
|
To apply the changes, press the "Apply" button. |
|
To discard the changes, press the "Discard" button. |
|
To close the "Settings" menu, press the "Close" button. |
General Settings

-
Color theme – select the "Dark" or "Light" application color theme.
-
User account control – activate this switcher to have the application ask for administrator permissions at startup to manage lock and login screens, and change service settings.
-
Updates – activate this switcher to automatically check if a new version of Cinegize is available and, if so, offer to update the software.
Video Quality Settings
|
Note
|
This configuration is relevant for the client machine. |
Cinegize allows manual adjustment of the video quality parameters, allowing adaptation to meet requirements.
The encoding works with self-contained frames, meaning error recovery times are always low whilst the transmission runs at a variable bitrate between 5 and 60 frames per second as required by host screen updates. This ensures quick updates and no tearing effects whilst saving up to 90% bandwidth at idle.
On the "Video Quality" tab, you can configure the video stream transmission quality parameters:
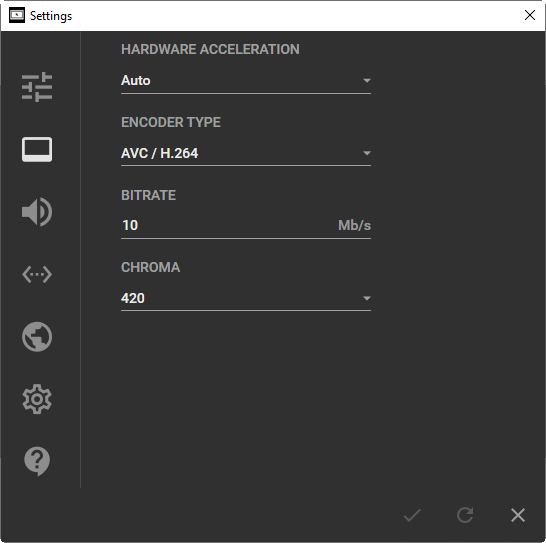
Here define the following parameters:
-
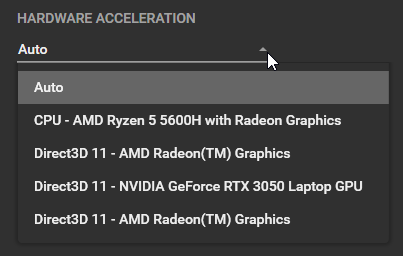
Hardware acceleration – use the drop-down list of available connected devices to select whether the default CPU or an external graphics card will be used for rendering effects. Leave "Auto" to let the system detect and use it automatically:
 Note
NoteCinegize can work with any video adapter which supports Direct3D 11 acceleration. -
Encoder type – use the drop-down list to define the video encoder type.
-
Bitrate – the maximum ceiling bitrate in Mb/s for video encoding.
TipFor optimal bandwidth, streaming with a low bitrate might be a better option. -
Chroma – the chroma subsampling type.
Audio Settings
The corresponding switcher determines the use of audio:
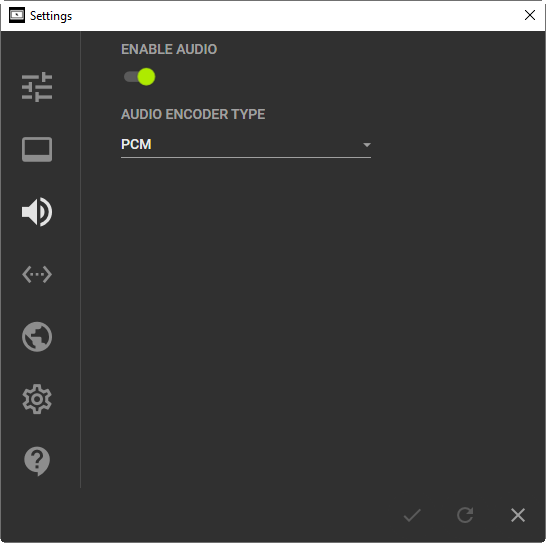
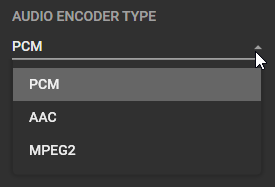
When audio is enabled, you can choose the audio encoder type from the drop-down list:
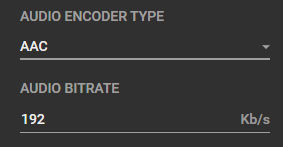
For AAC and MPEG2 encoders you can define the audio stream bitrate to be used:
Network Settings
In this tab, you can define your network configuration:
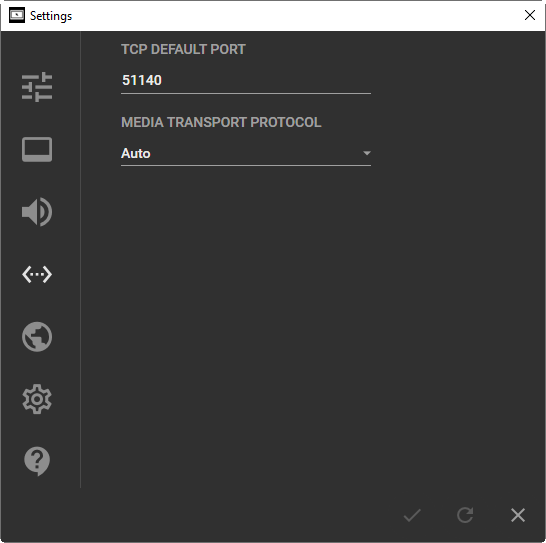
Typically, the "TCP default port" is set to 51140. You can change this value manually using the keyboard.
|
Caution
|
For proper work of Cinegize, the TCP general port value on the client machine must be the same as on the host machine. |
|
Note
|
If the specified port is blocked on application startup, the appropriate error is logged to log files (at the path C:\ProgramData\Cinegy\Cinegize) for service mode, or reported to the console for application mode. |
From the "Media transport protocol" drop-down list, choose the stream protocol type (UDP, SRT, SRT (low latency), or RTC) or leave "Auto" to let the system detect and use it automatically.
|
Note
|
In SRT (low latency) mode there will always be the minimum delay that is currently possible, but you can manually define the SRT delay when using the SRT protocol. |
Public Sharing Settings
Working in public networks by Cinegize is performed by registering the host machine in the integrated ICE servers via TURN and STUN services. This provides real-time communications including high-quality video as peer-to-peer, so you can connect remotely from anywhere.
Use the corresponding switcher to enable public sharing:
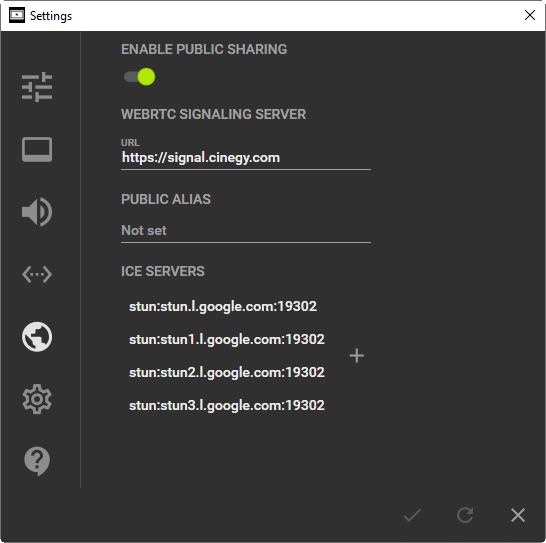
In the "URL" field, you should specify the WebRTC signaling server URL address.
|
Note
|
Currently, the URL address set by default leads to the Cinegy signaling server provided for testing purposes. |
In the "Public alias" field, you can optionally define a user-defined name for the current machine to be used instead of an IP address for remote connections.
The list of currently used ICE servers is displayed below. Press the + button to add a new ICE server; the following dialog box will appear:
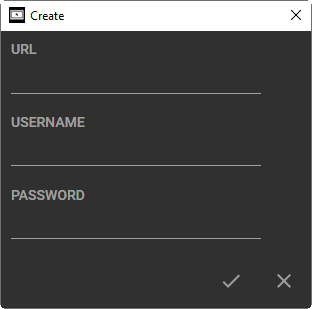
Here, define the URL address of a new ICE server. Optionally, you can define the username and password for using this server.
To make changes to the existing ICE server configuration or to remove it, use the "Edit" or "Delete" command from its context menu:
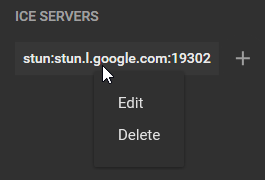
Service Settings
|
Note
|
To manage the Cinegize service, the user must have administrator rights and Cinegize must be launched using the "Run as administrator" command. |
Cinegize can operate as a Windows service. This mode provides automatic hosting after machine startup.
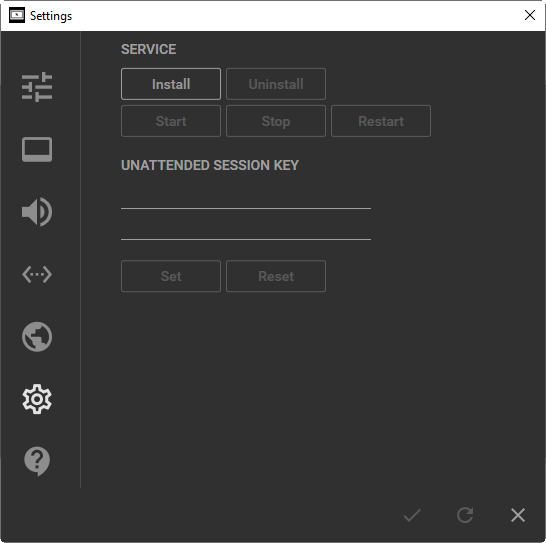
In the "Service" tab, press the "Install" button to install the Cinegize service as a Windows service. Then press the "Start" button to start the service:
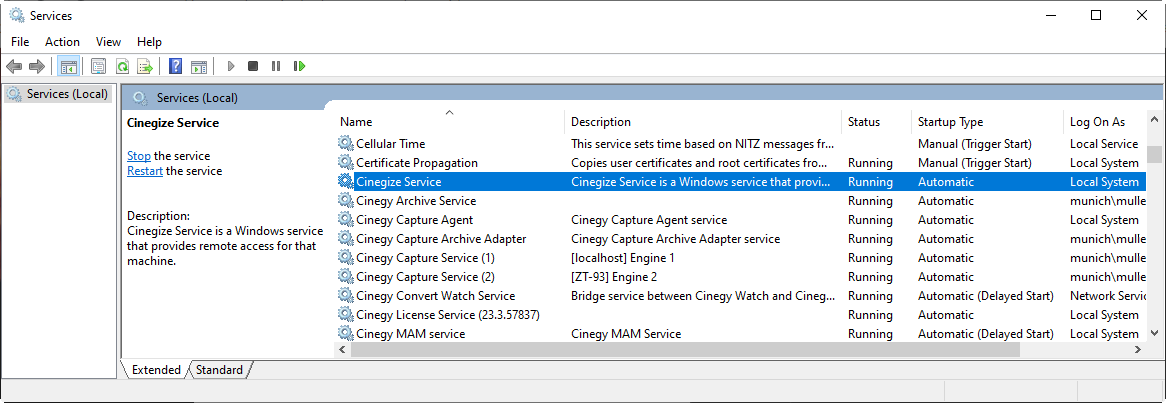
In the "Unattended session key" field, set a personal password for unattended access when Cinegize operates as a Windows service in host mode. Then press "Set" to apply the password set.
|
Important
|
Refer to the Windows Service Mode paragraph for details on operating Cinegize as a Windows service. |
The service can be stopped, restarted, or uninstalled by pressing the corresponding buttons in the "Service" tab of Cinegize.
Info
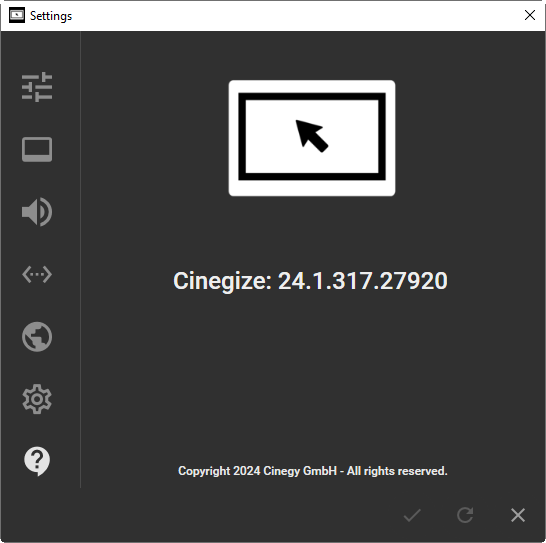
The "Info" tab contains the Cinegize version number and copyright information:
|
Tip
|
Cinegize configuration settings and log files are stored in the following path: C:\ProgramData\Cinegy\Cinegize. |


