Settings
Reading time ~4 minutes
|
To open the configurator, press this button. The following "Settings" dialog appears: |

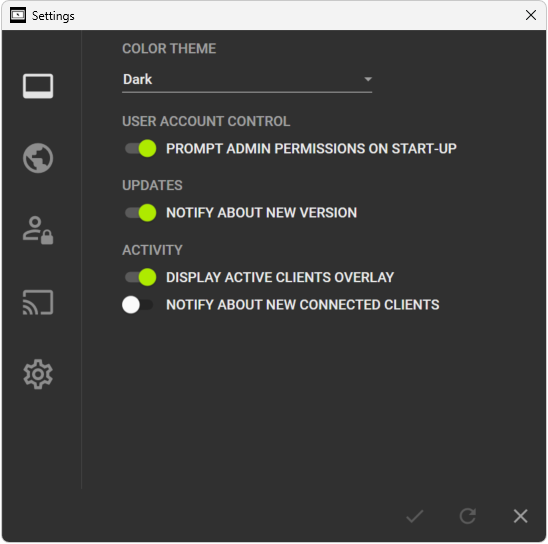
The "Settings" menu is split into the following configuration groups: general settings, public sharing settings, access control, and advanced settings.
In the lower right corner of each tab, there is a set of buttons:
|
To apply the changes, press the "Apply" button. |

|
To discard the changes, press the "Discard" button. |

|
After finishing the Cinegize setup, click the checkmark to apply the changes, then click the "Close" button to close the window. |

|
Tip
|
Cinegize configuration settings and log files are stored in the following location: C:\ProgramData\Cinegy\Cinegize. |
General Settings
-
Color theme – select the "Dark" or "Light" application color theme.
-
User account control – activate this switcher to have the application ask for administrator permissions at startup to manage lock and login screens and change service settings. Administrator rights ensure that all host sessions allow full access to applications running with administrative privileges.
-
Updates – activate this switcher to automatically check if a new version of Cinegize is available and, if so, offer to update the software.
-
Activity – the "Display active clients overlay" switcher controls the display of active clients overlay. If the "Notify about new connected clients" switcher is enabled, a push notification appears whenever a new client connects to the host machine.
Public Sharing Settings
Cinegize enables operation over public networks by registering the host machine with the integrated WebRTC signaling server.
For establishing connections, it utilizes STUN (Session Traversal Utilities for NAT) and TURN (Traversal Using Relays around NAT) protocols.
STUN helps determine the public IP address and NAT type, allowing direct peer-to-peer connections when possible. If direct communication is blocked by firewalls or strict NAT, TURN relays data through a server, ensuring reliable real-time communication, including high-quality video streaming, for remote connections from anywhere.
Enable public sharing on the client and host machines by using the corresponding switcher:
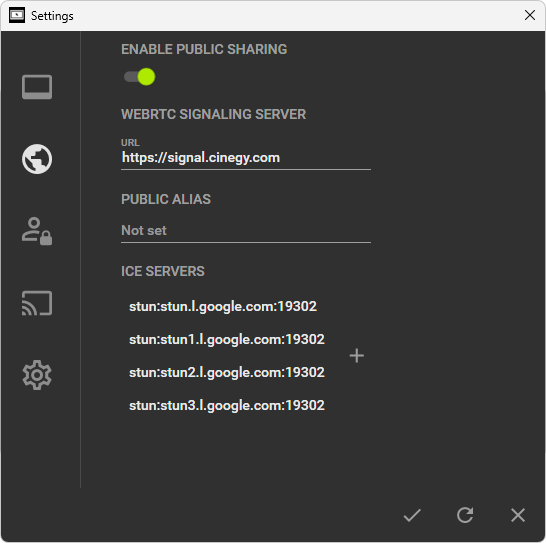
You can use the default WebRTC signaling server specified in the "URL" field or enter a custom URL for the server used in your workflow.
In the "Public alias" field, you can optionally define a custom name for the current machine to be used instead of its IP address for remote connections. The @ sign will be automatically appended to the name (e.g., cinegy-server@).
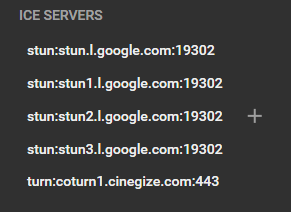
A list of default ICE servers is provided below, directing to Cinegy’s signaling STUN servers, which are available for evaluation purposes.
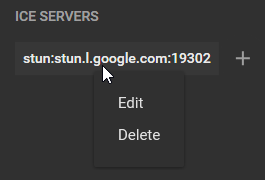
To modify the existing ICE server configuration or remove it, use the "Edit" or "Delete" command from its context menu:
To add a new ICE server, click the + button and specify the URL address of a new ICE server in the dialog box that appears:
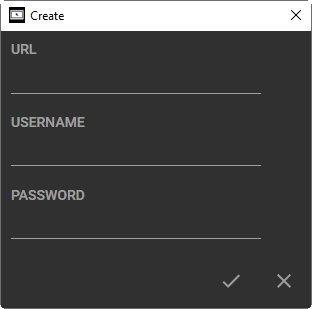
Optionally, you can define the username and password for using this server.
If a connection via the STUN protocol is not possible, you can configure a TURN server for data transmission. At least one TURN server must be configured on either the client or the host side to enable this functionality.
Access Control
For routine and systematic connections, Cinegize can operate as a Windows service. This mode provides automatic hosting after machine startup.
To manage the Cinegize service, the user must have administrator rights, and Cinegize must be launched using the "Run as administrator" command.
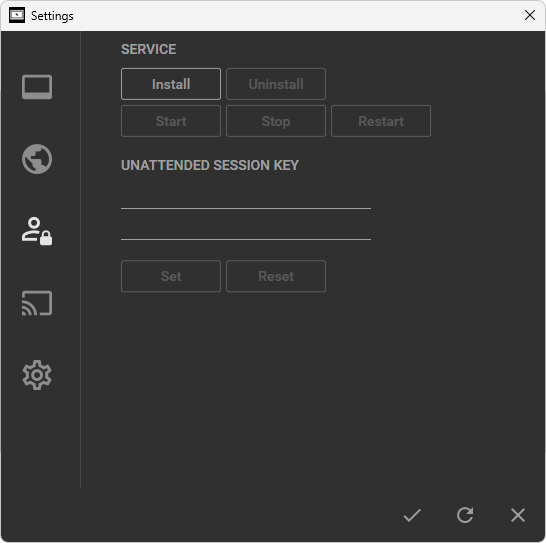
On the host machine, in the "Service" tab, press the "Install" button to install the Cinegize service as a Windows service. Then press the "Start" button to start the service.
When Cinegize functions as a Windows service, it can be managed (started, stopped, or restarted) through both its internal interface and standard Windows service management utility.
|
Important
|
Refer to the Windows Service Mode paragraph for details on operating Cinegize as a Windows service. |
In the "Unattended session key" field, set a personal password for unattended access when Cinegize operates as a Windows service in host mode. Then press "Set" to apply the specified password.
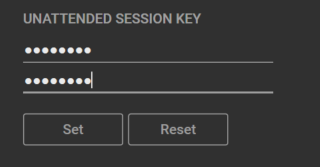
The service should be restarted after settings modification.
Advanced Settings
In this tab, you can define your network configuration:
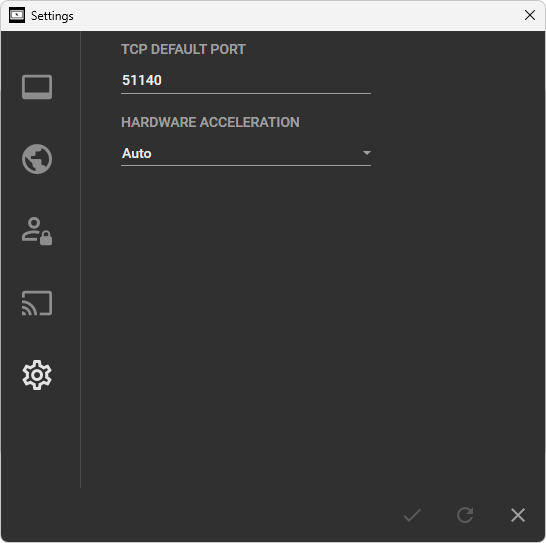
The TCP port specifies the listening port on the host for incoming connections, while the client uses this port to connect. It applies when connecting to a remote machine by name or IP address but is ignored when using a public alias. The port can also be explicitly defined on the client for a specific host: machine_name/IP:port.
By default, the "TCP default port" is set to 51140. This value can be changed manually but must be open in Windows Firewall and match on both client and host machines.
To optimize the performance of Cinegize, you can select the preferred stream decoding method from the "Hardware acceleration" drop-down list. Choose either the CPU or one of the supported GPUs for decoding. Alternatively, selecting the "Auto" option allows Cinegize to automatically determine the most appropriate decoding method.