Operating
Reading time ~6 minutes
Cinegize is the logical step of standard software replacing proprietary hardware. It is replacing traditional, high-end, hardware-based KVM-over-IP solutions or expensive VDI solutions, which fail to do high-end graphics and video.
Cinegize provides the same high-quality experience you have using a high-end 3D modeling or video editing workstation being sat physically in front of a directly connected monitor, but being remotely connected via the local network running the Cinegize client software on an ordinary Windows PC.
This is not using H.264 or HEVC hardware compression with its known issues and problems but an advanced massive parallel processing video codec designed to run on GPUs natively (please visit the Cinegy’s Daniel2 website for more information). Resolutions like UHD, 8K, or 16K are not a problem for Cinegize, no matter what color depth or frame rate.
Cinegize provides synchronization of plain text copied to the clipboard between client and host machines.
Setup
Host Mode
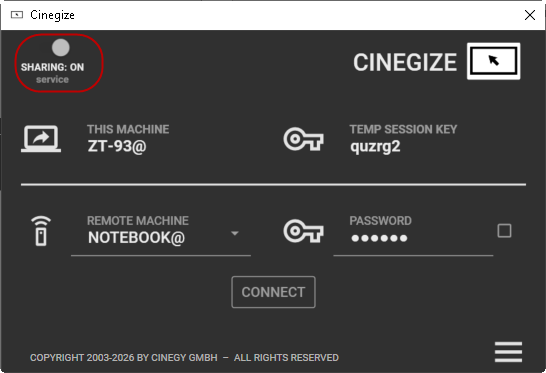
To enable host mode, turn on the "Sharing" switcher.
In the corresponding fields, you will see the IP address or name of the current machine acting as a host, along with the temporary session key required for the client machine to connect.
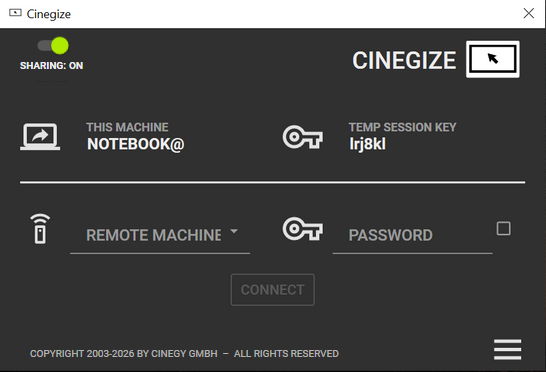
The @ symbol appended to the machine identifier indicates that public sharing is enabled, and if defined, the specified alias will be displayed instead of the machine name or IP address.
Client Mode
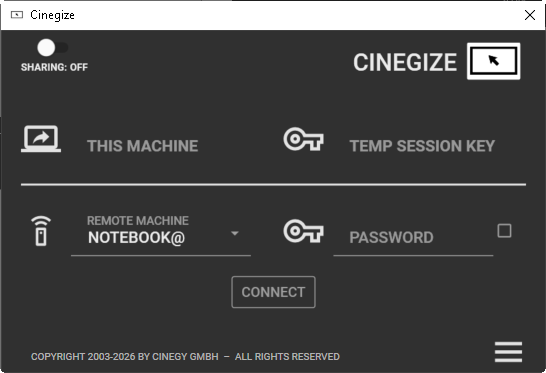
Ensure that the "Sharing" switcher is set to "Off" to operate in client mode. There is no need to install and run the Cinegize service for this mode.
|
Note
|
If Cinegize is running as a Windows service, switching to client mode will not be possible until the service is stopped. |
In the corresponding fields of the main window, enter the remote host machine’s name or IP address along with the password generated on the host machine:
Connection
|
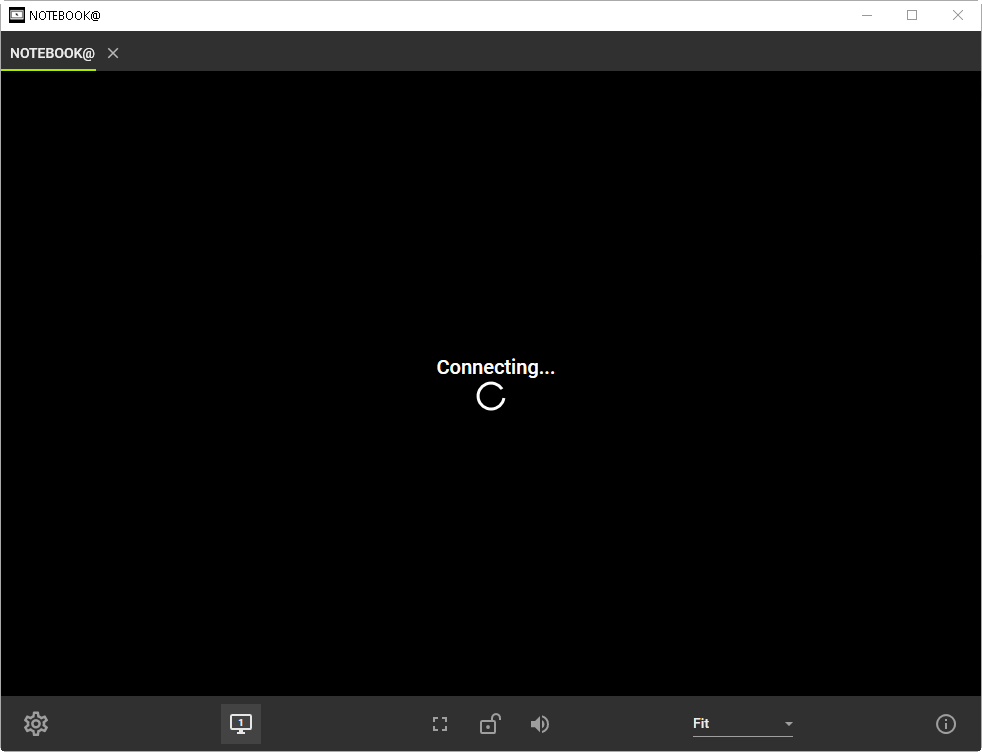
After specifying the host credentials on the client machine, click the "Connect" button. |

The connection process will be displayed in a separate window:
|
Note
|
If no connection can be established, an appropriate error message is displayed, indicating the reason for the failure. |
When the "Notify about new connected clients" switcher is enabled on the host machine, a push notification will be displayed each time a new client connects to the host machine.

The "Cinegize" panel will appear on the right side of the host machine’s desktop:

Click the < icon to expand the window and view information about the connected client:
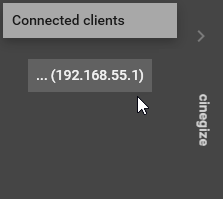
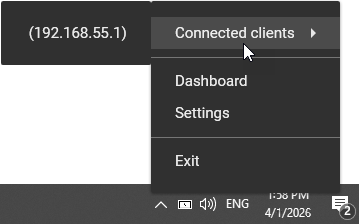
Additionally, a list of connected clients is displayed in the tray context menu.
|
If a poor connection to the host is detected, this is indicated by a flashing red icon located in the upper right corner of the window. |

|
Tip
|
Detailed information on the performance of Cinegize is available in the log files stored in the following location: C:\ProgramData\Cinegy\Cinegize. |
Connection Settings
The connection settings and client console window controls are located at the bottom of the window:

|
Use this button for quick access to the settings of the current connection. The following configurator appears: |

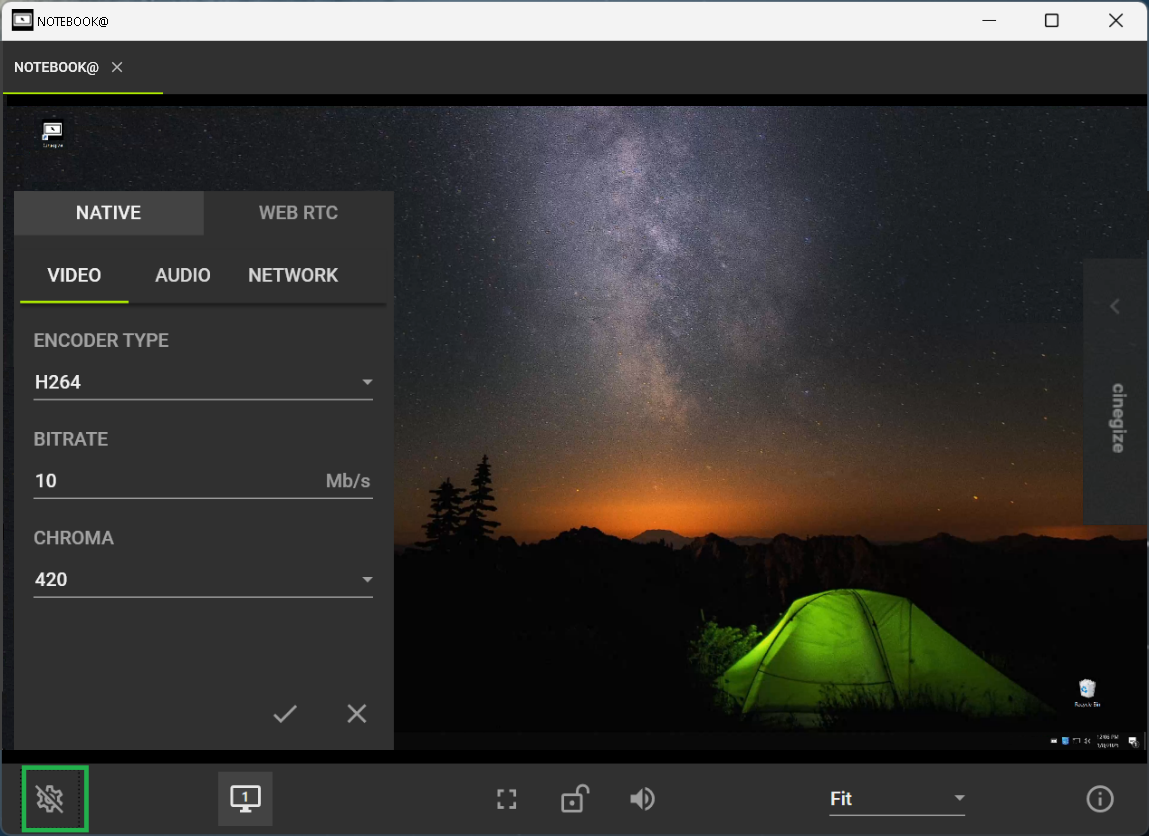
You can reconfigure video and audio quality parameters of the current session in real time, as well as adjust the network configuration on the client machine, with changes taking effect immediately without the need to restart the connection.
Native Media Pipe
In the "Native" pipeline, encoding is carried out by Cinegy’s Cinecoder.
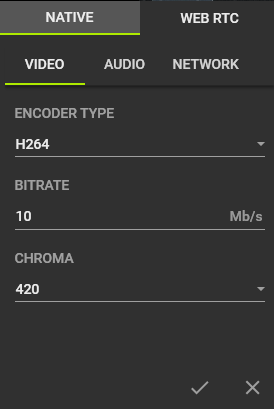
Video Settings
In the "Video" tab, you can adjust stream settings, including the video encoder type, bitrate, and chroma parameters:
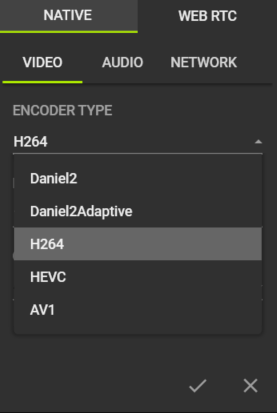
The following encoder types are supported for the "Native" pipeline:
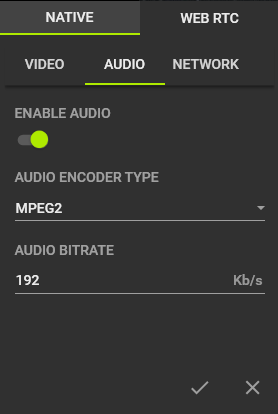
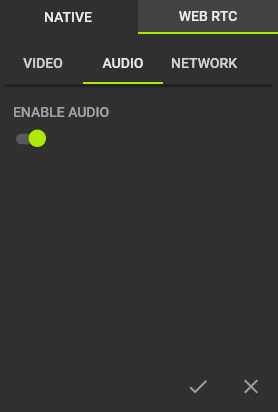
Audio Settings
In the "Audio" tab, you can enable or disable the audio of the stream. When enabled, you can select the audio encoder type and specify its bitrate:
Network Settings
The "Network" tab allows you to manually select the stream protocol type or leave it set to "Auto" for automatic detection among UDP, SRT, and SRT (low latency) protocols.
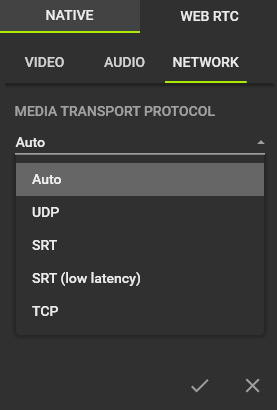
The TCP protocol is not part of the automatic protocol selection but can be chosen manually. It may serve as an alternative to UDP, particularly in local networks or when handling high-bitrate streams.
Web RTC Media Pipe
Web RTC (web real-time communications) is an open-source technology designed to organize the transfer of streaming data between browsers or other applications supporting it using point-to-point technology. It is available for connection via the Internet when using a public alias.
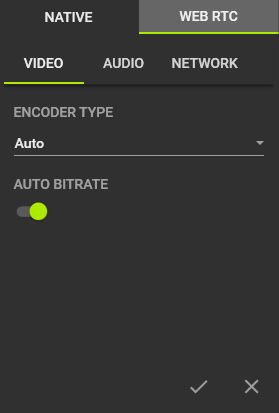
Video Settings
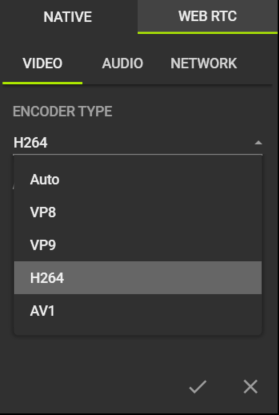
The Web RTC protocol allows you to manually select the video encoder type and set the bitrate range, or leave them set to "Auto". In "Auto" mode, the video settings are automatically adjusted based on network quality.
The following encoder types are supported for the "Web RTC" pipeline:
Audio Settings
In the "Audio" tab, it is possible to enable or disable the stream audio.
Network Settings
The "Network" tab allows you to manually select the stream protocol type or choose "Auto" to have it determined automatically.
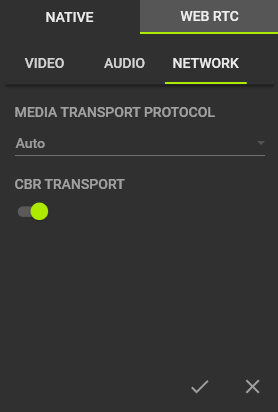
The "CBR transport" switcher allows you to control the support of constant automatic bitrate and framerate reduction depending on network quality. It’s preferable if there is a problem getting video and audio data from the remote machine.
|
Important
|
Refer to the Settings section for more details about connection configuration. |
Display and Interaction
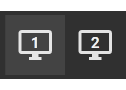
|
One or more monitor icons are displayed here. The number of icons corresponds to the number of monitors on the host machine. Clicking on the icons allows switching between monitors. |
|
Use this button to expand the application window to full screen. You can also switch between normal mode and full-screen mode using the AltGr+F keyboard shortcut. |

|
Tip
|
In full-screen mode, you can access the connection controls through the toolbar, which becomes available when hovering the mouse pointer over the top of the window. |
|
This button sends the |
|
This button provides access to the volume slider, which allows you to change the volume level of your stream by moving the slider with your mouse. |


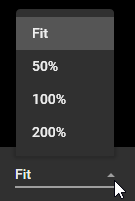
You can easily adjust the display scale of the application by selecting the desired scale from the "Fit" drop-down list in the lower left corner:
|
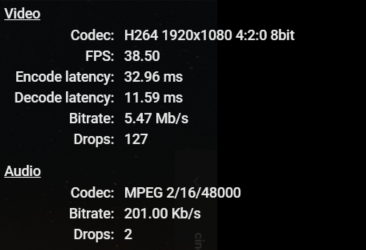
Press this icon to display a pop-up window with actual stream data (such as framerate, bitrate, etc.): |

|
Tip
|
The shortcut for this action is AltGr+I. |
Windows Service Mode
This mode enables automatic hosting upon machine startup.
To use this mode, install and start the Cinegize service as described in the Access Control paragraph.
When the Cinegize service starts, Cinegize automatically switches to host mode, allowing the user to connect to the login screen remotely as if physically present. The operator can use a personal password for unattended access.
In this scenario, Cinegize service will automatically start as a host when the machine boots. This allows the user to connect to the login screen remotely, as if he were physically sitting in front of the machine. The operator can use a personal password for unattended access.
This setup is ideal for providing remote access to a virtual workstation hosted in a LAN-connected data center or for using centralized equipment physically isolated from the operator workstation.