Server Security
Reading time ~2 minutes
The user permissions should be individually configured for all the sources being created via Cinegy Route Manager to secure the IP streaming management and routing from incompetent users.
|
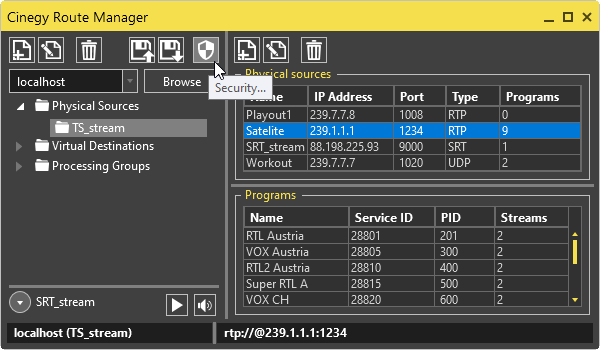
To set up the Route Directory Service security, use the "Security…" menu of Cinegy Route Manager: |

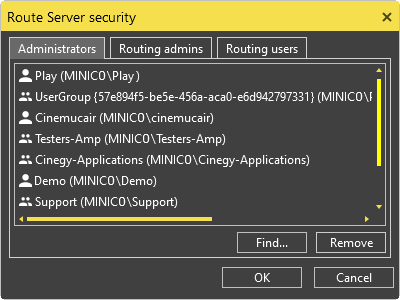
The following dialog box appears:

You can administer the user roles according to the tasks and actions permitted for the assigned users/user groups. The following user roles can be administered here:
-
Administrators;
-
Routing Administrators;
-
Routing Users.
If users not belonging to these groups and having not enough privileges to work either with the Cinegy Route Directory Service or Cinegy Route Control try to connect to these products, the following error message appears:

Administrators
On the "Administrators" tab, all the Cinegy Route Directory Service administrators are listed. The users of this group have privileges to administer the Cinegy Route Directory Service and work with Cinegy Route Control. When routing, all the channels locked by the administrator cannot be unlocked by users of other groups.
|
Note
|
By default, the administrator role is assigned to the local administrator of the current PC. |
Routing Administrators
On the "Routing Admins" tab, all users and groups of users with the routing privileges are listed. The routing administrators control physical sources to virtual destinations routing except for the sources locked by the administrator.
|
Important
|
Refer to the Locking paragraph for information about virtual destinations locking. |
Routing Users
On the "Routing Users" tab, all users and groups of users with the limited routing permissions are listed. Routing users have no privileges to work with the Cinegy Route Directory Service and can route only unlocked sources and sources locked by other routing users. All the sources locked by the superior user (either the administrator or the routing administrator) are not available for routing.
Server Security Management
|
Press the "Find" button to add a certain user or the whole group to the corresponding user group, the same way as described in the Visibility Management article. |
|
Press the "Remove" button to delete the selected member from the corresponding user group. You will be asked to confirm your decision. |


