Cinegy Cleanup Tool
Cinegy Cleanup Tool is aimed at providing user with a convenient way to analyze the system for the presence of "no longer needed" files generated by the Cinegy products and clean them up when necessary, i.e. it helps users keep their machines clean and properly maintained.
Cinegy Cleanup Tool automatically collects different types of files (dumps, logs, etc.) and calculates the space taken by them on the machine. Then these files may be removed from the machine with or without their local backup, according to your settings.
Interface
|
To launch Cinegy Cleanup Tool, double-click its desktop icon. Alternatively, go to Start > All Programs > Cinegy > Cinegy Cleanup Tool. |

Once started, the tool scans the machine for the presence of any "leftover" of Cinegy products (logs, dump files, etc.). After the scan is completed, the main Cinegy Cleanup Tool window appears:
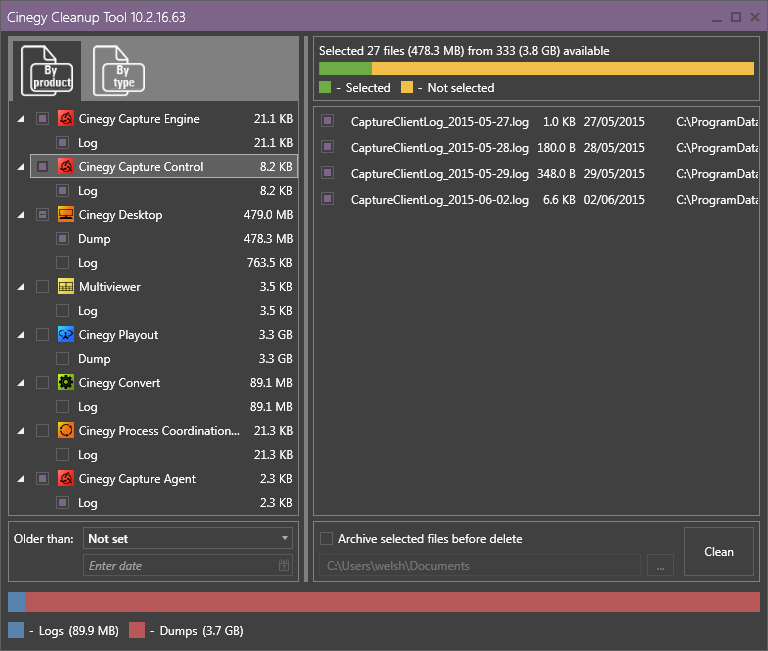
The Cinegy Cleanup Tool interface contains the following sections:
-
Tree view panel (on the left) – displays the list of Cinegy products generated files and space taken by them, organized into specific categories for your convenience. This information is grouped either by products or by file types according to the active tab – "By product" or "By type".
-
Details panel (on the right) – displays detailed information on the Cinegy products generated files.
-
Statistics panel (at the bottom) – represents correlation of file types by their space taken.
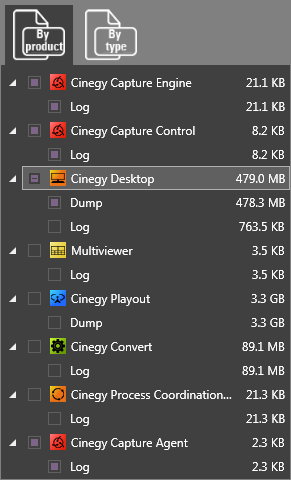
Tree View Panel
The leftmost panel of the main window contains a tree of Cinegy products generated files, where top level elements are dump and log files.
Details Panel
Once a Cinegy product or file category is selected in a tree view panel, the files contained within it are displayed on the Details panel (on the right) showing the system details/information as well:
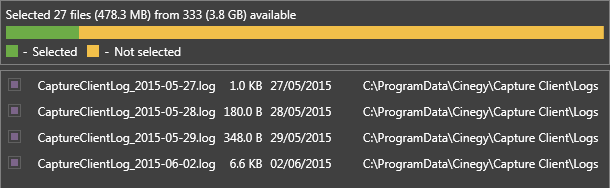
The bar graph on top of this panel represents the total capacity occupied by all Cinegy products generated files on the local storage, where the green part of the bar stands for the selected files and yellow part – for their general number. This bar graph shows how much space can be freed on the machine after the removal of the selected files. General statistics of the machine resources taken by the files is given above the bar graph.
All files generated by a particular product or files of a certain type are listed below the bar graph in a table view displaying the corresponding details: file names, space taken and creation date, as well as their location on the machine.
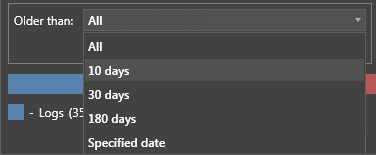
To make cleaning up the generated files more convenient, they can be filtered via defining the desired time range in the corresponding drop-down list:
|
Note
|
Please note, that default time range covers 30 days. |
To narrow the files display to the specified date, choose the corresponding option from the "Older than" drop-down list and set the desired date in the pop-up calendar that appears:
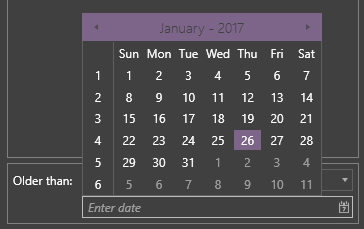
The file list will automatically be updated according to the filtering criteria.
To go to the local storage of the selected Cinegy product generated files, double-click a desired item in the table list; its directory will be opened in a separate dialog.
To copy a file path to the clipboard, right-click a desired item and use the corresponding context menu command:

Statistics Panel
At the bottom of the Cinegy Cleanup Tool main window there is a bar graph representing correlation of file types present on the machine for all Cinegy products:

Below the bar graph there is a legend with the bars coloring description.
Cleanup Execution
|
To remove selected files, press the "Clean" button; the following confirmation dialog will appear: |
|

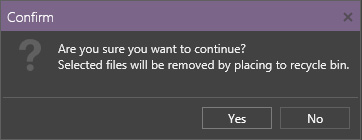
Press "Yes" to proceed to the cleanup operation and move the selected file(s) to the Windows Recycle Bin or "No" to cancel the operation.
Files Archiving
It is also possible to back up the selected file(s) before their removal via archiving them for further use. To do this, set the "Archive selected files before delete" checkbox and define the directory where the archive with selected file(s) will be created via the keyboard or using the "…" button:

Press the "Clean" button; the following confirmation dialog will appear:
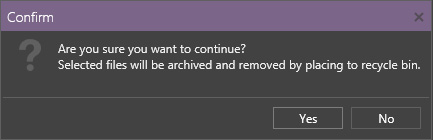
Press "Yes" to proceed to archiving the selected file(s) prior to their removal (moving them to the Windows Recycle Bin) or "No" to cancel the operation.
As a result, the files selected for cleanup will be relocated to the compressed folder in the defined directory. The name of the compressed folder is generated automatically and defines the exact date and time of the cleanup operation.
Supported Products
| Cinegy Product | File Types to Be Cleaned |
|---|---|
Cinegy Capture Engine |
Dump, Log |
Cinegy Capture Control |
Dump, Log |
Cinegy Capture Archive Adapter |
Log |
Cinegy Capture Planner |
Log |
Cinegy Capture Agent |
Log |
Cinegy Desktop |
Dump, Log |
Cinegy Multiviewer |
Dump, Log |
Cinegy EAS Gateway |
Log |
Cinegy Process Coordination Service |
Log |
Cinegy Traffic Gateway |
Log |
Cinegy Air PRO |
Dump |
Cinegy Playout |
Dump |
Cinegy Convert |
Log |