Working with Objects
Reading time ~7 minutes
Cinegy Title uses a layer-based approach allowing you to add multiple objects and group them according to your needs. Layers are stacked in a bottom-to-top order, which means that the bottommost element of the tree will appear on top of all the elements displayed on the canvas.
Adding and Deleting Objects
To add an object to the scene, simply click its icon on the objects toolbar:

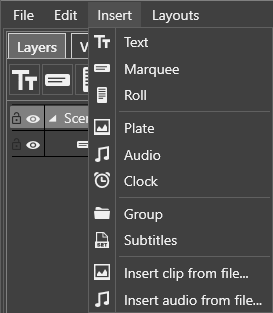
You can also use the "Insert" main menu and select the desired object type from the drop-down list:
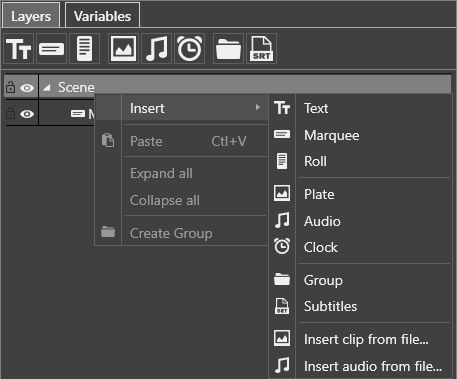
Alternatively, right-click the scene name in the tree and select the desired object type from the "Insert" drop-down list:
To delete an object, simply select it in the tree or on the canvas and press the Del button or use the corresponding command from its context menu.
Inserting Objects
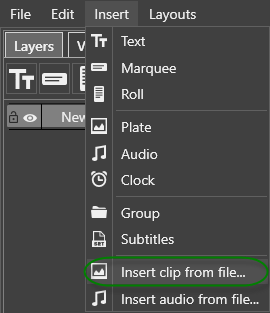
The "Insert clip from file…" and "Insert audio from file…" commands available from the "Insert" main menu provide a quick way to create objects already linked to a certain video and audio file respectively.
Clip Insertion
Use the "Insert clip from file" command to browse to the video file you want to link to:
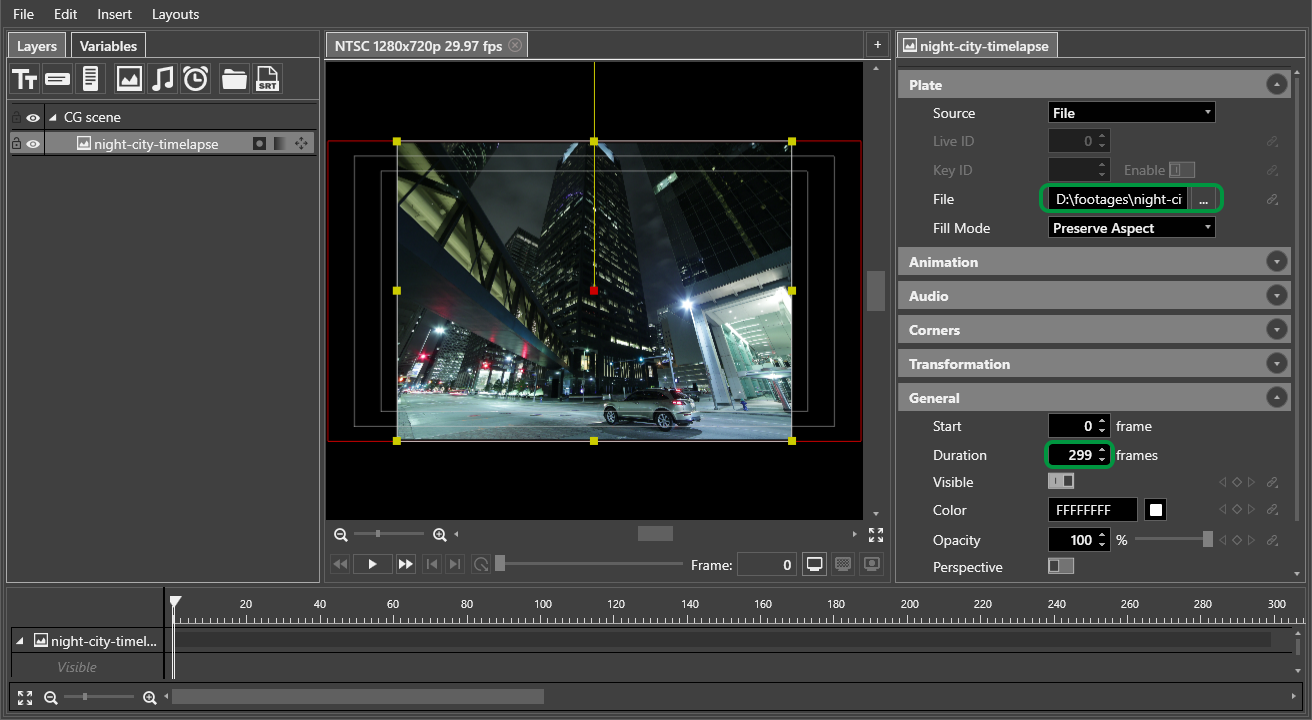
The common file selection dialog appears. Select a desired video file and press the "Open" button. A new "Plate" object linked to the chosen video file will be created. The object duration will be set automatically according to the video file duration:
Audio Insertion
Use the "Insert audio from file" command to browse to the audio file you want to link to:
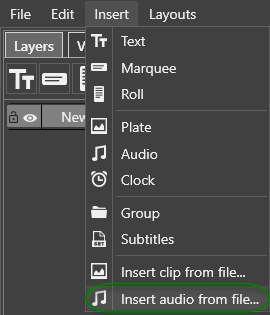
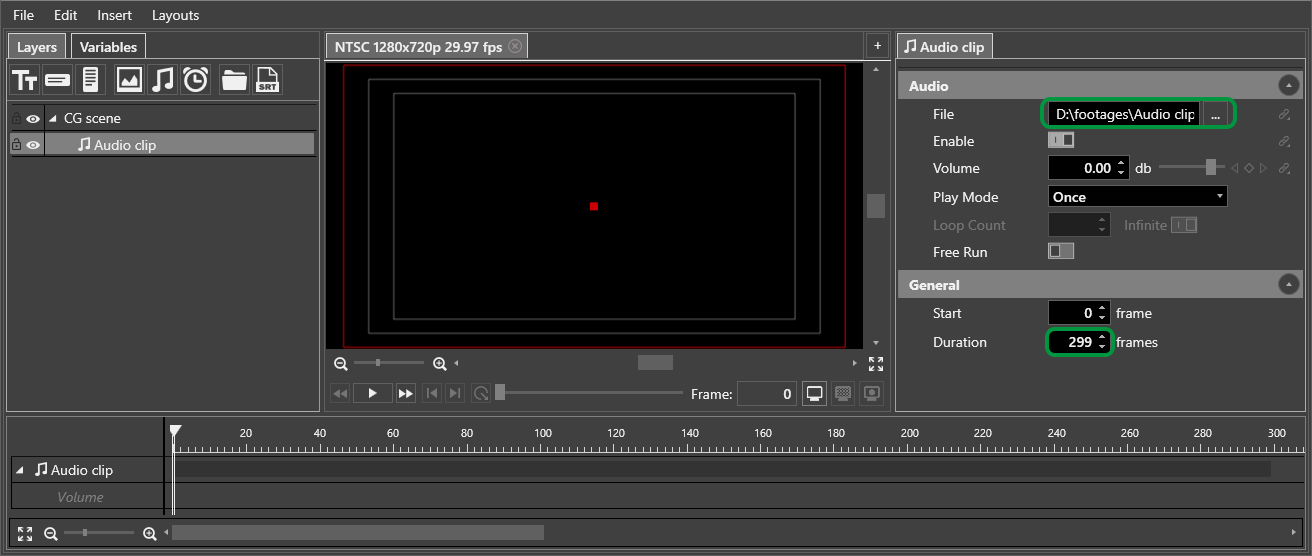
The common file selection dialog appears. Select a desired audio file and press the "Open" button. A new "Audio" object linked to the chosen audio file will be created. The object duration will be set automatically according to the audio file duration:
Handling Objects
Renaming an Object
In order to rename an object, double-click it in the tree and enter a new name.
Multiple Objects Selection
Multiple objects can be selected in the objects tree. For this, hold the Ctrl key pressed and select individual objects one by one via mouse click. To select the range of consecutive objects, click on the first object, hold down the Shift key and click the last object of the range.
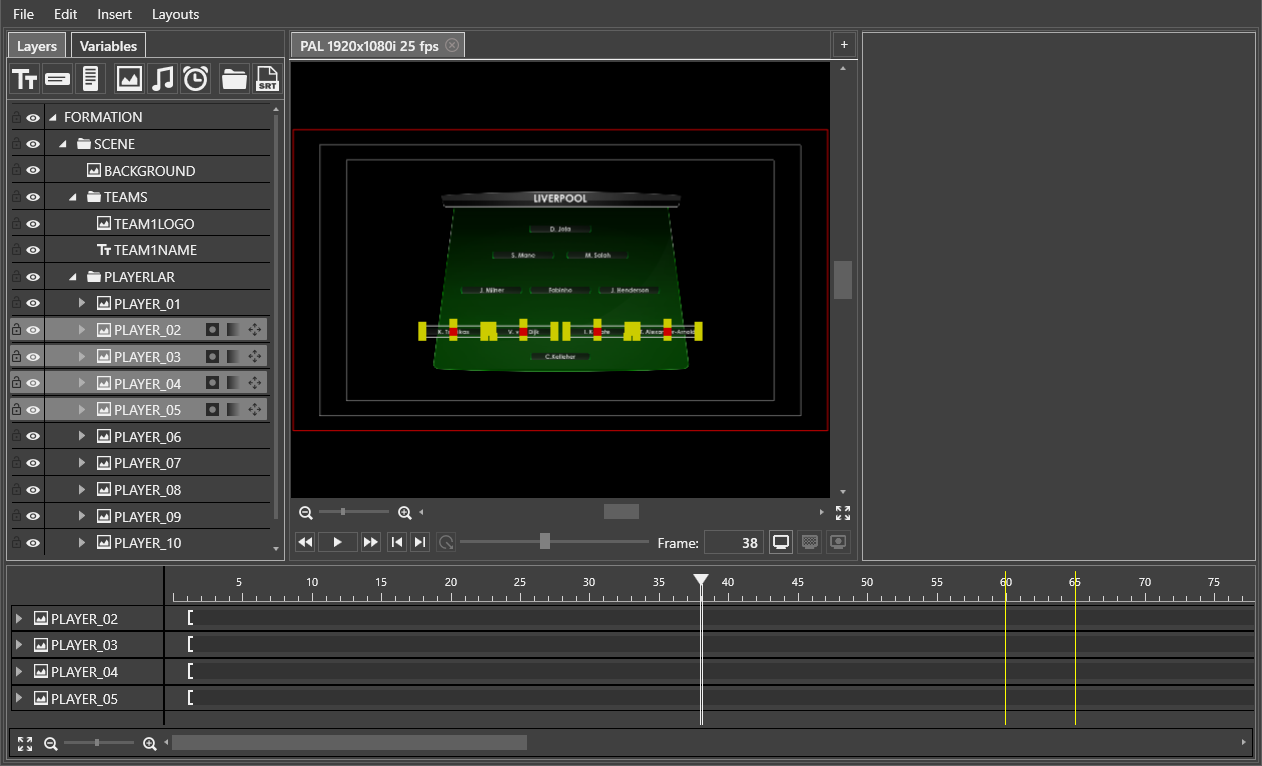
If multiple objects are selected, the parameters panel is displayed blank.
To remove the selection of multiple objects, click on any object in the tree.
Only the objects selected in the object tree are displayed on the timeline.
|
Note
|
It is possible to move multiple selected object as a group on the canvas. |
Objects Copying and Pasting
The context menu of the objects provides standard commands for copy, cut and paste operations:
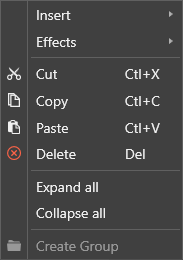
The copied or cut object(s) is pasted inside the object currently selected in the tree. If the scene folder is currently selected, the object(s) will be pasted at the end of the tree.
You can also use the standard Ctrl+C, Ctrl+X and Ctrl+V keyboard shortcuts for copy, cut and paste operations.
Objects Moving
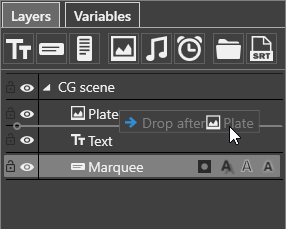
You can organize the objects in the tree according to your needs. To do this, left-click the object(s) and drag the selected object(s) to the desired position up or down the tree. A tooltip will be displayed indicating where they were dropped:
Objects Grouping
|
The "Group" object is used to organize scene elements in the tree into groups. Any transformation of the group affects all the objects inside it. To add the group, right-click the scene name in the tree and select the "Group" object from the "Insert" menu. |
To group the objects that are already created in the tree, select the desired objects and use the "Create Group" command from the context menu:
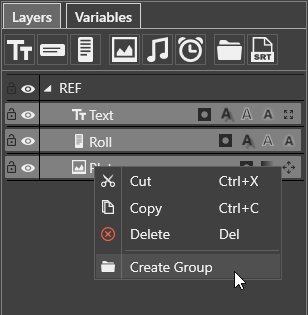
A new group object will be created with selected objects moved inside it.
|
Tip
|
It is possible to create multiple groups nested in each other. |
Objects can also be nested in other objects. This is useful for performing transformations in a bundle for all nested objects at once, rather than editing them individually:
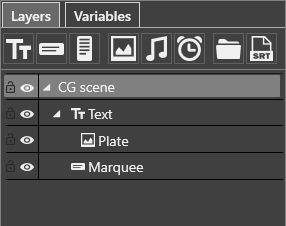
In this example the background plate can be moved to any location on the canvas and the marquee will keep the correct position on top of the plate.
|
Note
|
Group objects are displayed in dark grey on timeline. Objects grouped inside each other have start and end markers on the parent object’s track on the timeline. |
Hiding Objects
An object in the tree can be hidden for editing purposes. It will not be shown on the canvas.
To temporarily hide the object, click on the eye icon on the left of the object in the tree:

The hidden object is marked with the dimmed eye icon.
|
Note
|
If the object has nested objects, all of them will become invisible. |
To make the object visible again, click on the eye icon once more.
Locking Objects
You can lock an object to prevent its accidental modification. For this, click on the grey open lock icon on the left of the object in the tree:

The locked object is marked with the white closed lock icon.
|
Note
|
If the object has nested objects, all of them will become locked. |
To unlock the object, click on the closed lock icon.
Missing Objects
A yellow sign marks those objects on the elements panel linking to an unavailable image, video, text, or subtitles file or using an unavailable font for text.
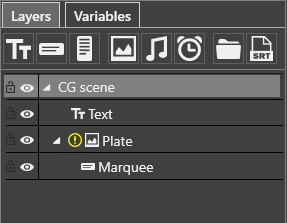
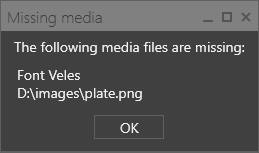
When you open a Cinegy Title template containing links to unavailable media files or missing fonts, the warning window appears providing you with details:
|
Important
|
Defining the media file source for the objects is described in the Image-Based Objects article. |
The objects linked to missing media files are not rendered on playout. These objects can be selected on the elements panel and edited.
Transformation
After adding an object to the scene it is displayed on the canvas with a yellow rectangular bounding box. On each corner and in the middle of each side there are transformation handles. These handles can be directly selected and used to change the bounding box attributes.
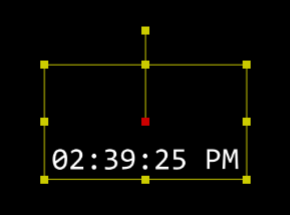
To change the object position on the canvas, click anywhere inside the bounding box and drag the object to the desired location.
It is possible to scale the object horizontally, vertically, or in both directions at once.
To scale an object both horizontally and vertically, drag one of the corner handles. To scale the object either horizontally or vertically, drag a center handle.
|
Note
|
For text objects the bounding box is the clipping region, but not the real object size. This means text will be formatted, scrolled and clipped but not scaled within this area. The real size of the text objects is defined by the font size only, or the scale of any containing group object. |
To rotate an object, click on the handle, situated above the upper horizontal handle, and drag to the desired position. The red handle is a center of rotation.
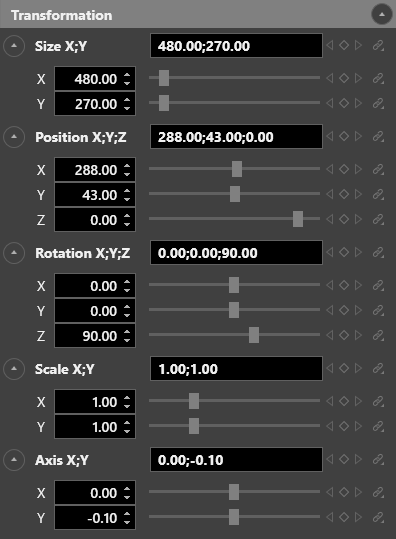
Besides transforming objects within the canvas you can set all parameters manually on the "Transformation" parameters panel.
Here you can define the position, rotation and scale coordinates for the selected object or object group:
|
Use these buttons for each coordinate or enter the desired value(s) via the keyboard. The transformation values are equivalent to pixels on the screen (canvas). |
Value fields have special icon(s) next to them. Each parameter with a  "diamond" icon can be animated and parameters with a
 ![]() "chain" can be linked to a variable.
"chain" can be linked to a variable.
General Settings
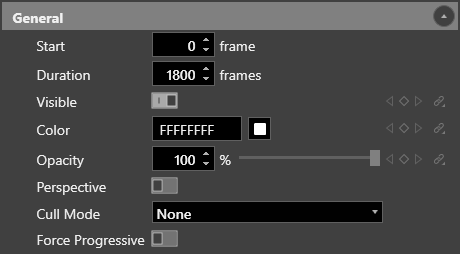
Each object has the following set of general parameters:
-
Start – specifies the frame number at which the object track starts.
-
Duration – specifies the object track duration, in frames.
-
Visible – ticking this checkbox controls the object visibility.
NotePlease mind that an invisible object is not shown during playout. -
Color – defines the object fill color. Enter the HEX color code or click the box near this field, the dedicated dialog will be opened allowing to define the color components in different color modes.
-
Opacity – specifies the object opacity. You can define the opacity value by moving the slider from 0 to 100% or entering the desired value via the keyboard. Changing opacity affects all the objects inside the group objects or nested inside each other.
-
Perspective – enables the object transformation considering the perspective projection.
-
Cull Mode – specifies which side of the object is culled: front, back, or none.
-
Force Progressive – enables the progressive scan output.

