Openfire Server
Reading time ~3 minutes
To use Cinegy Messenger, Openfire – a real-time collaboration Open Source server – installation is required.
About the Server
There are a number of server solutions supporting XMPP (Extensible Messaging and Presence Protocol), but Openfire is very easy to handle in installation, setup, and administration. And it is Open Source!
|
Note
|
Openfire 4.0.1 is the latest version compatible with Cinegy Messenger, and it can be downloaded here. |
Installation and Setup
Installation
-
Download the Openfire server and install the application.
-
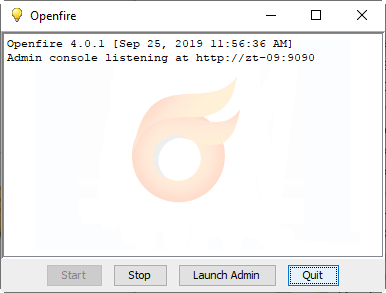
After installation, the application should start automatically. You can also start the server manually – go to Start > All Programs > Openfire > Openfire Server.
-
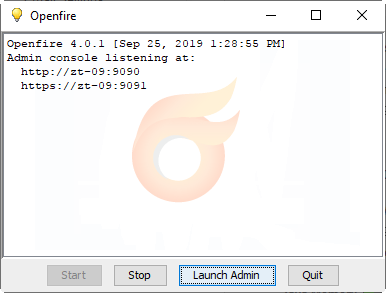
The following dialog appears:
Setup
You need to open the Openfire console to set up the server.
Open a web browser and enter http://127.0.0.1:9090/ or press the "Launch Admin" button.
This will open "Openfire Admin Console".
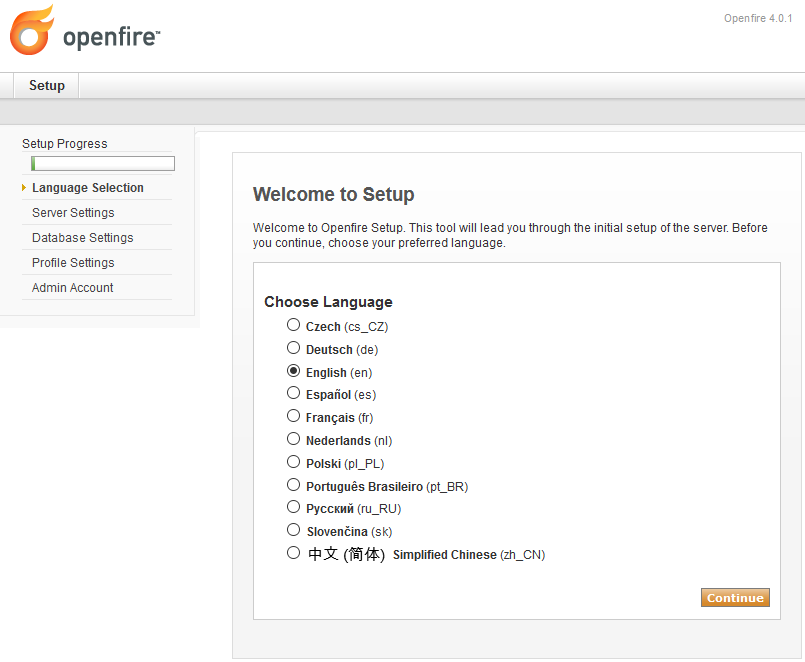
Language
Select the language and press the "Continue" button:
Server Settings
The next step is to define the correct server settings:
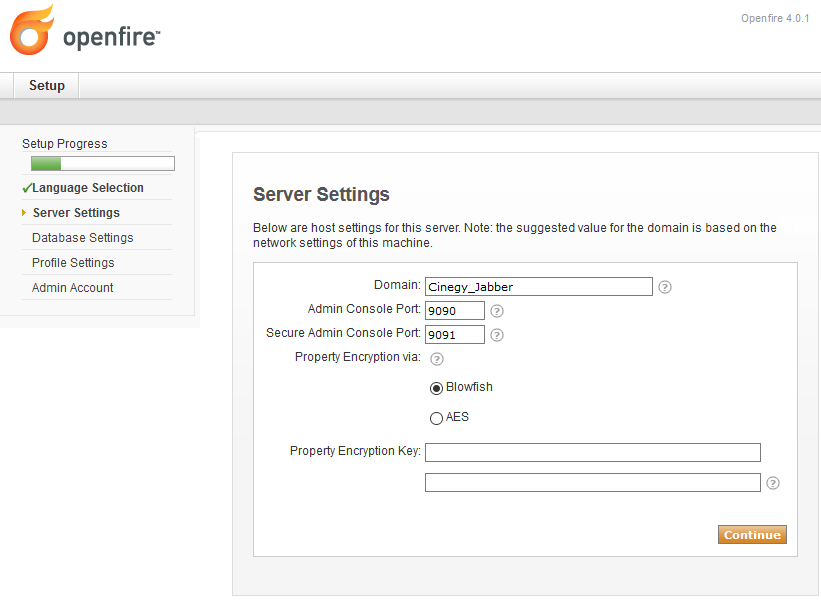
You can accept the pre-defined values.
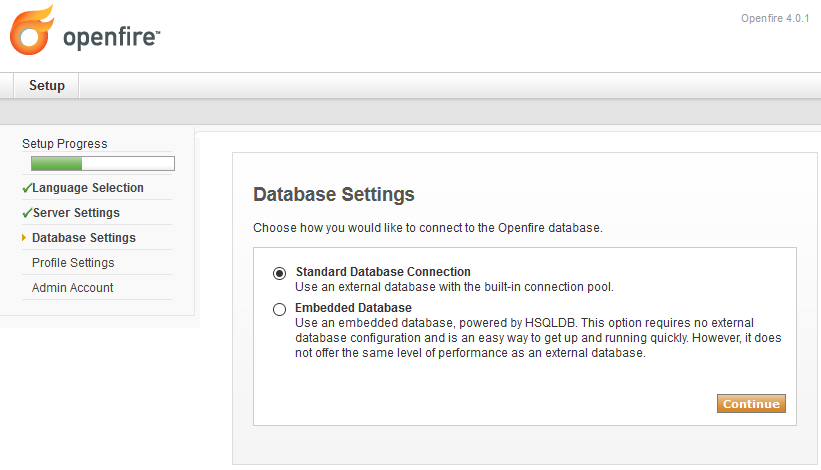
Database Settings
For standard installations, select "Embedded Database". For larger installations, it is better to select the "Standard Database Connection" option:
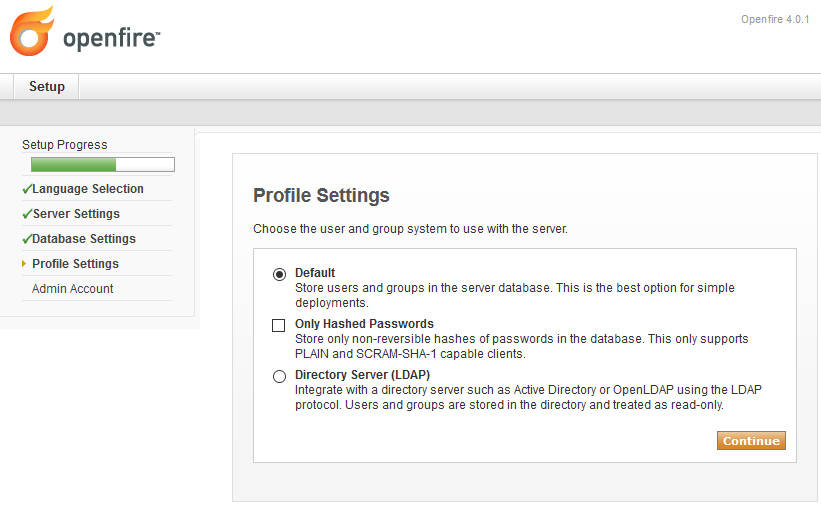
Profile Settings
Define the profile storage schema:
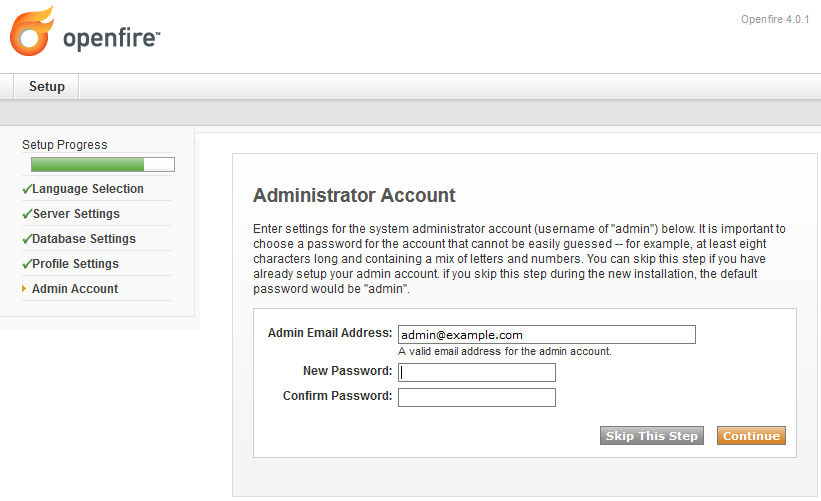
Administrator Account
Now set up the administrator password and enter the administrator’s email address:
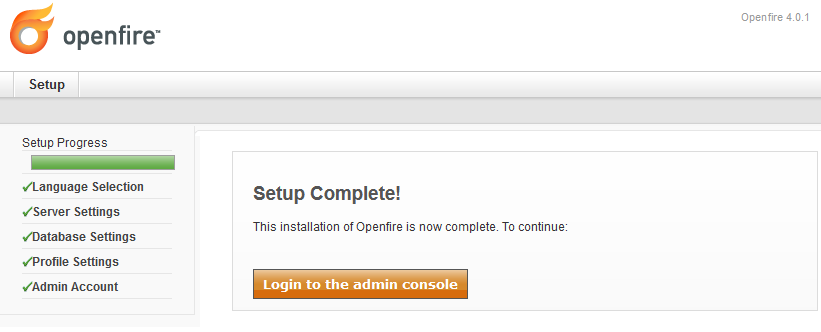
Complete the Setup
When the main configuration is done, log in to the administration console via the corresponding button:
|
Tip
|
For more information about the Openfire server, read the Openfire documentation; the default location is here: C:/Program Files/Openfire/documentation/index.html. |
|
Important
|
Refer to the Cinegy Messenger article in the Cinegy Desktop Manual to read more about the Cinegy Messenger plug-in. |
Administration Console
Having set up the Openfire server, it should be configured via the web-based administration console. To do so, the Openfire server is required to be restarted first using the "Stop" and "Start" buttons. Then press the "Launch Admin" button to launch the administration console:
To log in to the administration console, do the following:
-
Enter "admin" in the username field.
NoteOn the first launch of the administration console, it is necessary to enter "admin" as the username. This name is assigned to the administrator user by default. After the login, you can add other users and grant them administrator access to Openfire. Then you can use any existing usernames with the administrator status and the corresponding passwords to log in to the administration console. -
Enter the password you have assigned during the admin account setup.

-
Press the "Login" button. The following window appears:
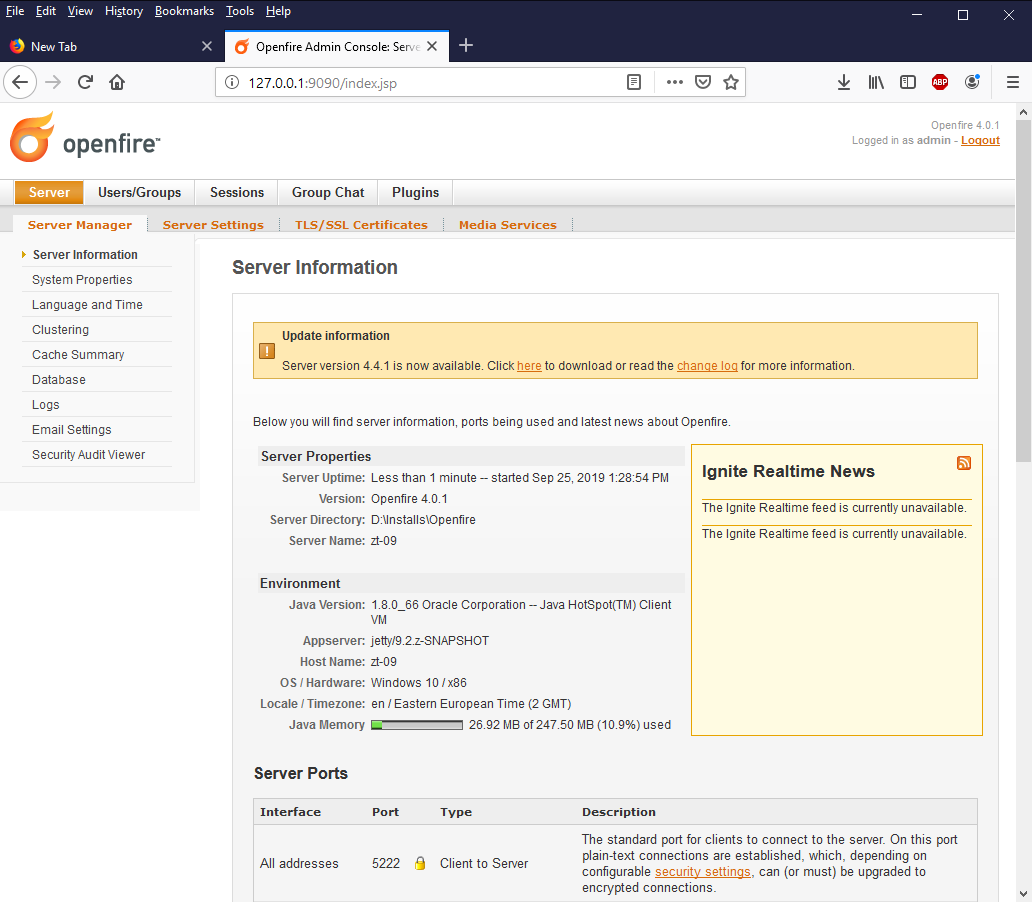
Here you can view and configure all the required Openfire server settings and parameters.