Step 4: Capturing
Reading time ~1 minutes
This article describes how to start a capture session based on the settings made in the previous steps.
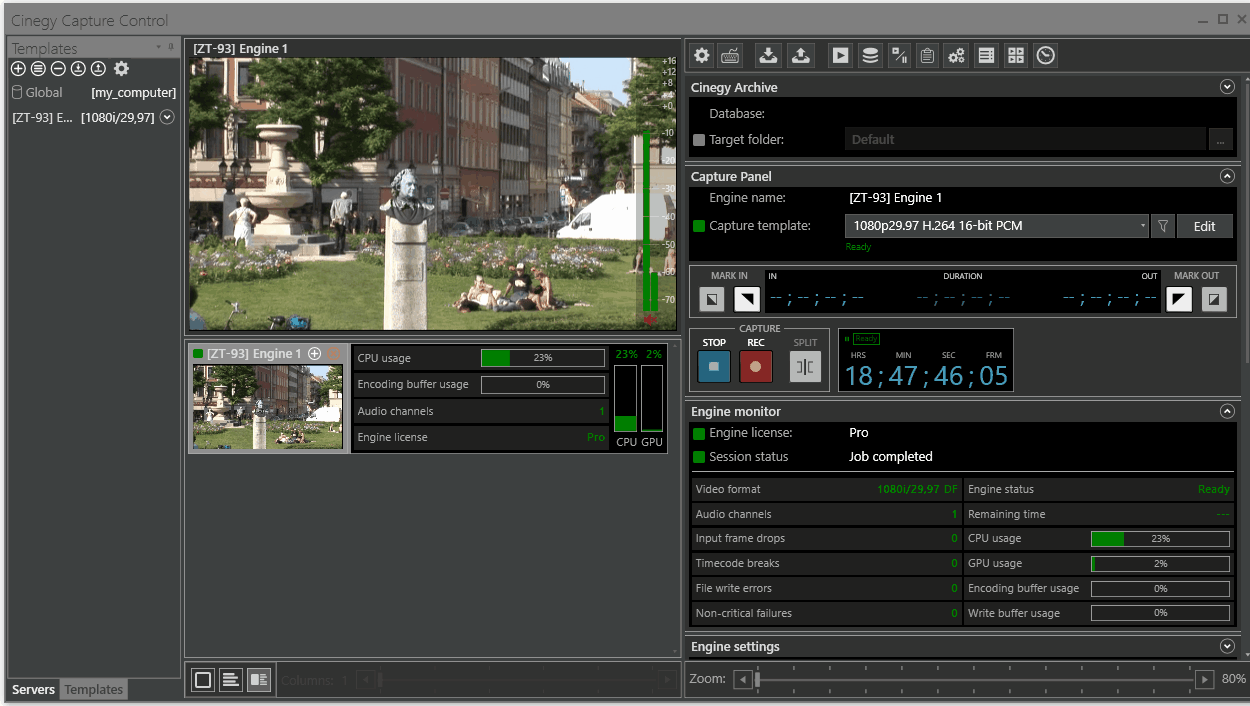
All capturing parameters and controls of the currently selected Cinegy Capture service are displayed on the Capture panel:
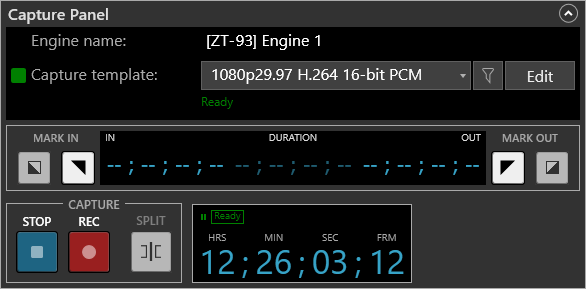
Choose the created Cinegy Capture engine template from the "Capture template" drop-down list. This template will be used for the recording session.
|
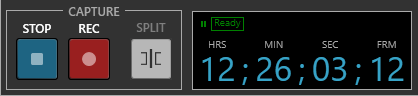
Having selected the valid template, you are ready to start the capture session by pressing the "REC" button and monitoring this process in real time. |
|
Press the "SPLIT" button during the capture session to force a new file creation starting from the current position. |
|
Press the "STOP" button to stop the running capture session. |


The engine performing a recording is marked with a blue button and a red window frame: