Capture Panel
Reading time ~5 minutes
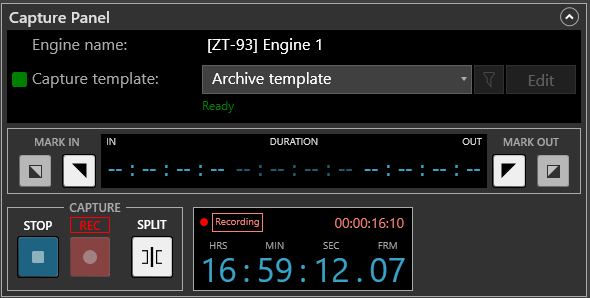
This panel comprises capturing parameters and controls of the currently selected Capture Service:
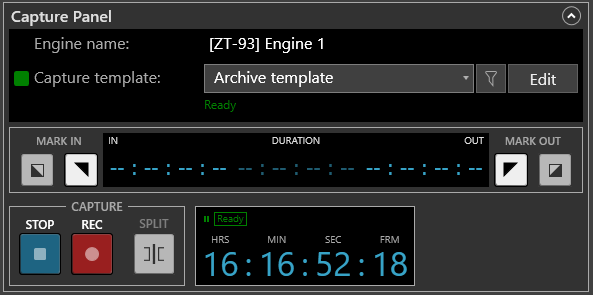
The upper part of this panel displays the status pane containing the following fields:
-
Engine name – the name of the currently selected engine.
-
Capture template – the active engine template used for the recording session. Select the template from the drop-down list that comprises all the available engine templates, as well as the Cinegy PCS storage templates of the video format that matches the Capture engine TV format:
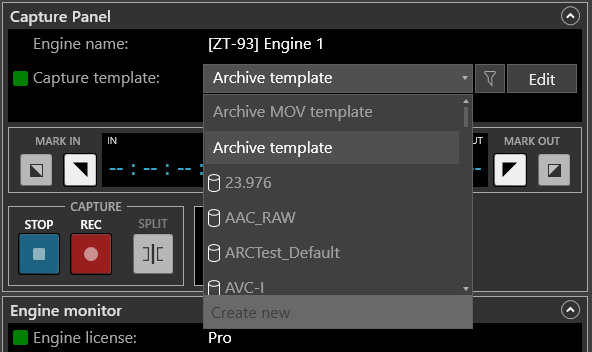
Choose the "Create new" option to create a new template for the currently selected engine.
ImportantRefer to the Templates Panel article for details on the creation and management of templates.
The validity of the selected template is performed automatically, which is indicated either in green or red. An invalid template is indicated in red; additionally, the problem description is provided under the template name:

|
Pressing the "Filter" button will display only the compatible engine and the Cinegy PCS templates in the drop-down list. |
|
Press the "Edit" button to change the currently selected template if needed. |


Mark In and Mark Out
Use corresponding buttons to set In and Out points:

This control allows the user to capture a defined segment of video material received either from the RTP/UDP/SRT stream or from a video board.
|
Press the "Mark In" button to set the In point at the current position of your video material. Alternatively, use the keyboard to enter the start timecode value. |
|
Press the "Clear mark In" button to delete the In point. |
|
Press the "Mark Out" button to set the Out point at the current position of your video material. Alternatively, use the keyboard to enter the end timecode value. |


The duration is calculated automatically:

|
Press the "Clear mark Out" button to delete the Out point. |

|
Tip
|
You can enter the duration value in the "Duration" field; the Out point will be calculated automatically. |
|
Tip
|
You can change the Out point and duration values on the fly during recording if needed. |
Controls
At the panel bottom, you will find the following set of controls:
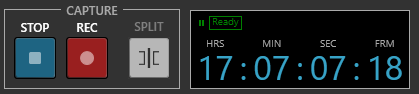
Capture Controls
The capture session management is performed with the following buttons: "Stop", "Record", and "Split".
|
Having selected the valid template, you are ready to start the capture session. Press the "REC" button to start your capture session; you can monitor this process in real time. |
|
Press the "SPLIT" button during the capture session to force a new Roll/file creation starting from the current position. |
|
Press the "STOP" button to stop the running capture session. |


Time Controls
The timecode monitoring window displays the playback/recording progress:
|
|
Playback mode |
Recording mode |
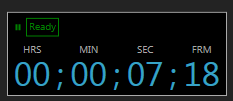
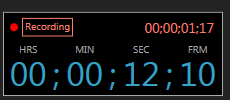
In recording mode, the total duration of the current capture session is displayed in the upper right corner of the timecode monitor window:
The capture session is in progress
In compact view, the Capture panel displays the "Capture status" field, reporting the capture state:
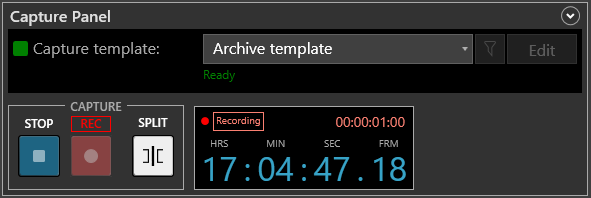
|
Important
|
Refer to the Collapsing Panels paragraph to learn how to toggle the panel views. |
Working with External Devices
To work directly with media on an external device from the Cinegy Capture Control interface, connect the device to your Capture server via the RS-422 protocol. In Cinegy Capture Manager, enable "Device Control" for your device in the Capture engine configuration. You can also define the required pre-roll time and, in the "Timecode settings" section, specify the timecode source supported by the external device.
The pre-roll time defines how far the media on the external device is rewound before a capture session starts. It is applied either when playback is paused prior to ingest or when the specified In point is reached during the ingest process. Pre-roll frames are not captured. This setting ensures that the beginning of the media is reliably ingested with a few seconds of lead-in and also applies to scheduled capture sessions.
When "Device Control" is enabled for an external device, an additional control panel becomes available in the Cinegy Capture Control interface, providing familiar transport buttons similar to those on a tape deck:
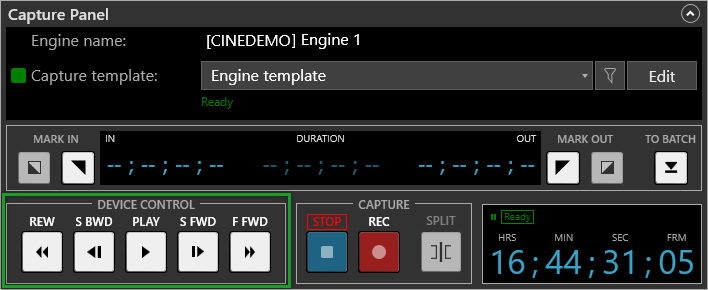
The buttons in the "Device Control" panel perform the following functions on the external device:
|
Rewinds the media. |
|
Plays the media backward at reduced speed. |
|
Starts media playback. |
|
Plays the media forward at reduced speed. |
|
Fast-forwards the media. |


In the "Capture" section, use the following buttons to control ingest sessions with an external device:
|
Stops the current capture session and terminates external device playback if it is active. |
|
Starts a capture session. If the external device is idle, Cinegy Capture automatically initiates playback on the device before starting the ingest process. |
|
Forces the creation of a new Roll/file starting from the current playback position of the external device during an active capture session. |


|
Note
|
When working with an external device, the full range of media operations is available, such as setting Mark In and Mark Out points for a capture session or creating batch captures. |
Sending to Batch List
When working with an SDI input source and "Device control" is enabled in Cinegy Capture Manager, you can compose a batch list:

Press the "Mark In" and "Mark Out" buttons to define the In and Out points of the video material on the external device.
|
After setting the In and Out points, press the "To Batch" button to send the batch list to the Scheduler Panel [Batch]. |
