Installation
Reading time ~3 minutes
|
Caution
|
Cinegize is currently in development and is being offered free of charge. Visit the official Cinegize website to explore its key features and download the latest version. |
|
Important
|
Administrator rights are required to complete the installation. This ensures that during host sessions, the software can provide full access to application windows that require elevated permissions. Additionally, after installation is complete, you can enable the "User Account Control" switcher in Settings to prompt for administrator permissions each time Cinegize starts. |
To start the installation, run the Cinegize-Installer.exe file. The setup wizard will be launched:
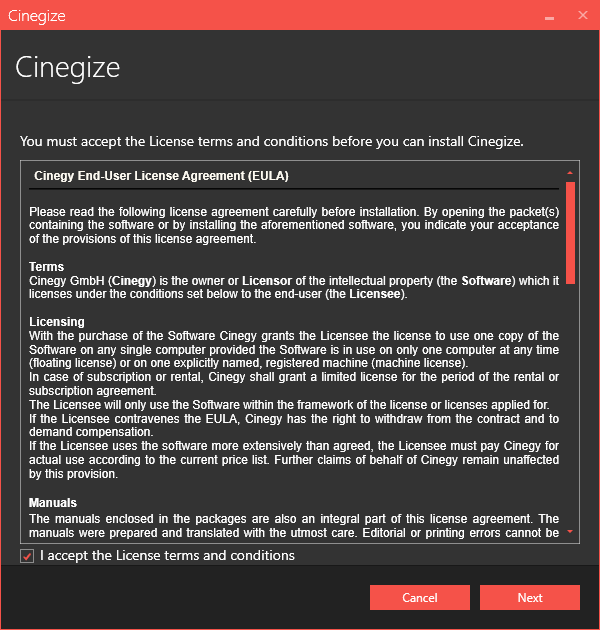
Read and accept the license agreement and press "Next" to proceed with the installation:
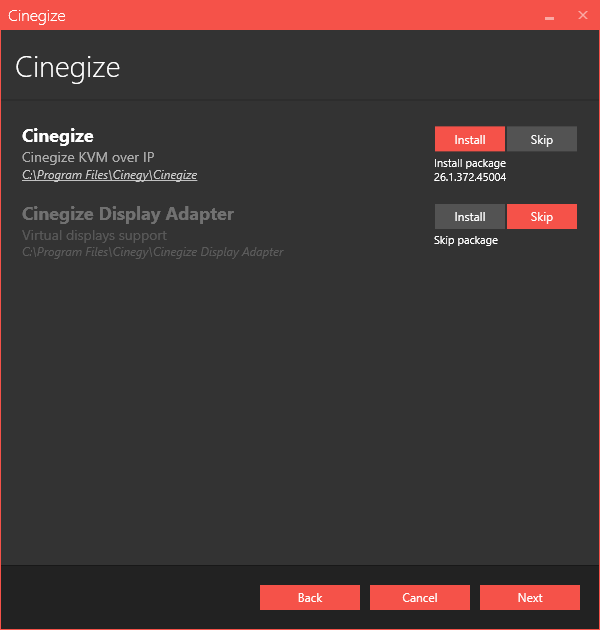
In this step, you can choose to install only Cinegize or include the Cinegize Display Adapter.
|
Caution
|
By default, the Cinegize Display Adapter installation is skipped. However, a virtual display adapter is essential for use with virtual machines, cloud instances, or VDI scenarios without an attached screen. To enable it, click the "Install" option. |
|
Enabled installation of the Cinegize component(s) is indicated by the "Install" option selected and highlighted with red. |
|
Select the "Skip" option to disable the installation of the Cinegize component. |


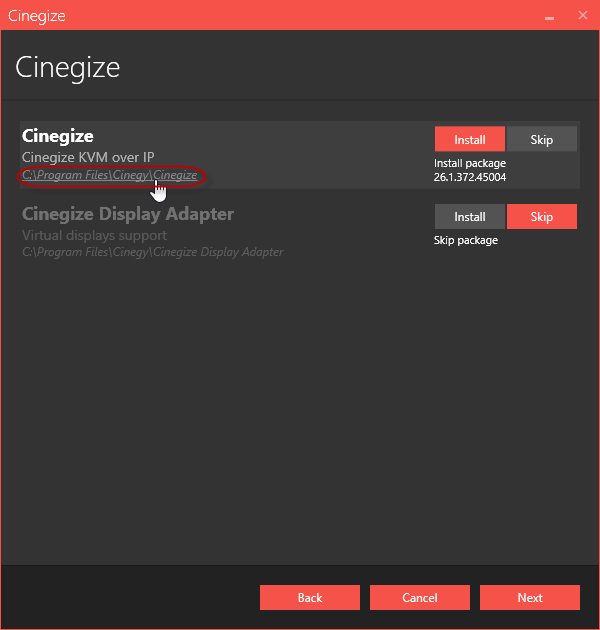
The default installation directory, which is indicated underneath the component name, can be changed by clicking the path:
In the "Browse for folder" dialog that appears, select the required folder for your installation:

|
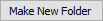
You can also create a new folder by pressing the "Make New Folder" button and entering a new folder name. Once the folder is selected, press the "OK" button. |
Press the "Next" button to proceed with the installation.
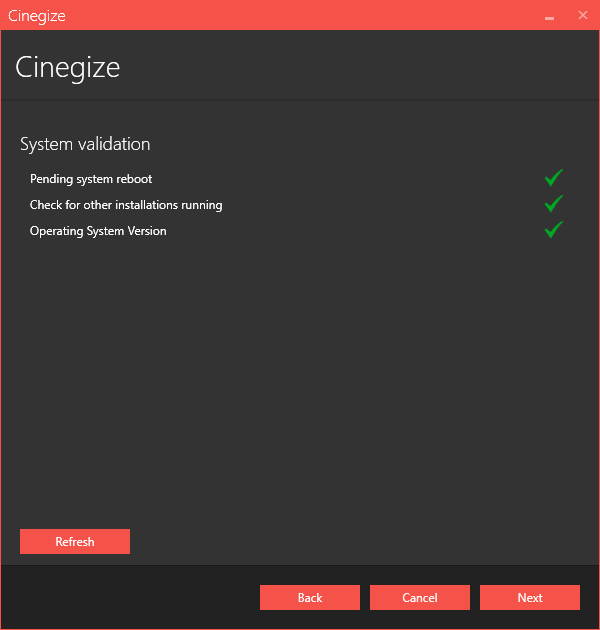
Check whether your system is ready for installation in the following dialog:
|
The green tick indicates that the system resources are ready, and no other processes may prevent the installation. Clicking the validation entry field displays its detailed information. |

|
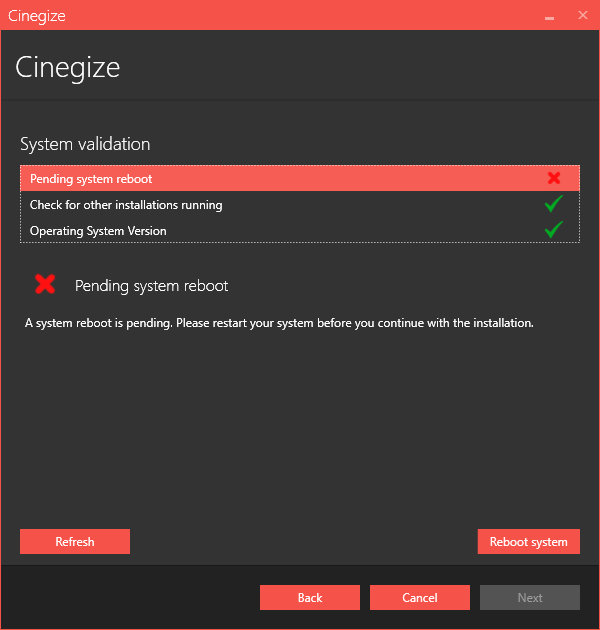
If validation reveals that the installation cannot proceed, the corresponding field is highlighted, and a red cross appears along with detailed information about the reason for the failure below. |

|
Note
|
The explanation differs depending on why the installation cannot proceed. |
|
Press the "Refresh" button to have the system recheck installation availability. Once the reason for prevention is excluded, you can proceed with the installation. |

|
Press the "Back" button to change the installation settings. |

|
Press the "Cancel" button to abort and exit the setup wizard. |

|
Press the "Next" button to begin the installation. |

The progress bar indicates the progress of the installation process.
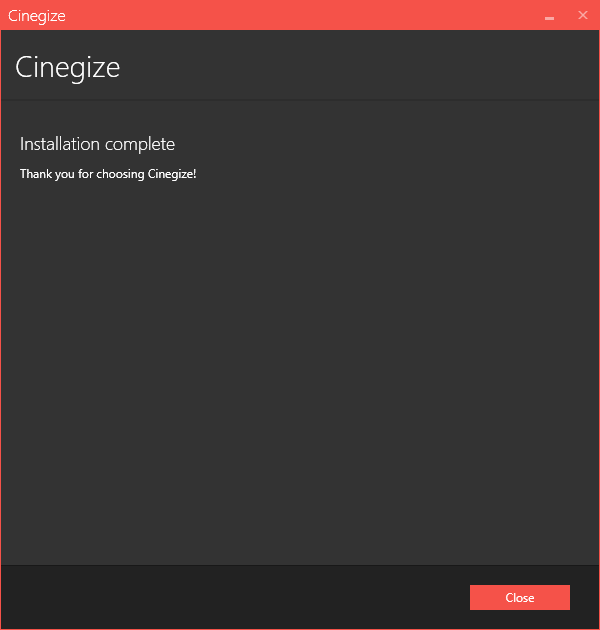
The following dialog informs that the installation has been completed successfully:
|
Press the "Close" button to exit the setup wizard. |

Once installed, Cinegize is available to all users on the PC. Thanks to the implemented data storage technology, each user operates independently, maintaining a personalized list of recently connected servers, passwords, and settings.