Cinegy Support Tools Installation
To install Cinegy Support Tools, run the SupportTools.Setup.exe file. The setup wizard will be launched:
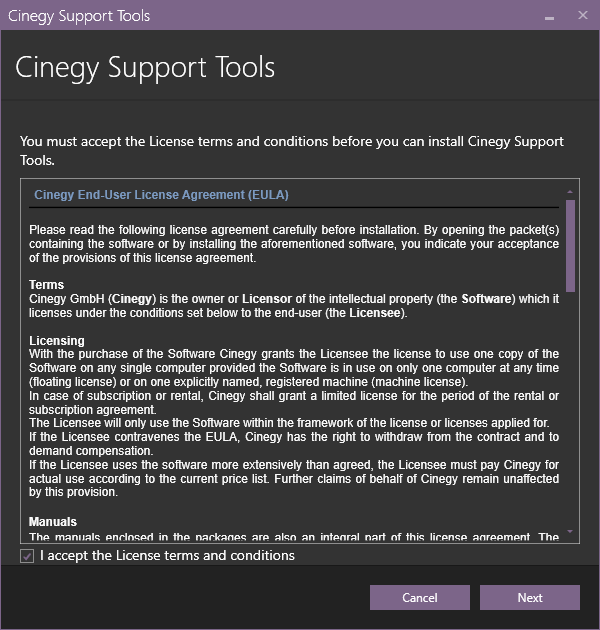
Read the License agreement and check the box to accept its terms. Press "Next".
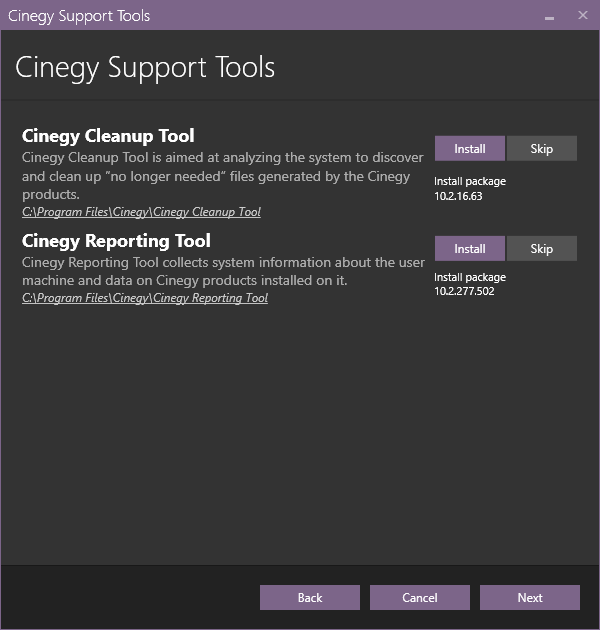
All the package components are listed in the following dialog:
|
Installation of each Cinegy Support Tools component is enabled by default, which is indicated by the "Install" option selected and highlighted with violet. |

|
Select the "Skip" option next to the relevant component to disable its installation. |

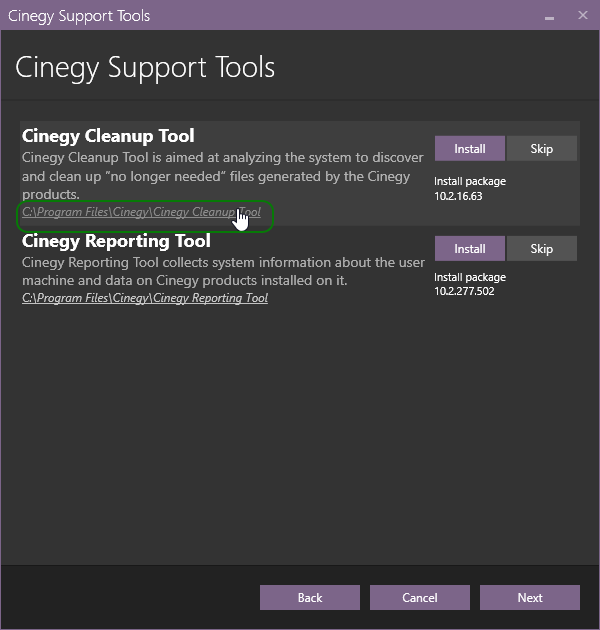
The default installation directory, which is indicated underneath the package component name, can be changed by clicking the path:
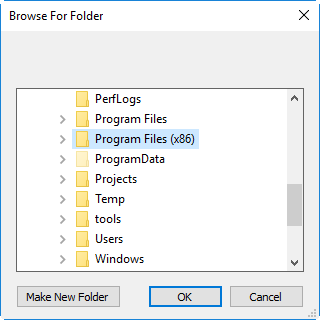
In the "Browse for folder" dialog that appears, select an existing folder and press "OK".
|
You can also create a new folder by pressing the "Make New Folder" button and entering a new folder name. |
Press "Next" to proceed with installation.
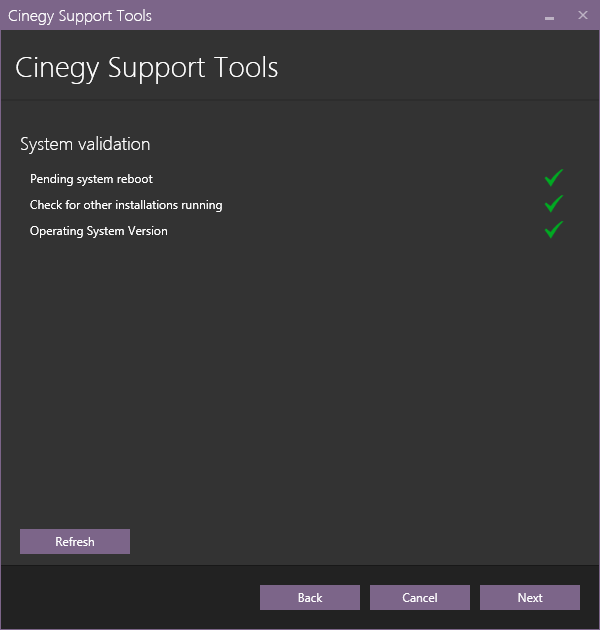
Check your system validation in the following dialog:
|
The green tick indicates that the system resources are ready and no other processes may prevent installation. Clicking the validation entry field displays its detailed information: |


|
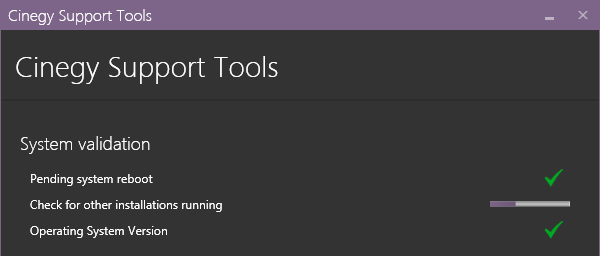
While the system performs verification of any parameter, the checking progress is displayed: |

|
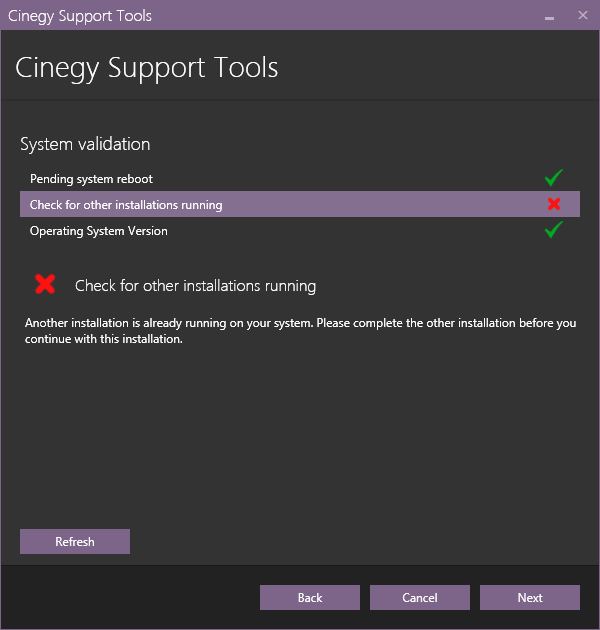
If any validation reveals that installation cannot be started, the respective field becomes highlighted and the red cross is displayed with the detailed information on the reason below: |

|
Note
|
The explanation differs depending on the reason why the installation cannot be proceeded. |
|
Press the "Refresh" button for the system to recheck installation availability. Once the reason of prevention is excluded, you can proceed with installation. |

Press "Back" to change the installation settings or "Cancel" to abort and exit the setup wizard.
|
Press the "Next" button to begin the installation. |

The progress bar indicates the progress of the installation process.
The following dialog informs that installation is completed successfully:
|
Press "Close" to exit the wizard. |

|
After the Cinegy Support Tools installation, the Cinegy Reporting Tool, Cinegy Report Viewer, and Cinegy Cleanup Tool icons appear on your desktop. Double-click the corresponding icon to launch the desired application. |