Upgrading Existing Database
Reading time ~2 minutes
|
Caution
|
It is strongly recommended to back up the database before you start upgrading it. |
To upgrade an existing database, set the "Upgrade existing database" radio button and press the "Next" button.
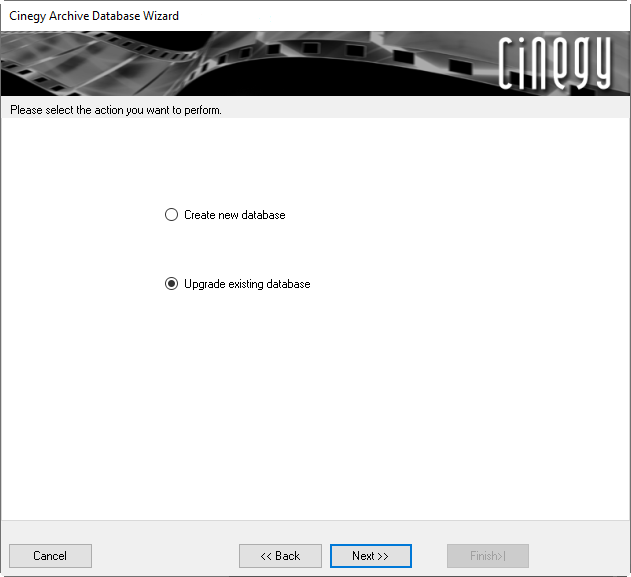
Press the "Next" button to proceed with the upgrade options.
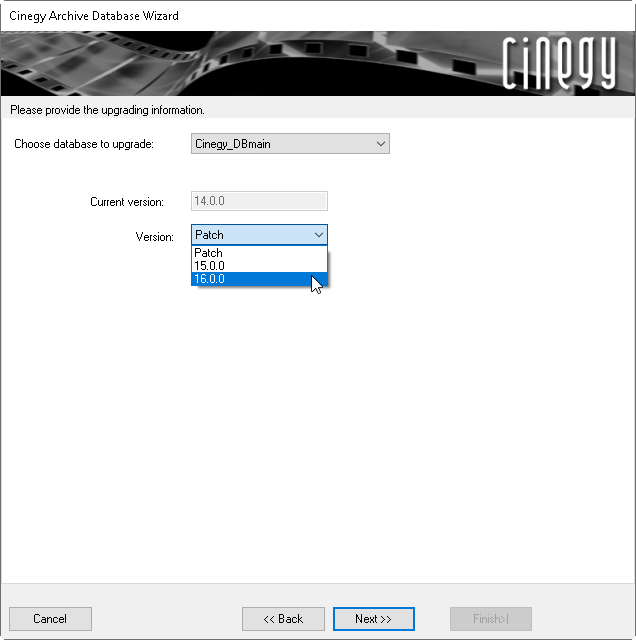
Use the drop-down list to select the database you want to upgrade and specify the upgrade version, if available:
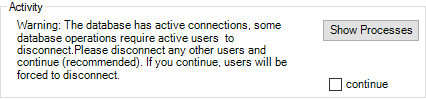
If the selected database has active connections, the following information will be shown in the wizard:
|
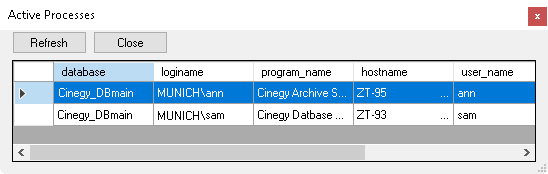
Press the "Show Processes" button to view active connections for the current database. The following dialog box appears: |

To proceed with the update operations, select the "continue" checkbox and press the "Next" button. If selected, all the connected users will be forced to disconnect.
Press the "Next" button to proceed with upgrade options.
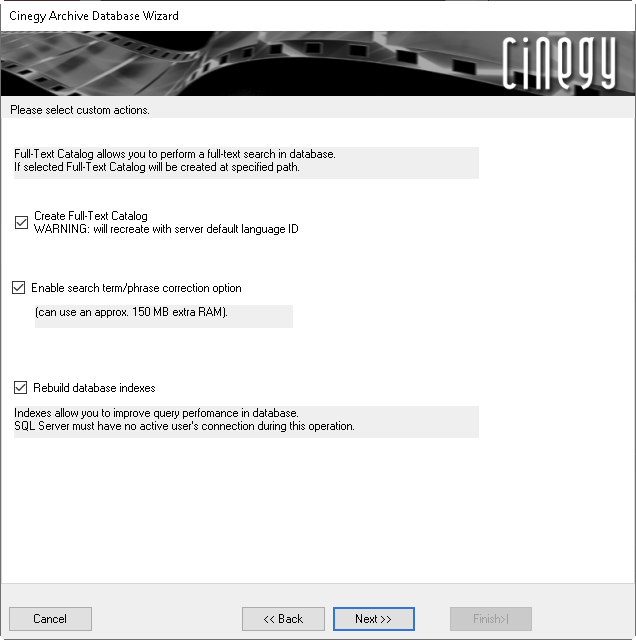
Here you can enable the options for the current database.
|
Important
|
Refer to the Full-Text Service article in the Cinegy Archive Manager Manual for detailed information on its configuration. |
|
Note
|
"Enable search term/phrase correction option" provides a fuzzy search feature. The dictionary for the search term/phrase corrector is saved in the Cinegy Archive database. This functionality works only for English and uses only an English dictionary. This option is not supported for Cinegy Archive databases v16. |
Press the "Next" button to proceed.
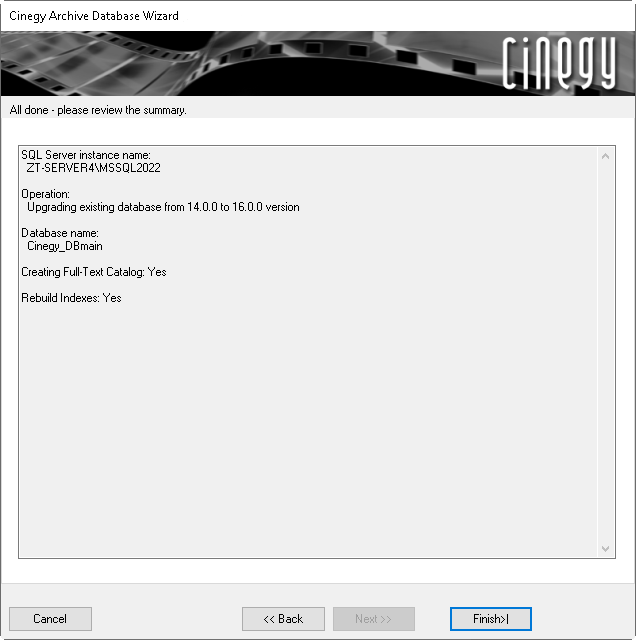
The summary dialog allows you to review the decisions made for the database you are upgrading. To make changes, you can use the "Back" button to return to previous steps of the wizard. Press "Finish" to begin the upgrade of the database.
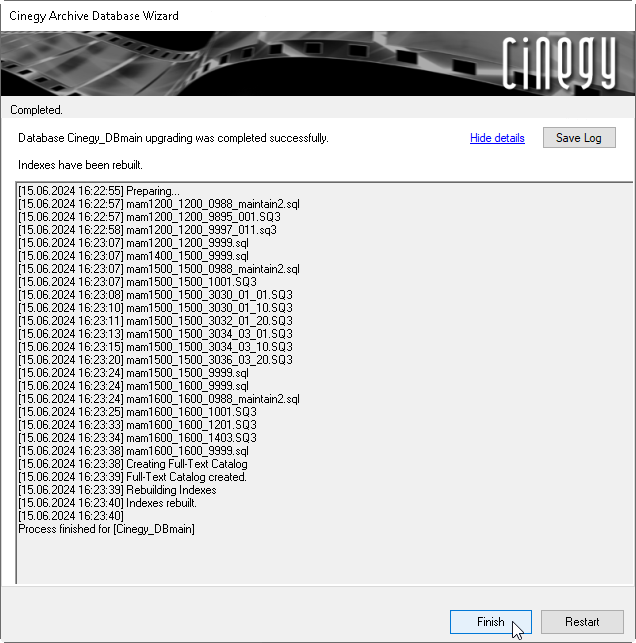
After the upgrade process is completed, press Show details at the "End of processing" step of the wizard to view the detailed summary of the database update:
|
Use the "Save Log" button to generate the text log file containing the procedure details of the database upgrade process. |

|
Press the "Finish" button to complete the database configuration. |

|
Important
|
To change the network storage locations and reassign the media archive file types, use the "File types and locations" configuration group within Cinegy Archive Manager. Refer to the Media Groups, File Types article in the Cinegy Archive Manager Manual for more details. |