Step 3: Cinegy Convert Installation
Reading time ~2 minutes
Cinegy Convert has a unified installer that allows you to install all the components you need.
|
Caution
|
It is required to install critical Windows updates before the application installation. |
|
Caution
|
Installation of .NET Framework 4.8 or later is required before Cinegy Convert installation. |
-
To start the installation, run the Cinegy.Convert.Setup.exe file from the Cinegy Convert installation package. The setup wizard will be launched. Having read the License Agreement, check the box to accept its terms and proceed to the next step:

-
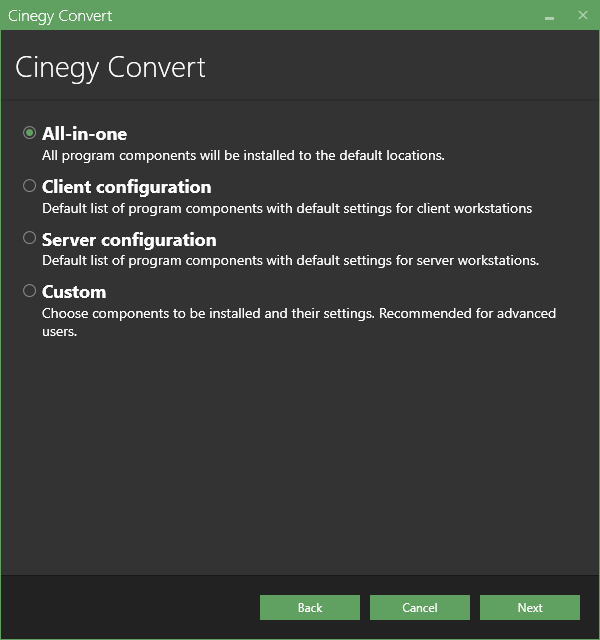
Select "All-in-one", all product components will be installed with their default settings. Press "Next" to proceed.
-
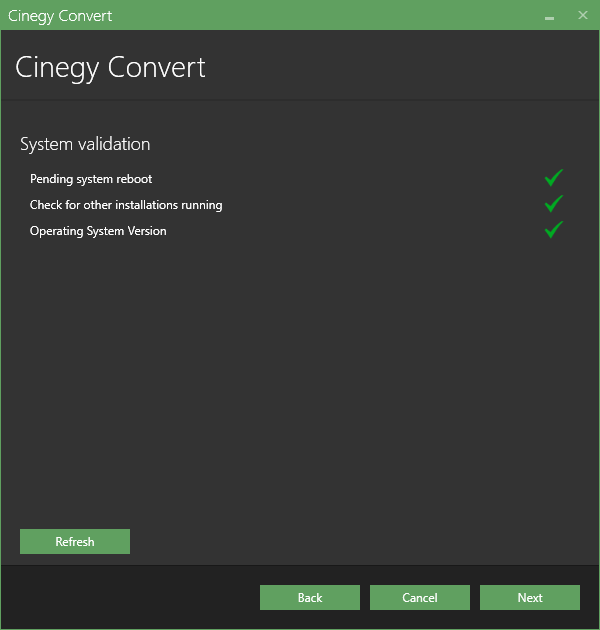
Check whether your system is ready for installation in the following dialog:

The green tick indicates that the system resources are ready and no other processes may prevent installation. If any validation reveals that installation cannot be started, the respective field becomes highlighted and the red cross is displayed with detailed information on the failure reason below. Resolve the reason that prevents the installation process and press the "Refresh" button. If validation is successful, you can proceed with installation.
-
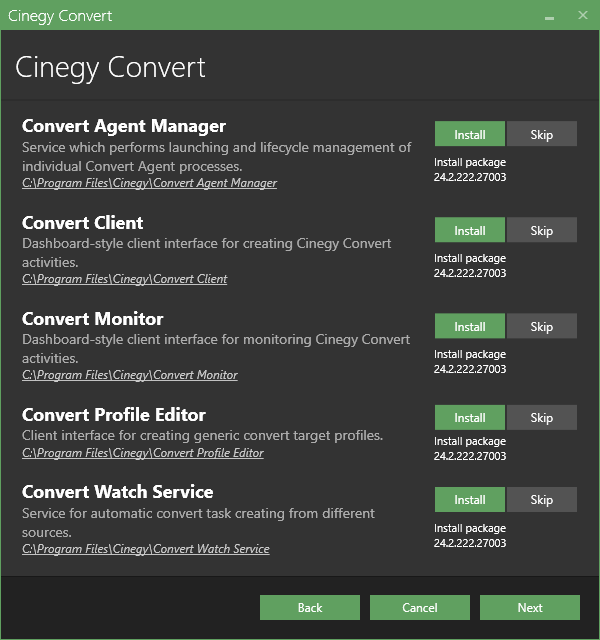
If you prefer to perform custom installation, select "Custom" and choose the package components available for selected installation mode in the following dialog:

-
Press the "Next" button to begin the installation. The progress bar indicates the progress of the installation process.
-
The final dialog will inform you that the installation is completed successfully. Press "Close" to exit the wizard.
The shortcuts of all the installed Cinegy Convert components will appear on your Windows desktop.