Advanced Mode
Reading time ~3 minutes
Advanced mode of the report generation allows you to choose the components to be included into the report.
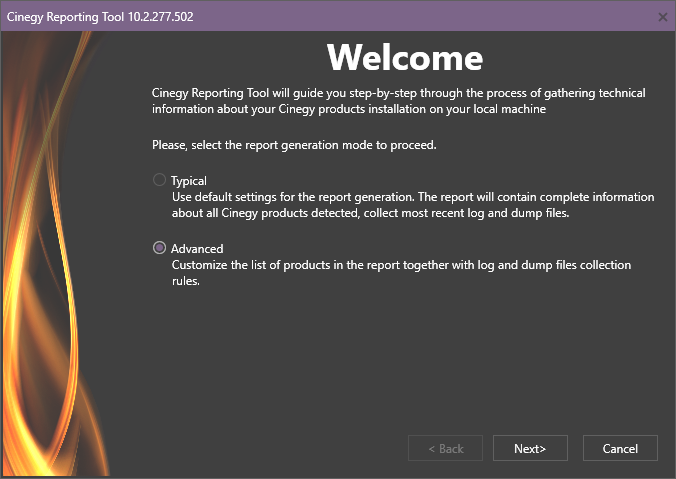
Select the "Advanced" mode and proceed to the next step, where you will be suggested to fill in the company information just like it is done for the "Typical" report generation mode.
On the next step you can select the products to be included to the report:
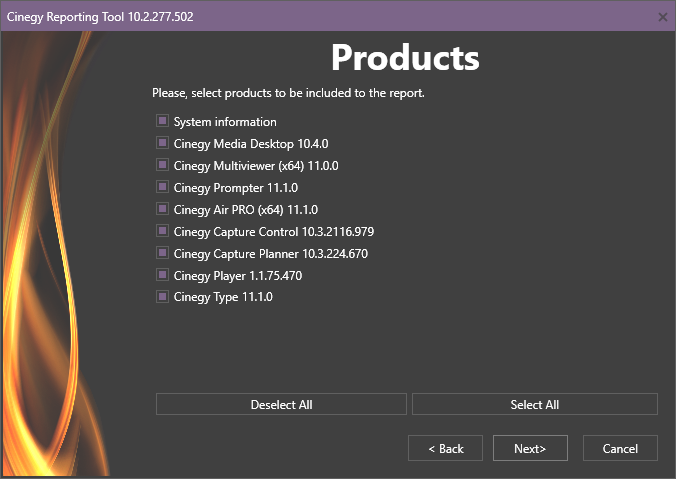
Check the desired products and proceed to the next step. To select or deselect all products, use the "Select All" or "Deselect All" button correspondingly.
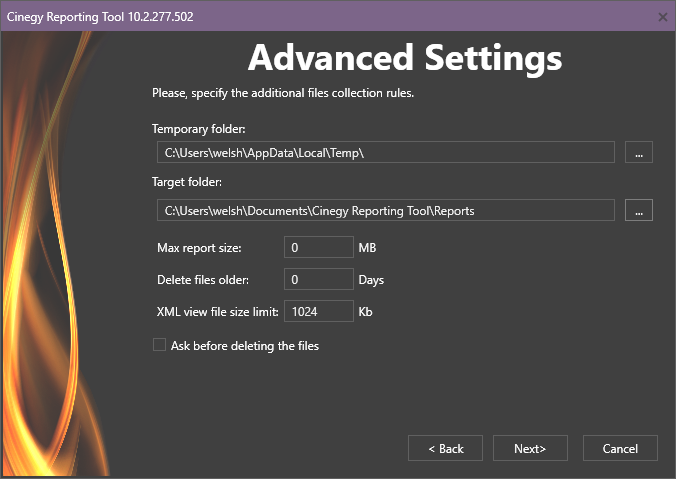
On this step the additional settings of the files collection can be specified:
-
Temporary folder – the folder to be used while the report data is being collected;
-
Target folder – the folder where the resulting report archive files are placed;
-
Max report size – the maximum size of the report archive file;
-
Delete files older – defines the number of days on expiry of which the old dump, log files will be deleted;
-
XML view file size limit – defines the size limit for inserting XML files on the "XML View" tab of Cinegy Report Viewer. The default size value is 1 Mb;
-
Ask before deleting the files – if this option is selected, the confirmation dialog will be invoked during the report generation:
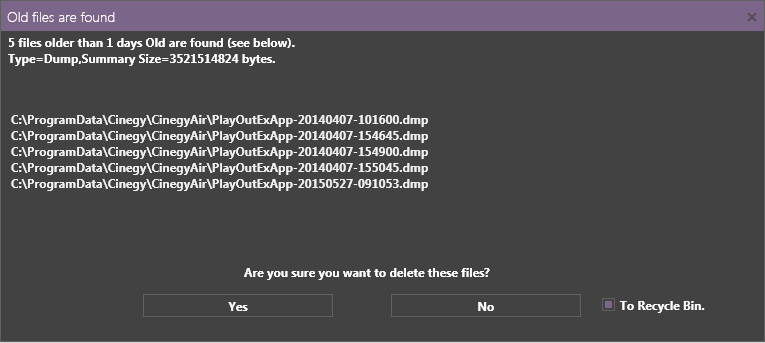
In this dialog the list of old files is shown and you are asked whether to delete these files or move them to the Recycle Bin.
Having specified the necessary parameters, proceed to the next step. Here you can set what types of additional files will be added to the report. Select the corresponding group(s):
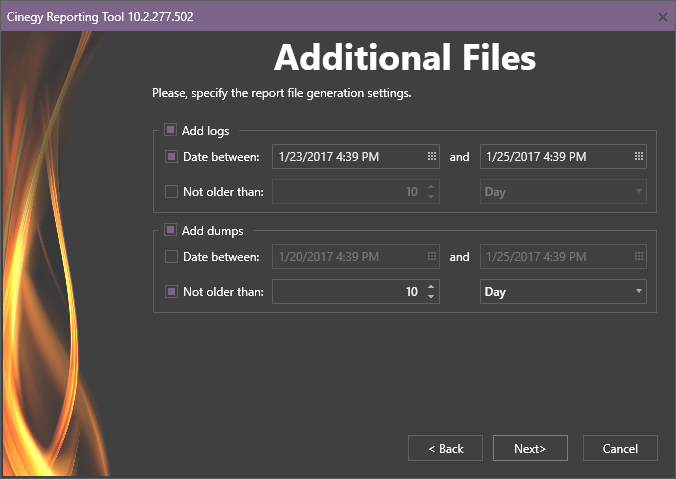
For each group it is possible to specify the time period when the files were created: between the defined dates and time or not older than the specified period.
To set the specified date and time, press the ![]() icon on the right side of the date field. The calendar will be open:
icon on the right side of the date field. The calendar will be open:

Select the desired date and time or enter them manually in the date fields.
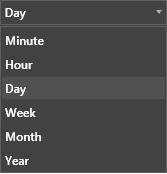
To set the period of time for files to be considered as old, specify the value and units (minute, hour, day, week, month, year) from the drop-down list:
Having specified all the necessary parameters, proceed to the next step, where the summary of the information to be collected is shown:

If necessary, enable the "Automatically upload report to Cinegy FTP" option and specify your Cinegy FTP credentials for automatic uploading of the generated report to Cinegy ftp for its analysis by the support team.
Press the "Generate" button to begin the report generation.
When the report generation is completed, the report file summary is displayed on the "Completed" step of the Cinegy Reporting Tool wizard:
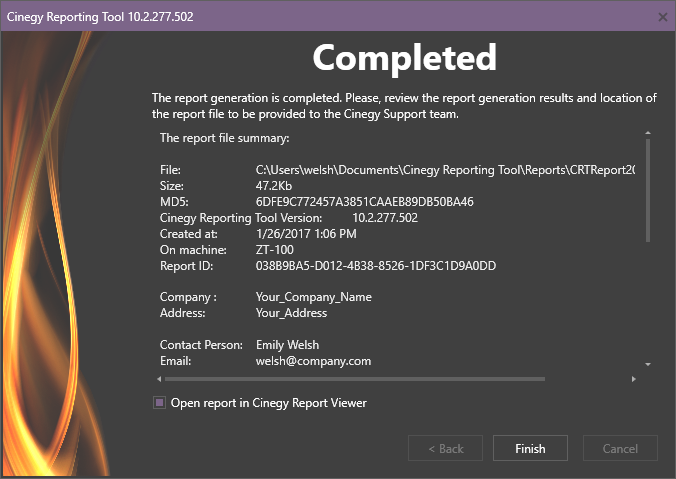
Select the corresponding option to open the generated report in Cinegy Report Viewer.
Press the "Finish" button to exit the Cinegy Reporting Tool wizard.