Cinegy PCS Configurator
Reading time ~2 minutes
By default, the Cinegy Process Coordination Service configurator launches automatically immediately after the installation is complete.
|
To manually launch the configurator, double-click the "Process Coordination Service Configurator" shortcut created on your Windows desktop after the installation. |
|
Tip
|
Alternatively, navigate to Start > Cinegy > Process Coordination Service Configurator. |
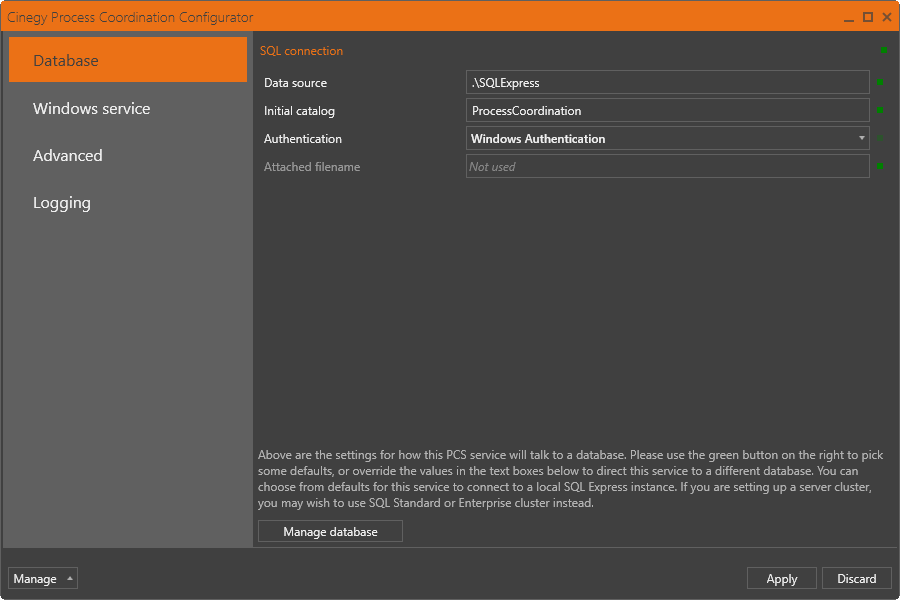
The database settings, as well as Windows service parameters, advanced settings and logging settings should be specified here.
Managing PCS Databases
|
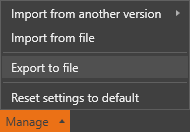
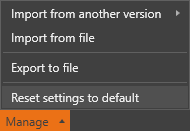
Press the "Manage" button, the following drop-down list with all available options appears: |
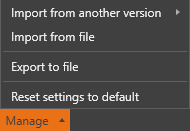
Import from another version
Use the "Import from another version" button to import all settings from previously installed and configured Cinegy PCS versions and apply settings to the current one:
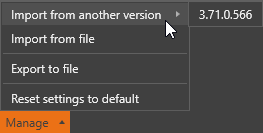
Select the required version from the list, the following confirmation window appears:

Press the "Yes" button to save and apply the imported settings to the current version.
Import from file
Use the "Import from file" button to import previously exported or setting files from previous versions in XML format:
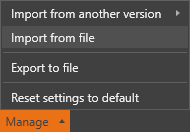
Use the "Load settings from" window that appears to import settings file from the selected folder:
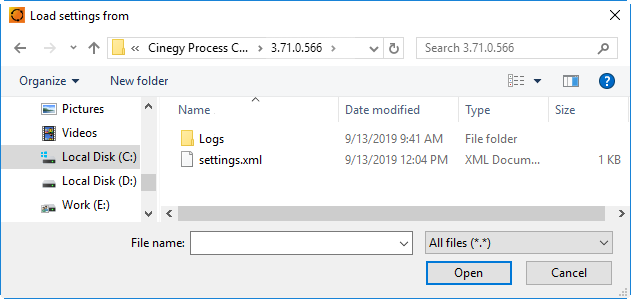
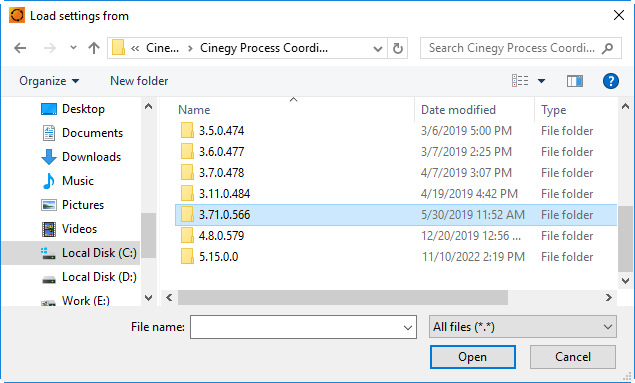
All log and settings files of previously installed Cinegy PCS versions are stored in separate folders named according to the Cinegy PCS version. Navigate to the C:\ProgramData\Cinegy\Cinegy Process Coordination Service and select the required version to import the specific settings file:
Export to file
Use the "Export to file" button to export all current settings to the XML file:
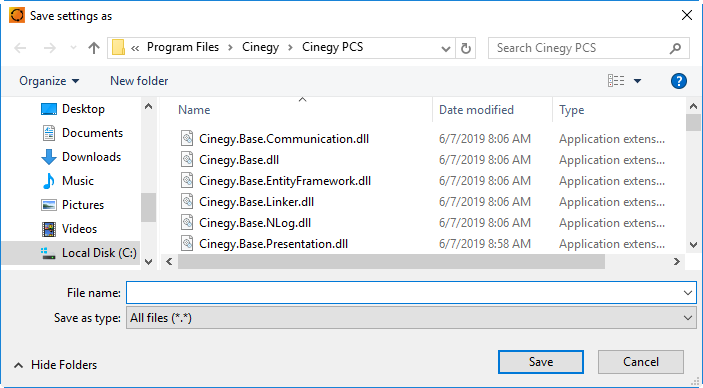
On the "Save settings as" window that appears, define the file name and save the settings file to the selected folder:
Reset settings to default
Press the "Reset settings to default" button to return to the default settings:
Having specified all the required settings, press the "Apply" button to save changes.
