Batch Operations
Reading time ~3 minutes
The "Batch operations" tab allows user to perform import or export of multiple resources simultaneously:
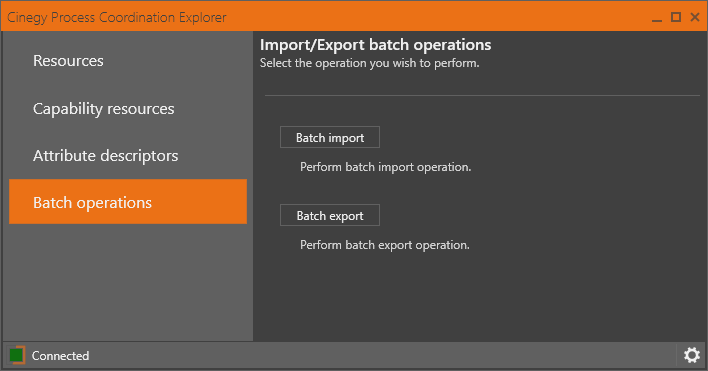
Press the relevant button to select the operation you wish to perform: "Batch import" or "Batch export".
Batch Import
|
Having selected the batch import operation, press
|


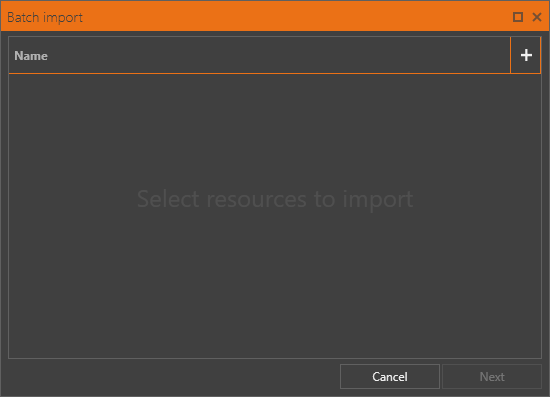
In the dialog that appears, navigate to the location with resources you wish to import. Select the desired file(s) holding the Ctrl key down and press the "Open" button to proceed.
The selected resources will be listed in the "Batch import" dialog:

|
If the selected resource is not required for the current import session, you can remove it from the resources list by pressing the corresponding button next to it. |
|
Once all the required resources are selected, press "Next". As a next step, define the following settings for the batch import operation: |


-
Create missing descriptors – check this option to enable creation of the missing descriptors of profiles imported within the given batch import session.
-
Restore deleted descriptors – check this option to restore the previously deleted descriptors of profiles imported within the given batch import session.
|
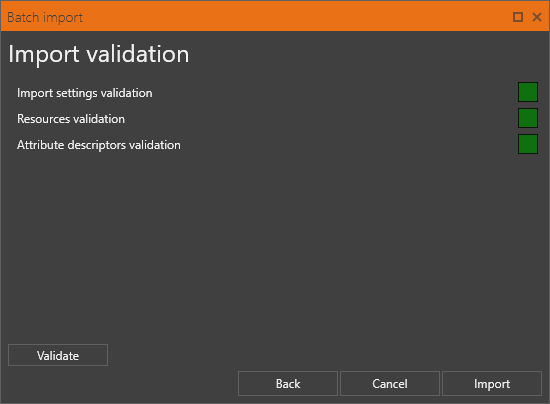
Press "Next" to continue. In the following dialog, the export validation check is performed: |

|
Note
|
The import validation procedure is similar to the one of the database validation. |
|
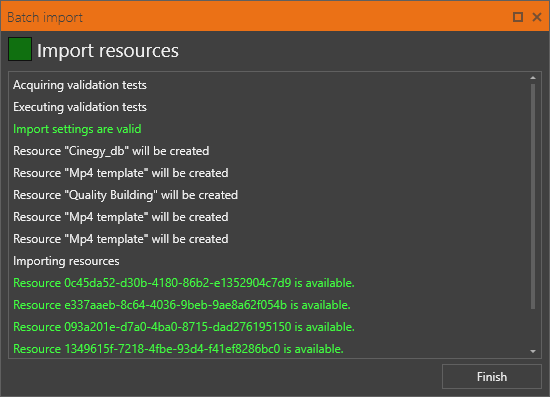
Press the "Import" button to launch the operation. The following dialog informs about all the batch import operation related processes execution: |

|
Press "Finish" to complete and quit the dialog. |

The imported profiles will be added to the Cinegy PCS profiles list in the "Resources" tab of the Cinegy Process Coordination Service Explorer.
Batch Export
|
Having selected the batch export operation, press
|


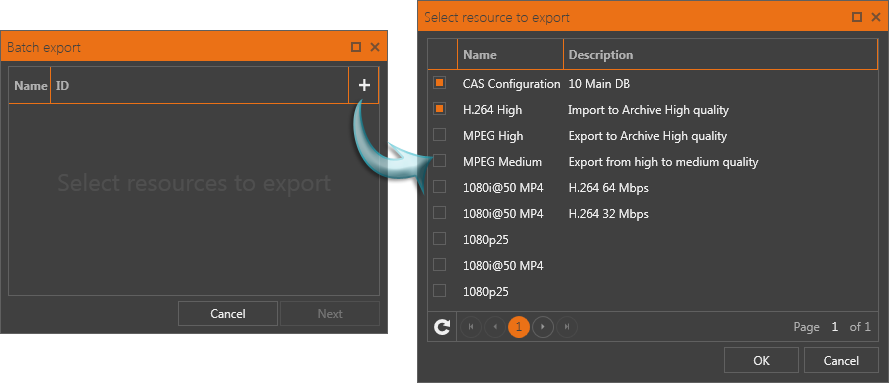
Check the boxes next to the desired resources and press "OK".
The selected resources will appear in the "Batch export" dialog:
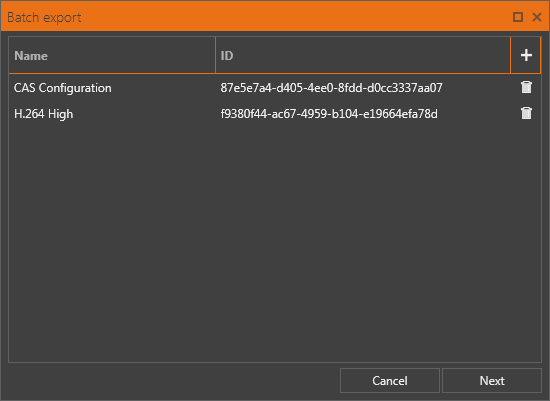
If the selected resource is not required for the current export session, you can remove it from the resources list by pressing the  button next to it.
|
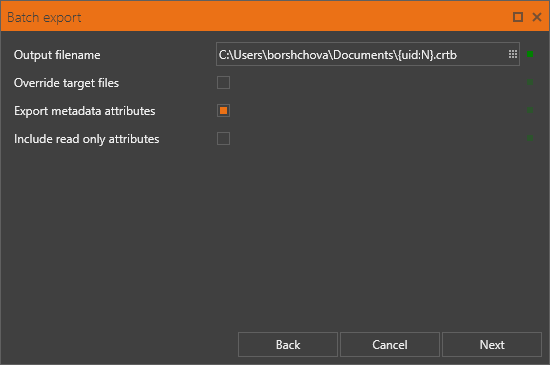
Once all the required resources are selected, press "Next". As a next step, define the following settings for the batch export operation: |

-
Output filename – use the keyboard or press the
 button to define the directory for storing the exported profiles.Important
To automate naming, the automatically generated macros and environment variables are supported for this parameter. -
Override target files – with this option enabled, the existing resource files having the same names will be replaced with the ones being exported.
-
Export metadata attributes – check this option to enable export of metadata attributes during the batch export operation.
-
Include read only attributes – check this option to enable export of the read only attributes.
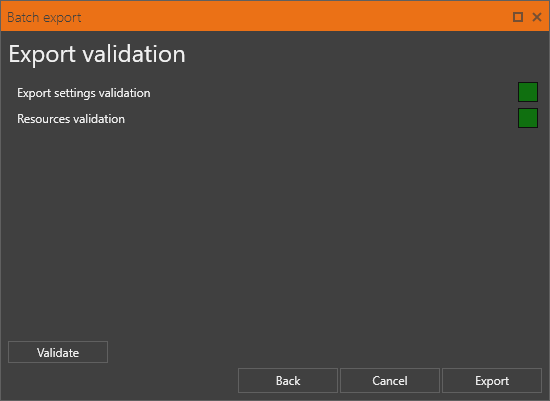
Having specified all the parameters, press "Next" to proceed. In the following dialog, the export validation check is performed:
|
Note
|
The export validation procedure is similar to the one of the database validation. |
|
Press the "Export" button to launch the operation. The following dialog informs about all the batch export operation related processes execution: |

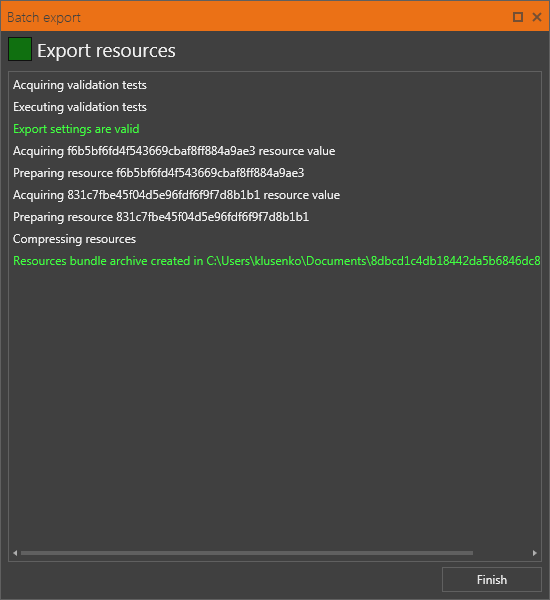
|
Press "Finish" to complete and quit the dialog. |
The exported resources will be saved in the Cinegy PCS resource archive file with the specified name.