Database
Reading time ~3 minutes
|
Caution
|
The database is created on an SQL server while configuring the Cinegy Process Coordination Service. It is a separate unit, which is not related to Cinegy Archive database. |
Database Configuration
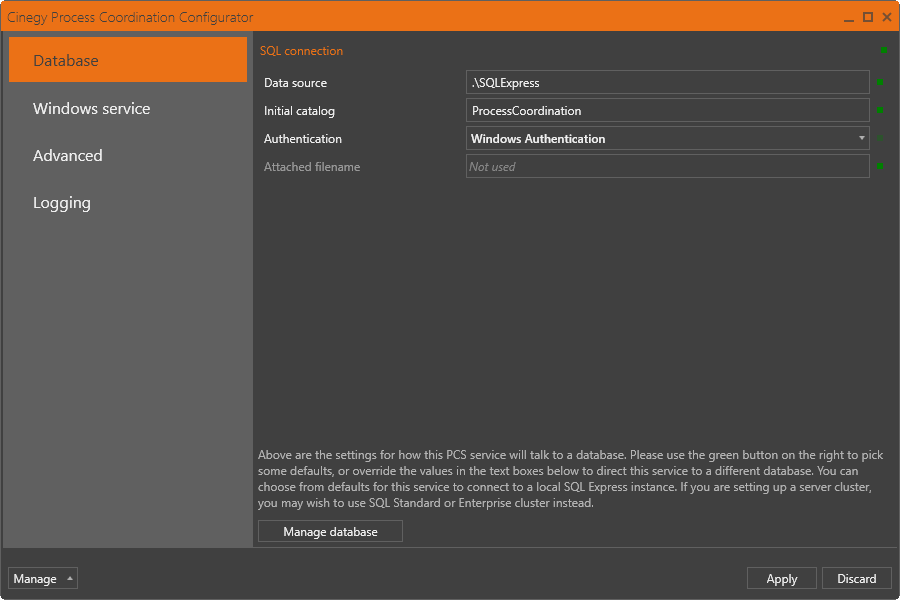
-
Data source – specify the existing SQL Server instance name using the keyboard. For example, for Microsoft SQL Server Express you can leave the default .\SQLExpress value; otherwise define the localhost or your named instance.
-
Initial catalog – define the database name.
-
Authentication – use the drop-down list to select whether the Windows or SQL Server authentication will be used for access to the created database. With the "SQL Server Authentication" option selected, the required field becomes highlighted with a red frame; press the
 button to expand the "Authentication" settings:
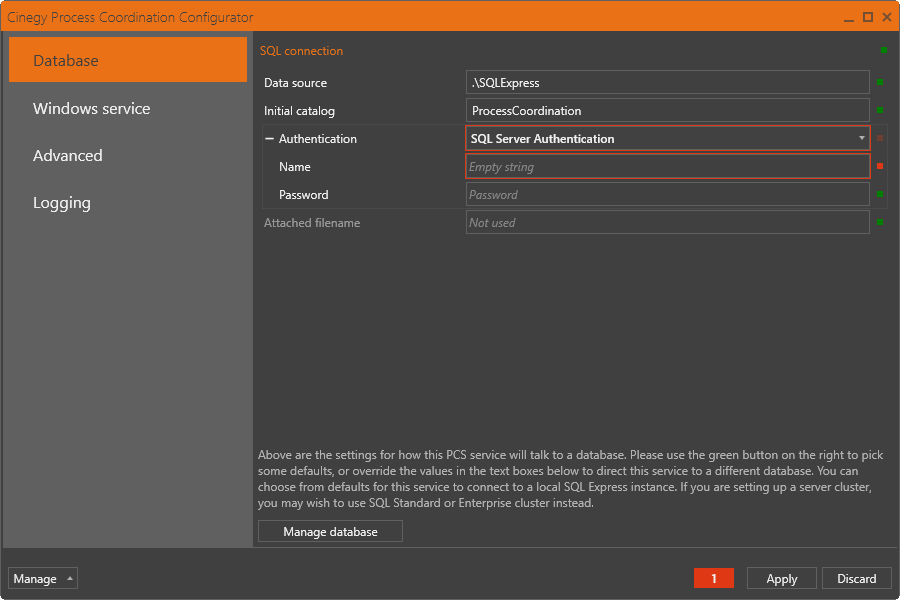
Type in the username and password in the corresponding fields.
NotePlease mind that the database settings cannot be saved until all required fields are filled in; the red indicator shows a tooltip explaining the reason why settings cannot be applied. -
Attached filename – specify the path to the database file. This option can be left empty for most configuration scenarios. Modifications are recommended for advanced users only.
Database Validation
|
Press the "Manage database" button to check validity of the database and create one if required; the following window with the four steps of the database check appears: |
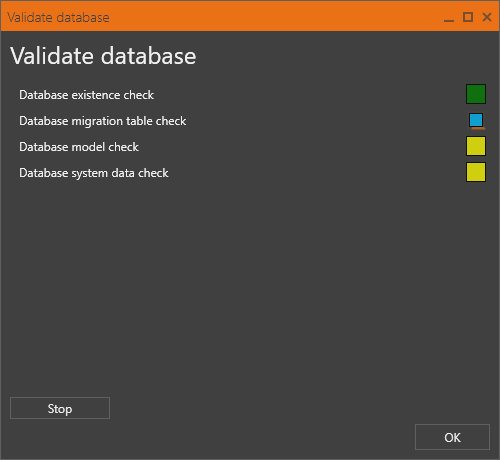
The following color indication is used for each validation step status:
|
database parameter is being checked |
|
database parameter is valid |
|
database parameter validation is pending |
|
database parameter is invalid |
|
Press the "Stop" button if you need to stop the database validation process. |
|
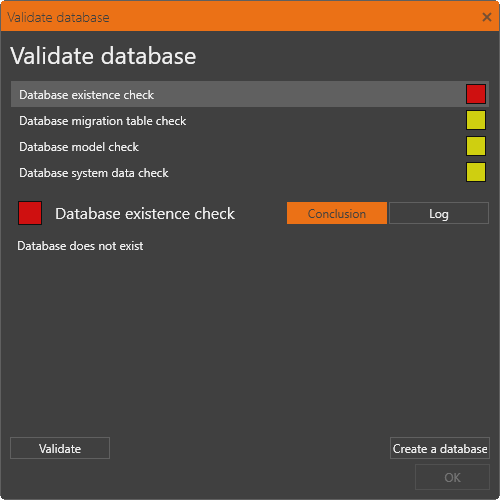
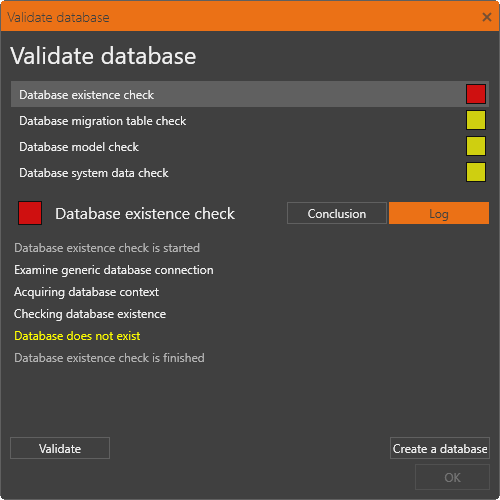
If database check reveals problems on any step of validation, the invalid parameter becomes highlighted and the detailed explanation is given in the "Conclusion" section: |
|
Switch to the "Log" section to view the validation log details: |
|
If validation reveals that the specified database does not exist, press the "Create a database" button. |
|
If validation reveals that any database parameter is outdated, press the "Updating data" button. |
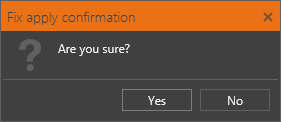
Press "OK" to confirm applying the fix of any invalid database parameter, press "Yes" in the dialog that appears:
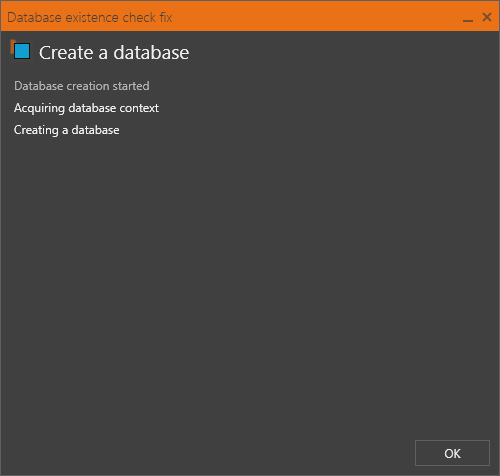
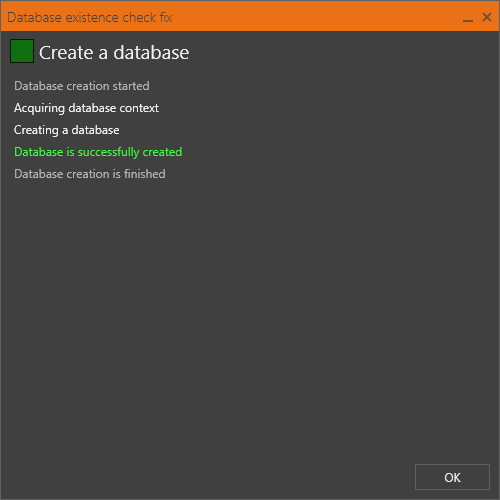
The following dialog gives the detailed information on the database creation progress:
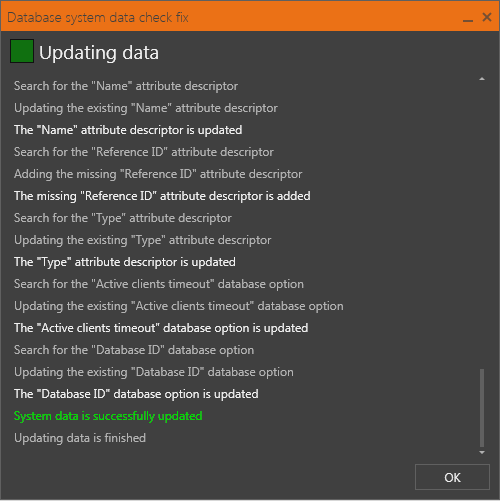
The following dialog gives the detailed information on the progress of updating:
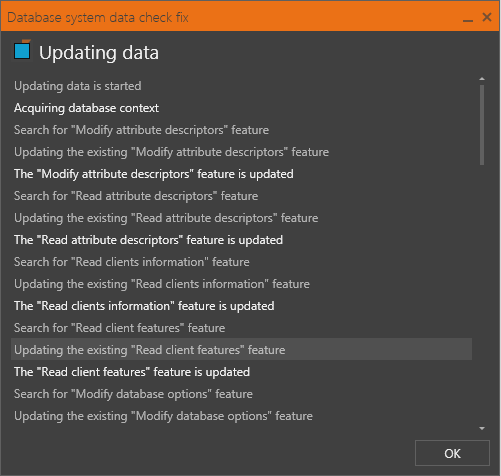
Wait until the updating process is finished.
The following dialog informs you about successful database creation:
The following dialog informs you about successful updating completion:
Press "OK" to exit the dialog.
|
Note
|
With failure of any parameter validation, a respective button will appear on the bottom right corner of the window, pressing which will apply a required fix to the problem. |
|
Once the fix is successfully applied to the invalid parameter, press the "Validate" button to repeat the parameter check. |
When the database validation is finished successfully, press "OK" to proceed with the PCS configuration.
|
Having completed specifying the database settings, press the "Apply" button to save them. |
|
If you do not want to save the specified settings, press the "Discard" button. |
Go to the "Windows service" tab to proceed with the Cinegy PCS configuration.


