Import Operation Mode
Reading time ~4 minutes
Establishing Connection
The process of connection to both source and target locations is similar to the one described in the Export Operation Mode section.
|
In order to perform import operations it is required to specify the necessary information to connect to the SQL server and Cinegy Archive database. |

Target Connection
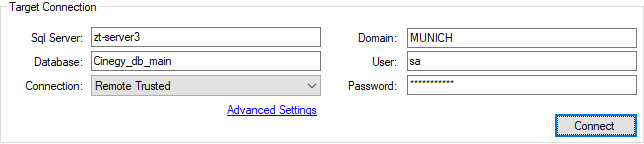
Type in the SQL server and database names in the corresponding fields. Choose the connection type from the drop-down list:

Enter the domain name, user name and password.
|
Note
|
The "Domain" parameter is not topical for SQL connection type. |
To change the plug-in settings, press Advanced Settings; the plug-in settings dialog will be launched.
|
Press the "Connect" button to start connection to the source. |

The progress bar on top of the window shows the progress of connection process:

Source Package
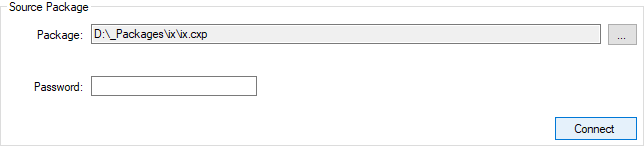
Define the location of the source package using the "…" button, select the *.cxp file and enter the password if necessary.
|
Press the "Connect" button to establish connection. |
|
Important
|
The process of target and source package connection is similar to source and target package connection, described in the Export Operation Mode article. |
Importing Data
|
Having connected to both target and source packages you are able to proceed with files import. |

|
Press the "Next" button. On this step you can select the data for importing and define the import settings. |

The "Source" tab allows you to choose objects for importing. In the "Options" tab define import settings.
Source
The "Source" tab consists of three panels: "Source Package", "Target database" and "Errors":
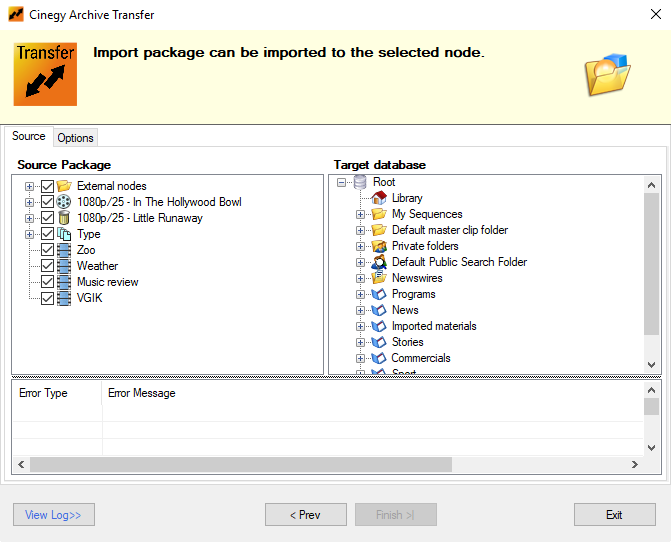
The "Source Package" panel lists all objects previously exported from the Cinegy Archive database. To navigate through the tree, use the  and
and  buttons. Check the nodes to be imported into the target Cinegy Archive database.
In the "Target database" section, right-click the locations you want to choose as parents for the main and external nodes:
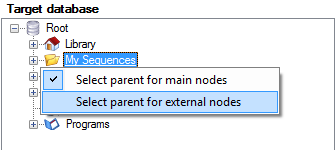
Use the "Select parent for main nodes" option to define the location for the selected node itself, and the "Select parent for external nodes" option to specify the location of the subsidiary nodes contained in it.
The names of selected locations become underlined.
In case of errors or warnings occurring during the import process, they are displayed in the "Errors" panel, which is given as a table consisting of "Error Type" and "Error Message" columns:

Options
The "Options" tab allows to configure the import settings:
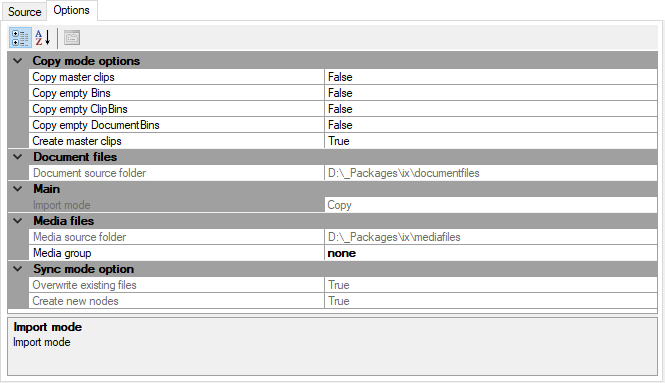
Copy Mode Options
-
Copy master clips – select "True" to copy master clips to the selected location.
NoteThis functionality will be available in future releases. -
Copy empty Bins – select "True" to copy empty Bins to the selected location.
-
Copy empty ClipBins – select "True" to copy empty ClipBins in selected location.
-
Copy empty DocumentBins – select "True" to copy empty DocumentBins in selected location.
-
Create master clips – select "True" to create new master clips.
Document Files
-
Document source folder – a read-only field, which displays the path to source folder, from which document files will be imported.
Main Options
-
Import mode – a read-only field, which displays the copy import mode.
Media Files
-
Media source folder – a read-only field, which displays the path to source folder, from which media files will be imported.
-
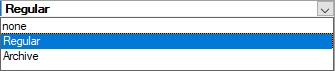
Media group – select the required media group from the drop-down list:
 Caution
In order to perform import operation it is required to select the configured media group; otherwise, the corresponding error message will be displayed in the Log panel.
Sync Mode Option
-
Overwrite existing files – a read-only field, which displays that the existing files in destination location will be replaced.
-
Create new nodes – a read-only field, which displays that new nodes in the destination database will be created.
Imported Data
|
Press the "Finish" button, the import process will start. |

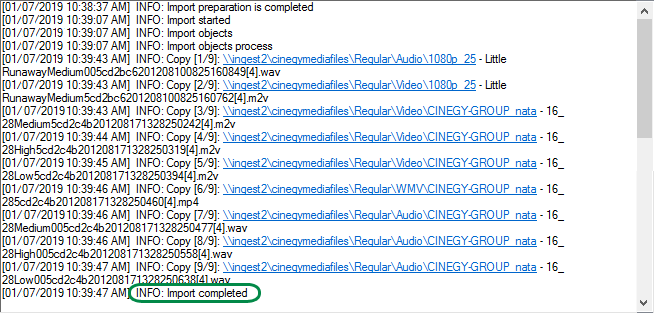
The import progress along with details is shown in the progress bar on top of the window:

Wait until the import process is completed. All the data is now transferred into the defined target Cinegy Archive database.
The information about the imported files and the status of the import process is also added to the log. Press the "View Log" button to view the log:
|
Having finished working with the utility press the "Exit" button to quit Cinegy Archive Transfer. You will be asked to confirm your decision with the following message: |