Cinegy PCS Configurator
Reading time ~2 minutes
By default, the Cinegy Process Coordination Service configurator is launched automatically immediately after installation is completed.
|
In order to manually launch the configurator, double-click the "Process Coordination Service Configurator" shortcut created on your Windows desktop after installation. |
|
Tip
|
Alternatively, navigate to Start > Cinegy > Process Coordination Service Configurator. |
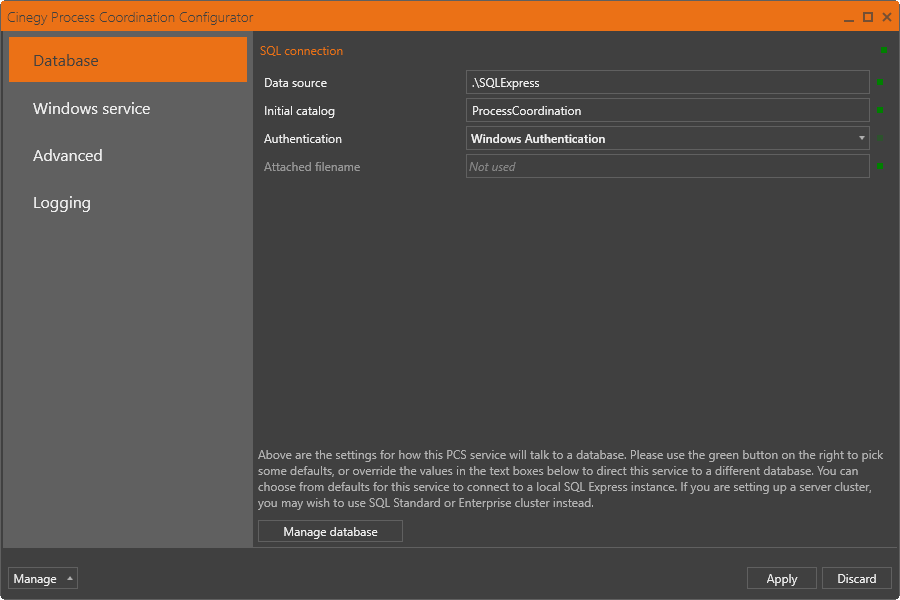
The database settings, as well as Windows service parameters, advanced settings and logging settings should be specified here.
Managing PCS Databases
|
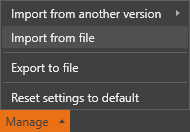
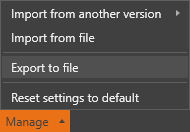
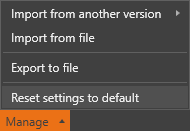
Press the "Manage" button, the following drop-down list with all available options appears: |

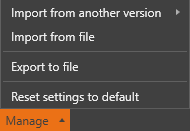
Import from another version
Use the "Import from another version" button to import all settings from previously installed and configured Cinegy PCS versions and apply settings to the current one:
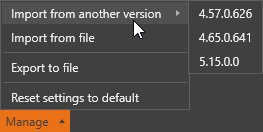
Select the required version from the list, the following confirmation window appears:
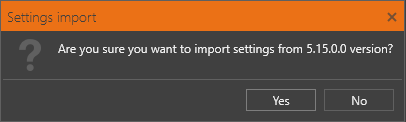
Press the "Yes" button to save and apply the imported settings to the current version.
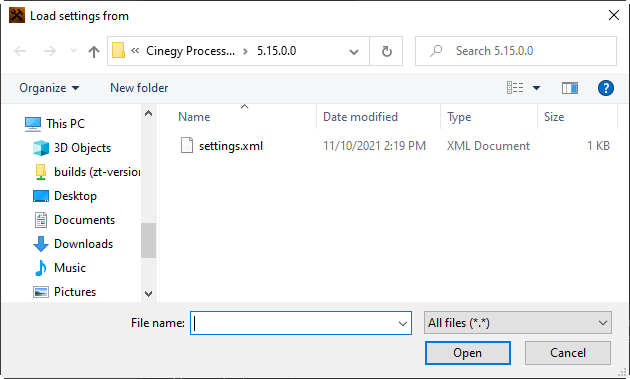
Import from file
Use the "Import from file" button to import previously exported or a settings file from previous versions in XML format:
Use the "Load settings from" window that appears to import a settings file from the selected folder:
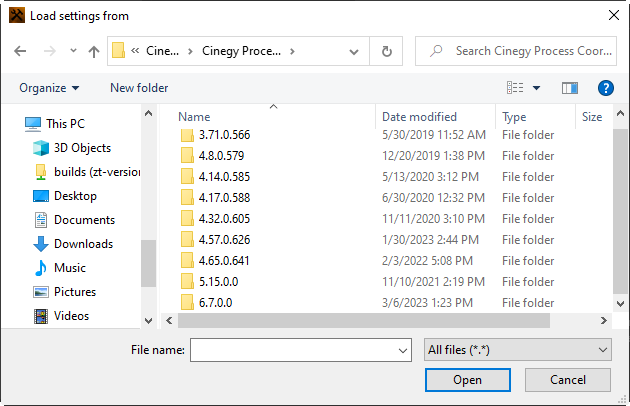
All log and settings files of previously installed Cinegy PCS versions are stored in separate folders named according to a corresponding version. Navigate to the C:\ProgramData\Cinegy\Cinegy Process Coordination Service and select the required version to import the specific settings file:
Export to file
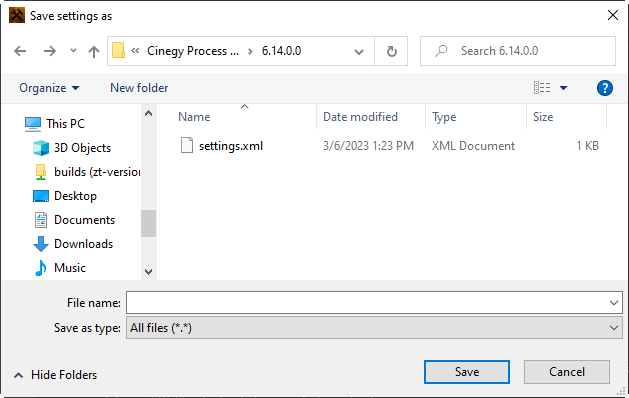
Use the "Export to file" button to export all current settings to the XML file:
In the "Save settings as" window that appears, define the file name and save the settings file to the selected folder:
Reset settings to default
Press the "Reset settings to default" button to return to default settings:
Having specified all the required settings, press the "Apply" button to save changes.