Using and Troubleshooting Cinegy License Manager
Reading time ~4 minutes
This article provides details on how to use Cinegy License Manager as well as troubleshooting failure scenarios.
Installation and Usage
The Cinegy License Manager application is a tool for managing serial numbers and the resultant software licenses used by a number of Cinegy applications when not using licensing dongles.
|
Note
|
Cinegy License Manager can be downloaded from the Cinegy Customer portal and the Cinegy Partner portal |
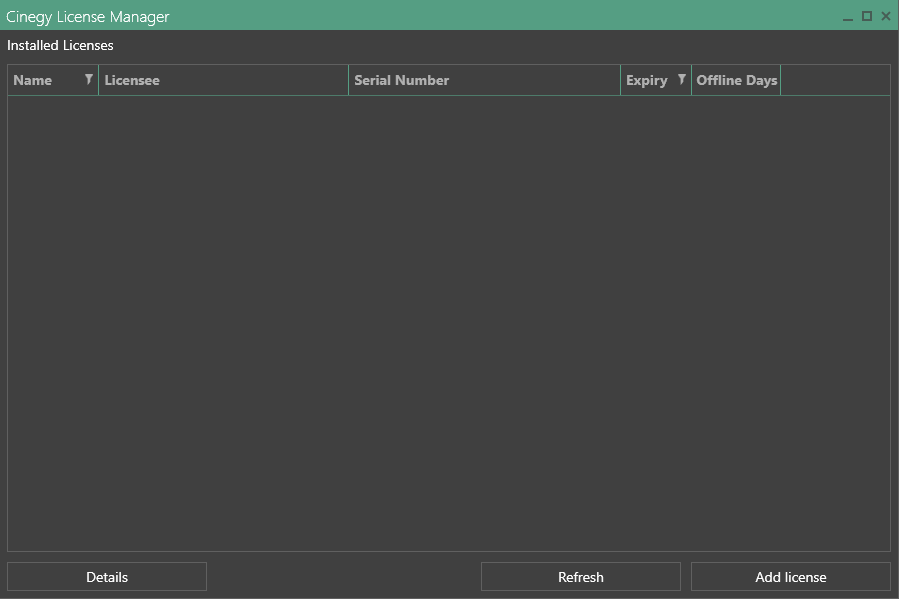
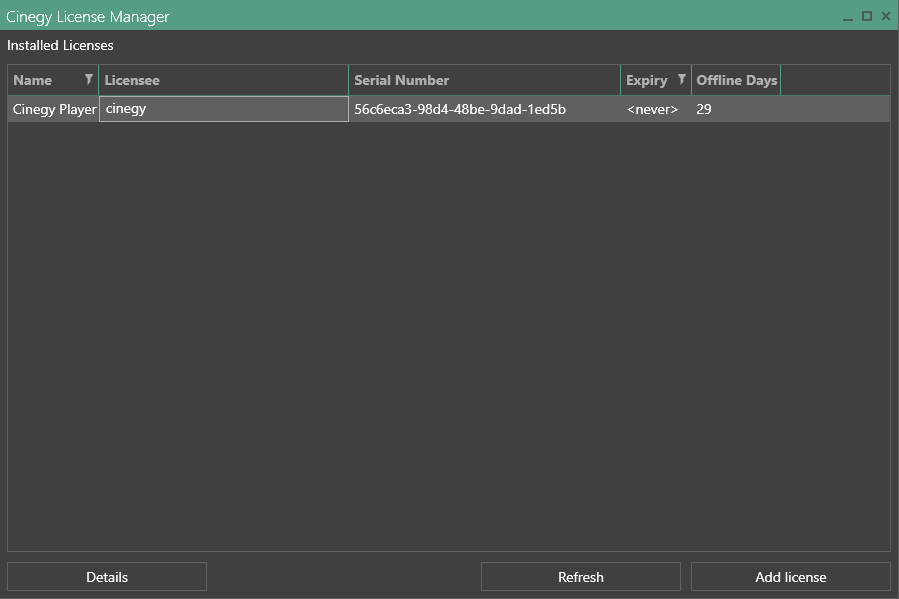
Once Cinegy License Manager is installed, run the application, and the following window will be shown:
|
Press the "Add license" button to register a software license on the current machine. The following dialog box appears: |

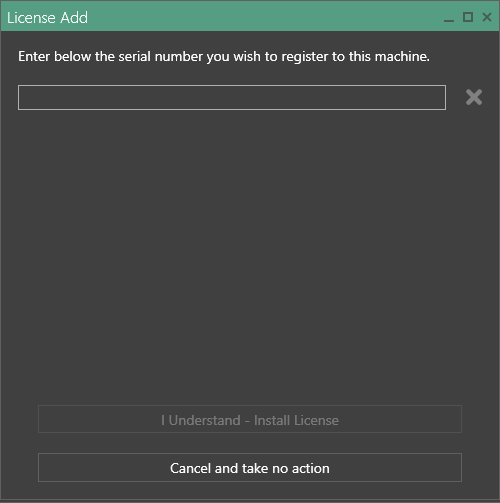
The next thing you will have to do is to copy and paste a serial number into the corresponding field. The serial number validity will be checked against our system. After the validation, a green tick will appear indicating a successful checkout, and the bottom section will be populated with the license details as shown here:
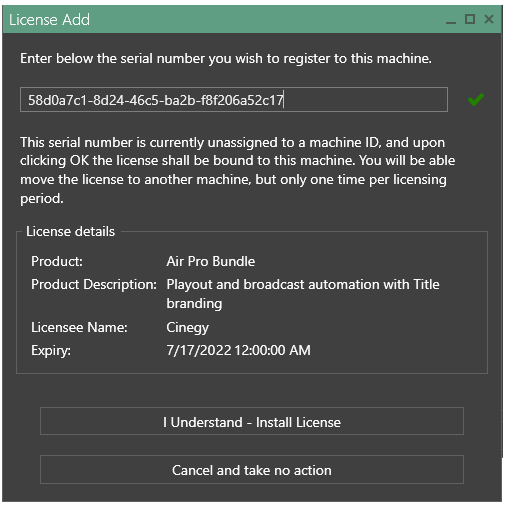
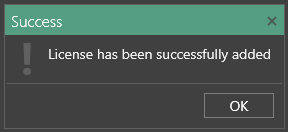
Click on "I Understand – Install License" and wait for the license file to be downloaded to the machine. The message below will notify that the license has been added successfully:
Once the license is installed, you can go back to the main page of the application to see all the active licenses added to your machine:
If you have any additional licenses to add, click on the "Add license" button again and repeat the process. Do this for each license you need to add to the machine.
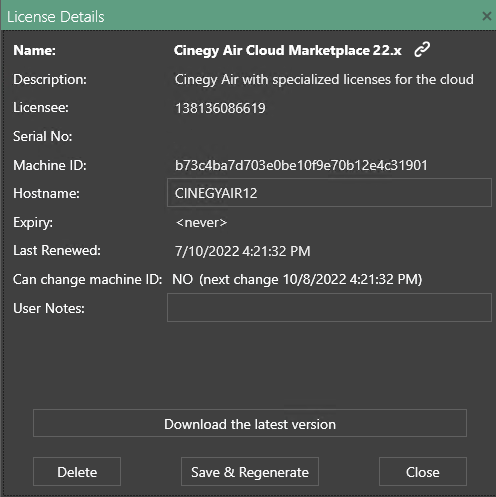
After installing the license(s), you can view additional details such as the expiration date, the date of the last renewal, and the possibility of changing the machine ID.
After finishing the installation of the license(s), please close Cinegy License Manager.
Troubleshooting
When using Cinegy License Manager, you might occasionally encounter some common issues. The specific cases are described below in detail.
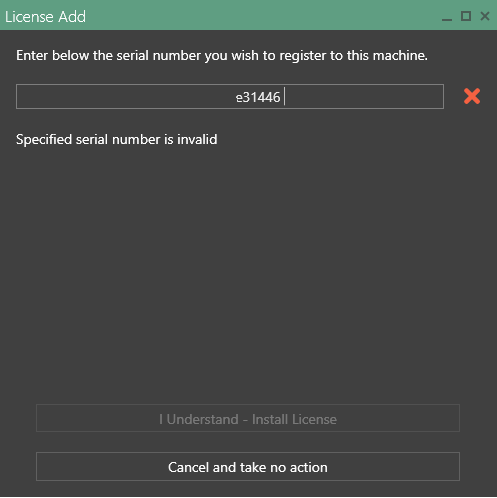
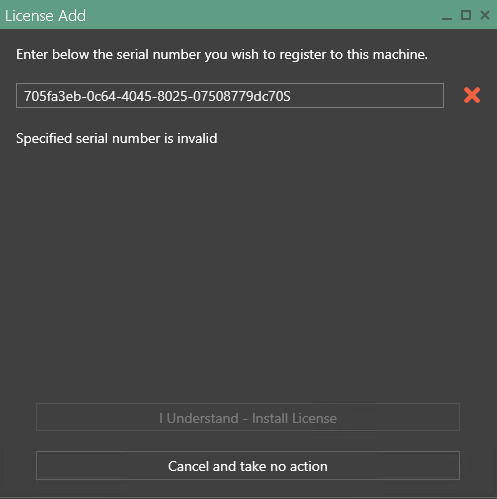
License Number has a Leading or Trailing Space
If the serial number is copied into the field with a leading or trailing space, it will be processed by the system as invalid. The image below shows the case where a trailing space is present:
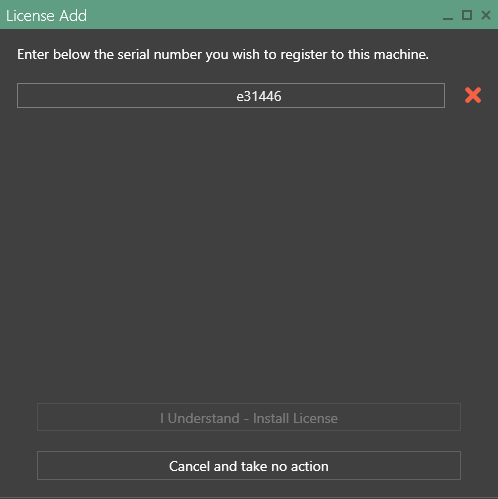
No Internet Connection
If the machine has no connection to the Internet, the software will not function, as it needs to be connected to the Cinegy back-end systems to download the license file onto the machine. This issue will manifest itself by a  next to the entered serial number as shown here:
License Invalid after Machine Name Change
When the license is installed on the machine, a unique ID is generated to link it. If any key aspect about the machine is changed - a CPU model, system board, or hostname - this will invalidate the license, and it will have to be regenerated to update the unique ID. It is possible to do once per license period of 90 days. If a more frequent change is required, contact the Cinegy support team.
To update the unique ID, launch the Cinegy License Manager and then select each installed license in turn and click on the "Details" button. Next, press the "Save & Regenerate" button.
Having performed the license regenerating procedure, the "License Details" dialogue box will be updated, showing when the machine ID can be changed next time, as shown here:
License Already Installed on Another Machine
If the license has been previously installed on another machine, License Manager will specify the unique ID of the machine and when it is possible for it to be moved. This can be indicated as shown below:
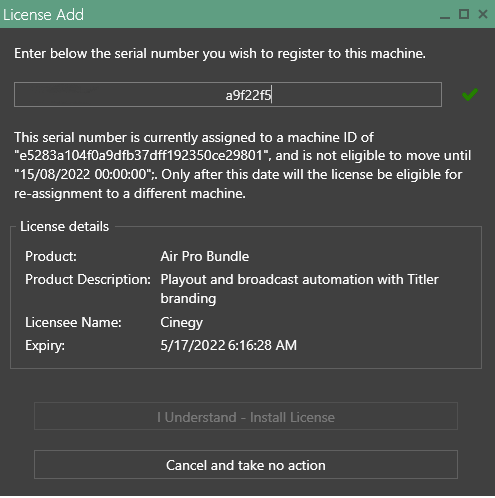
If a license needs to be moved before this date, contact the Cinegy support team.
Internet Root Certificates Out of Date or Not Present
This issue is not very common, but if the required root authority certificates are either outdated or missing from the machine, the software will not be able to connect to the licensing backend system. As a result, the same message as when the serial number contains a space will be displayed:
This can usually be resolved by running through any pending Windows Updates on the machine; if that still doesn’t work, you will need to turn off Automatic Root Certificates Update via Local Group Policy Editor.