Export Operation Mode
Reading time ~4 minutes
Establishing Connection
|
In order to perform export operations it is required to specify the necessary information to connect to the SQL server and Cinegy Archive database. |
Source Connection

Type in the SQL server name or IP address and database name in the corresponding fields. Choose the connection type from the drop-down list:

Enter the domain name, user name and password.
|
Note
|
The "Domain" parameter is not topical for SQL connection type. |
To change the plug-in settings, press Advanced Settings; the plug-in settings dialog will be launched.
|
Press the "Connect" button to start connection to the source. |
The progress bar on top of the window shows the progress of connection process:

It is not possible to change connection settings during the process of connection and while being connected to one source, all the options are inactive.
|
Press the "Cancel" button if you need to stop the connection process. |
In case you are trying to connect to a remote server with an incorrect address or using the wrong login or password, an error message appears:
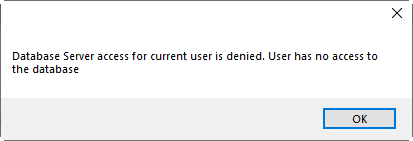
|
To stop connection to the server, press the "Disconnect" button, which replaces the "Connect" button when connection is successful. |
Target Package
The system automatically generates a target package for the exported data, which is placed in the folder specified in the "Path" field by default:

|
Press the "Browse" button to change the location of the target package. The standard dialog for folder selection will be launched: |
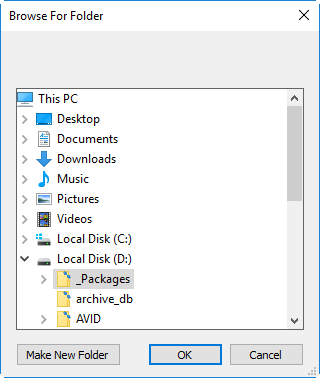
Select the desired location from the list or create the new one by pressing the "Make New Folder" button. Press "OK" to apply changes.
Define the name of the target package and password if necessary in the corresponding fields. The name of the archive file (*.cxp) will be the same as the name of the folder you are connected to.
|
Press the "Connect" button to establish connection. |
Exporting Data
|
Having connected to both source and target packages you are able to proceed with exporting files. |
|
Pressing the "Next" button launches the dialog where you can select the data for exporting. |
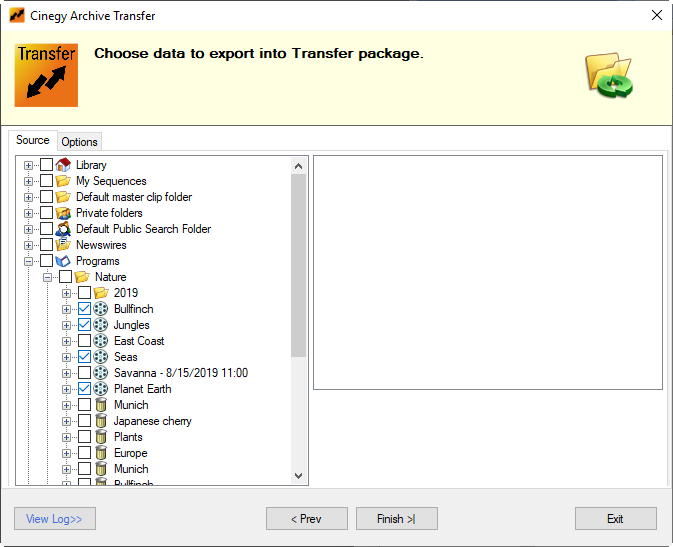
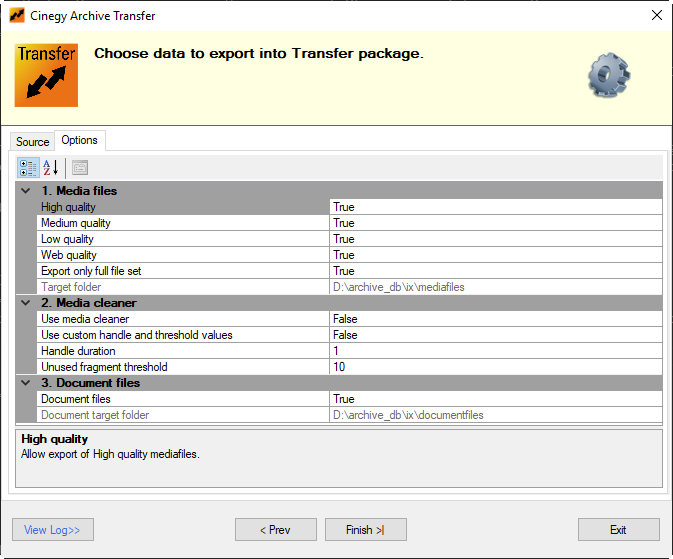
The "Source" tab allows you to choose objects for exporting. In the "Options" tab define export settings.
Source
In the "Source" tab choose the locations from the explorer tree by pressing the  and
and  buttons and select the nodes you need to export:
Options
|
The "Options" tab contains three categories of options: |
1. Media files; |
|
2. Media Cleaner; |
|
3. Document files. |
|
Use these buttons to switch between categorized and alphabetical view of the exporting options. |
Media Files
-
High quality – select "True" to allow export of high quality media files.
-
Medium quality – select "True" to allow export of medium quality media files.
-
Low quality – select "True" to allow export of low quality media files.
-
Web quality – select "True" to allow export of web quality media files.
-
Export only full file set – select "True" to export media files only in case when a master clip contains files of the previously selected qualities only.
NoteIf one or several of the selected media file qualities do not exist on the file server, the export operation will not be performed. Set the option to "False" to export selected media files even if some file qualities are missing. -
Target folder – a read-only field displaying the path to the media files target folder.
Media Cleaner
-
Use media cleaner – select "True" to use media cleaner to export only the needed parts of media files.
-
Use custom handle and threshold values – select "True" to use custom handle and threshold values for cleaning process instead of default values taken from database global parameters.
ImportantRefer to the Global Settings article in the Cinegy Archive Manager Manual for more information on global database parameters setup. -
Handle duration – enter duration of handles inserted before and after used footage fragments to avoid compression artifacts on the cut edges in seconds (min. value is 1 second).
-
Unused fragment threshold – threshold for an unused fragment to be removed during the cleaning process, i.e. If the value of an unused fragment is less than the value defined in this field, there will be no cuts in the new footage at this point, and the unused fragment will be included in the cleaned footage.
Document Files
-
Document files – select "True" to allow export of document files.
-
Document target folder – a read-only field, which displays the path to the document target folder.
Cinegy Transfer Package Creation
|
Press the "Finish" button to start exporting. |
The progress of export process with details is shown in the progress bar on top of the window:

|
When export process is finished, the transfer package with all the contents is shown in the next dialog. You can browse the explorer tree using the |
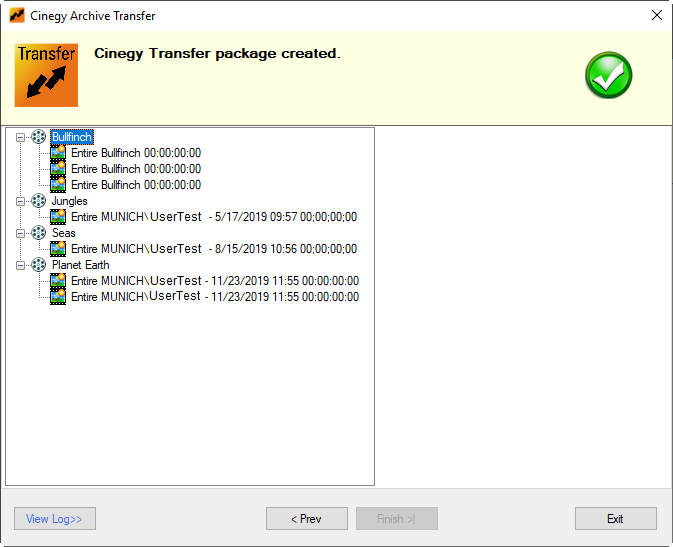
The package you receive contains the main *.cxp file and automatically generates separate folders for media files, logs, etc.


