Configuration
Reading time ~3 minutes
|
Note
|
Installation of this service is optional and in many cases the Cinegy Route Directory Service will function seamlessly without installation of the relay service. |
To configure the Cinegy Route Directory Relay Service, go to Start > Cinegy > Cinegy Route Directory Relay Cfg; the following configurator will be launched:
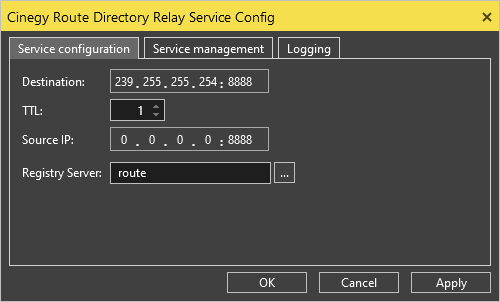
It contains the following tabs: Service configuration, Service management and Logging.
Service Configuration
In the "Service configuration" tab specify the following parameters:
-
Destination – define the network group to broadcast information about configuration changes.
NoteThis parameter should not normally be adjusted, since all Cinegy clients will look for configuration information at this default pre-set address, and changing this value will prevent clients from registering any messages. -
TTL – define time-to-live for multicast transmission of relay packets, used to control the number of router hops a packet is permitted to make before being dropped.
-
Source IP – define the local IP address and the port to be used for broadcasting the configuration changes. This value should correspond to the IP address of the server - local adapter for multicast configuration data to be transmitted on.
-
Registry Server – define the network name of the machine running central Cinegy Route Directory Service that you want to relay.
NoteThe "Registry Server" name must match the server used when connecting to Cinegy tools and defining virtual destination addresses. If a client is subscribed to a virtual destination of http://route:9996/getvirtual?group=Bristol&name=CLIENT1, but the parameter on the Relay server is set to an IP address or a fully-qualified domain name, subscribed clients will not consider the details of changes to this virtual destination in the multicast data stream as a match, and will continue polling the central service.
Service Management
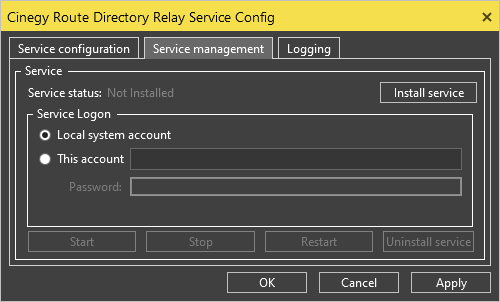
To run the Cinegy Route Directory Relay Service as a Windows service, go to the "Service management" tab of the configurator:
|
To install it as a Windows service, press the "Install service" button. |

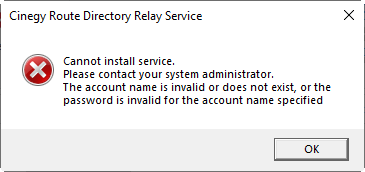
If the entered data on a different account is invalid or this account does not exist, a warning message appears:
|
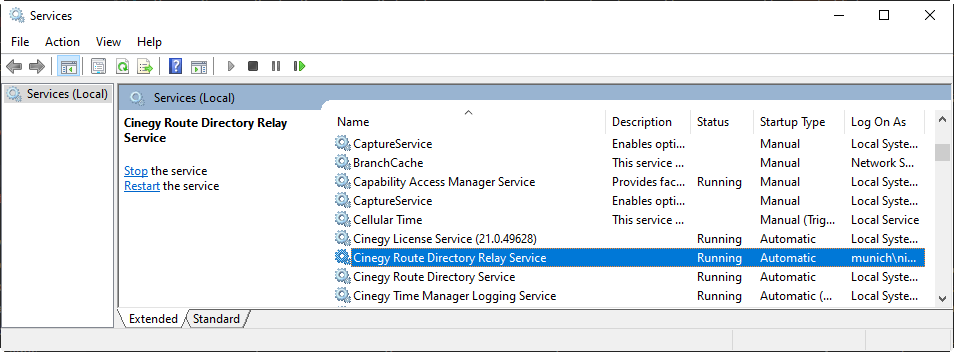
To start the service, press the "Start" button. The Cinegy Route Directory Relay Service will be launched as a Windows service: |

|
You can stop the Cinegy Route Directory Relay Service by pressing the "Stop" button on the "Service management" tab or by pressing Stop in the "Services" window. |
|
To restart the Cinegy Route Directory Relay Service, use the "Restart" button on the "Service management" tab or press Restart in the "Services" window. |
|
To uninstall the Cinegy Route Directory Relay Service, use the "Uninstall service" button. |


The service statuses are indicated with the following colors:
|
The stopped service status is shown in red. |
|
The running service status is shown in green. |
|
When the service is being started/stopped, its status is shown in yellow. |
|
Gray is used to indicate that the service is not installed. |


Logging
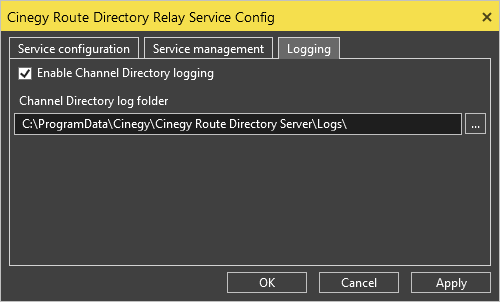
To enable tracking of lock/unlock events with short details in the logs, select the corresponding checkbox and specify the location of the folder where the user log files will be stored. To do this, use the  button or enter the path via the keyboard.
Having completed configuring the Cinegy Route Directory Relay Service, it should be restarted to apply the changes.
Use of network switch tools should show a multicast stream coming from the service, and it is recommended that client traffic is analyzed via network monitoring tools (e.g. WireShark) to verify proper operation.