Installation
Reading time ~3 minutes
Cinegy Multiviewer has a unified installer that allows installing all components you need.
|
Caution
|
It is required to install critical Windows updates before the application installation. |
|
Caution
|
Installation of .NET Framework 4.6.1 or later is required prior to Cinegy Multiviewer installation. In case online installation takes place, the web installer will update the system components, if necessary. The offline installer can be used if the web installer is unavailable due to lack of Internet connection. In this case, make sure the .NET Framework 4.5 is activated as a Windows feature, then download the corresponding offline installer package directly from Microsoft website. After the .NET Framework 4.6.1 is installed, the OS reboot is required; otherwise, installation may fail. |
In order to start Cinegy Multiviewer installation, run the Cinegy.Multiviewer.Setup.exe file from your Multiviewer installation package. The setup wizard will be launched:
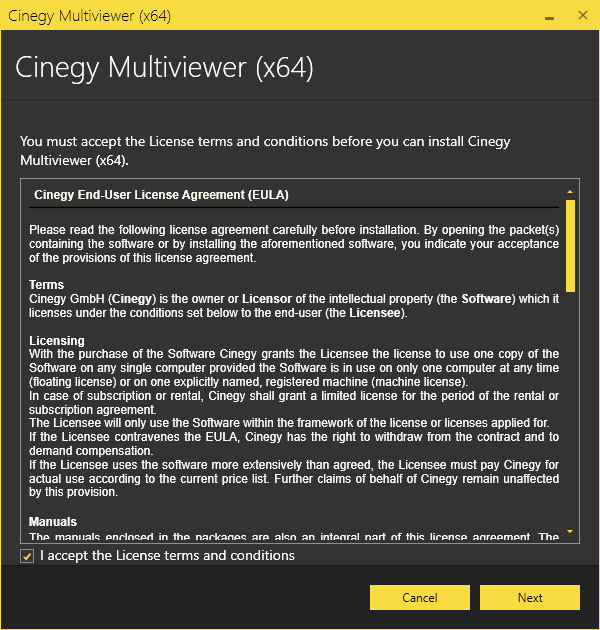
Read the License agreement and check the box to accept its terms.
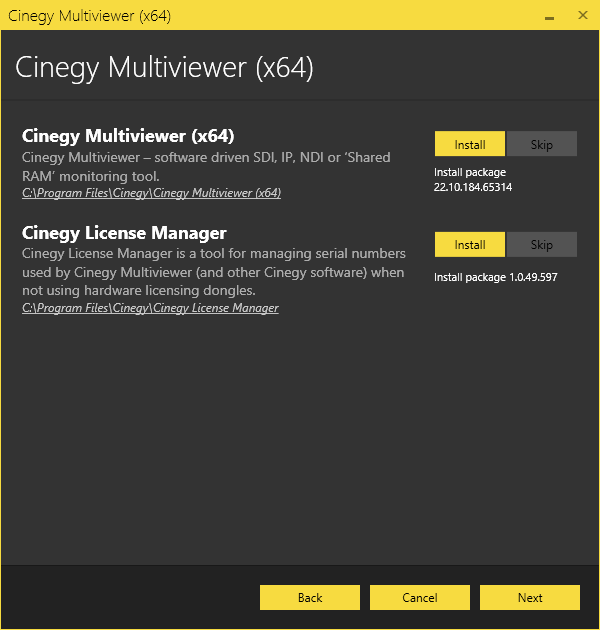
All the package components available for selected installation mode are listed in the following dialog:
|
Installation of the Cinegy Multiviewer component(s) is indicated by the "Install" option selected and highlighted with yellow. |
|
Select the "Skip" option next to the relevant component to disable its installation. |


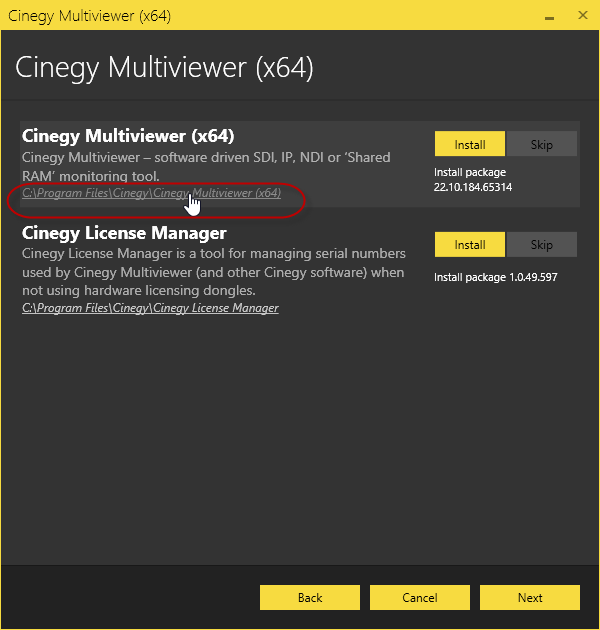
The default installation directory, which is indicated underneath the package component name, can be changed by clicking the path:
In the "Browse for folder" dialog that appears, select the required folder for your installation.
|
You can also create a new folder by pressing the "Make New Folder" button and entering a new folder name. Once the folder is selected / created, press "OK". |
Press "Next" to proceed with installation.
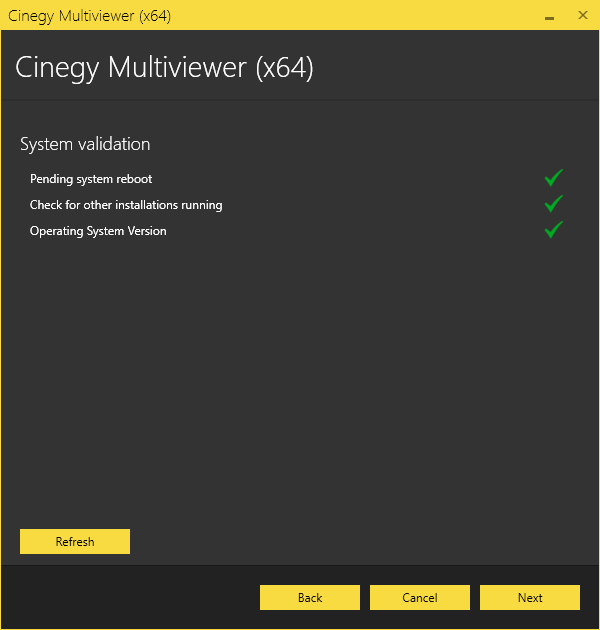
Check whether your system is ready for installation in the following dialog:
|
The green tick indicates that the system resources are ready and no other processes may prevent installation. Clicking the validation entry field displays its detailed information. |

|
While the system performs verification of any parameter, the checking progress is displayed. |

|
If any validation reveals that installation cannot be started, the respective field becomes highlighted and the red cross is displayed with detailed information on the failure reason below. |

|
Note
|
The explanation differs depending on the reason why installation cannot proceed. |
|
Press the "Refresh" button for the system to recheck installation availability. Once the reason for prevention is excluded, you can proceed with installation. |

Press "Back" to change installation settings or "Cancel" to abort and exit the setup wizard.
|
Press the "Next" button to begin installation. |

The progress bar indicates the progress of the installation process.
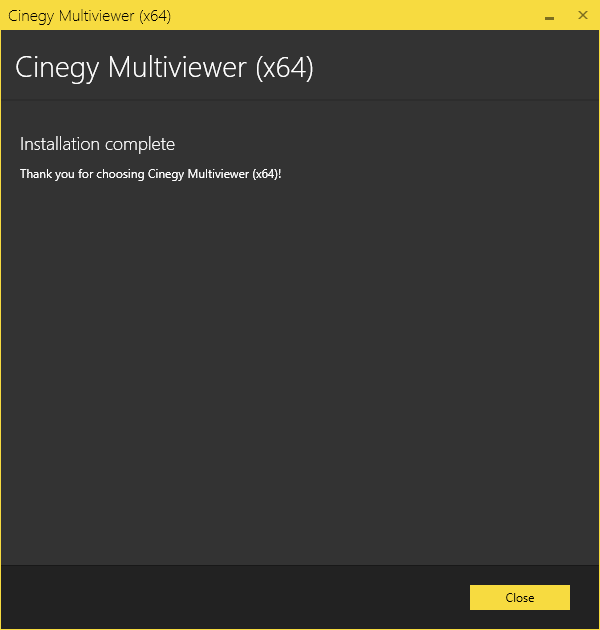
The following dialog informs that installation is completed successfully:
|
Press "Close" to exit the wizard. |

The shortcuts of all the installed Cinegy Multiviewer components will appear on your Windows desktop.
|
Important
|
Refer to the Configurator article to learn about the Cinegy Multiviewer configuration. |