Step 3: Working in Cinegy Multiviewer Layout Designer
Reading time ~3 minutes
The Cinegy Multiviewer Layout Designer tool is used to arrange the display of the Cinegy Multiviewer window and edit its appearance according to your needs. Cinegy Multiviewer Layout Designer allows the addition of multiple fully customizable layouts to the template that can be configured separately. It has a variety of useful tools arranged in separate groups and is easy to use and manage. This tool can be launched from the Cinegy Multiviewer installation folder or Start > Cinegy > Cinegy MV Layout Designer:
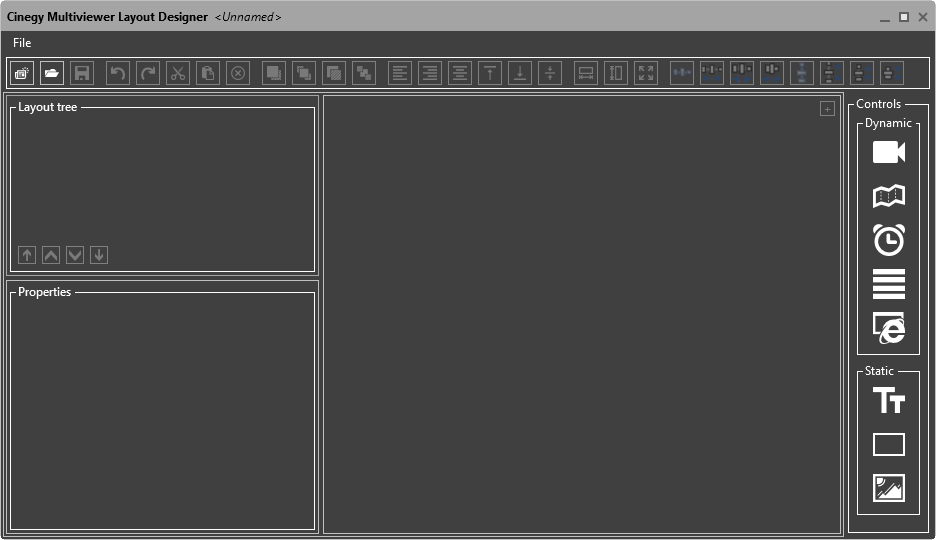
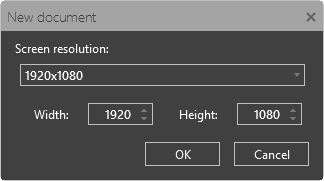
To create a new layout, press the "New" button on the toolbar or go to File > New. In the following dialog, choose the desired screen resolution from the drop-down list or define the width and height manually via the keyboard and press "OK":
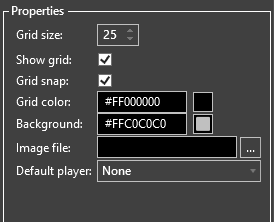
On the properties panel, define the grid settings, choose the background color or an image, and the default player to be used as active on Multiviewer start:
Now you can start adding objects to the canvas. Let’s consider the example of a simple layout with one player, a clock object and a logo.
Choose the Player object from the dynamic controls panel and drag-and-drop it to the desired position on the canvas.
To enlarge it, move the mouse pointer to any corner or side of the player and extend to the desired size:
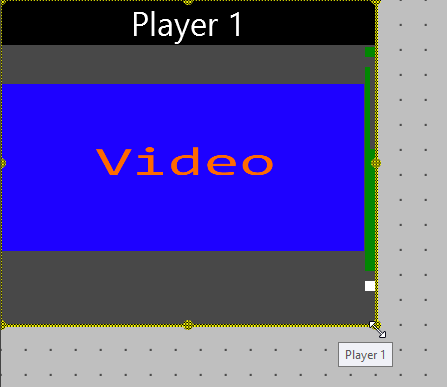
On the properties panel, enter the player title and the font properties for its display. Choose the source player mode and configure further settings depending on it.
Add an Analog Clock, resize, if necessary, and drag to the desired position:
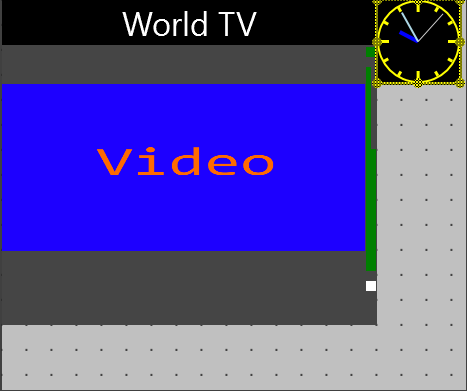
Define the time zone. It is also possible to choose the colors and enable the animated display of seconds by selecting the "Animated" checkbox.
Having added an Image object, press the "…" button to select the image file and choose the stretch type. Add a Text Label, enter text in the "Text" field on the Properties panel or directly inside the object frame, define the font and colors settings.
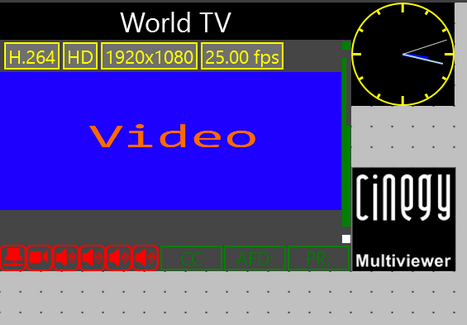
You can add as many objects as you need to your custom layout.
When you have finished composing objects on the canvas, the layout should be saved by pressing the "Save" button on the toolbar. Go to "File" > "Save as" if you need to write to a new file rather than the existing file. The file will be saved in the XML format.
Designer Layout Settings
To use the layout template you have created, open the Cinegy Multiviewer Configurator and choose the Designer layout type from the "Layout type" drop-down list in the "Input Settings" tab:
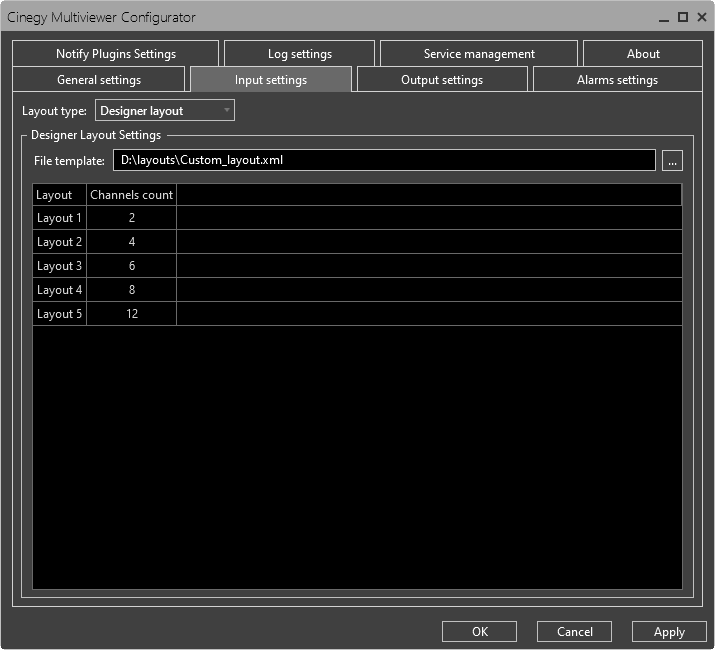
Press the "…" button and browse for the saved layout template file. The template will be loaded, and the summary table will be filled with the layouts configured in this template and the number of channels they contain.
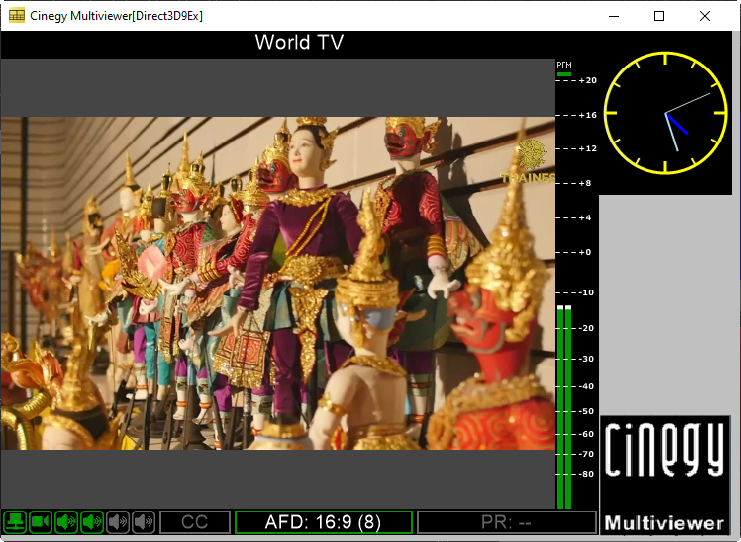
Press "OK" to apply the settings and close the Cinegy Multiviewer Configurator. Then launch Cinegy Multiviewer; your custom layout will be applied:
|
Important
|
You have reached the end of the Quick Start Guide. If you would like to see more details about any of the elements, you can now carry on to the full User Manual. |