Icons, Log Templates, Colors, Error Messages
Reading time ~3 minutes
This feature manages the icons view for the nodes in the Cinegy Archive explorer tree and the logging templates for logging activities. It can be launched via the corresponding "Icons, log templates, colors, messages" command available from the "Metadata fields" submenu of the database context menu:
Icons in the Explorer Tree
Load from File
Press the "Load from file" button and select the icon you wish to change.
Cinegy Desktop uses uncompressed 32-bit BMP files with alpha channel in sizes 64x64 (large icon) and 16x16 (small icon).
Save to File
Press the "Save to file" button to save the selected icon as BMP.
Delete
Press the "Delete" button to remove an icon.
Assigning an Icon to a Node Type
After importing an icon, you should assign it to a node type. Every node has two icons – a large one 64x64 pixels and a small one 16x16 pixels. You can switch between "small" and "large" and then press the "Assign small/large icon" button. If you want to delete an icon, the "Remove small/large icon" should be used.
Log Templates
Cinegy software offers a smart way to add metadata to Cinegy Archive – logging templates based on HTML. To use them in Cinegy Desktop, you register the logging template:
|
Important
|
Refer to the Logging Template article for more details about Cinegy logging templates. |
Adding a Template
-
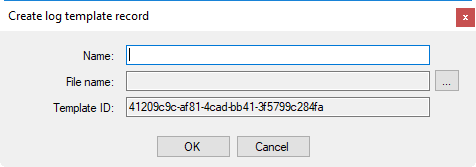
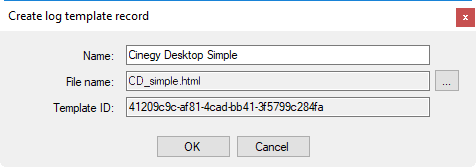
On the "Log templates" tab press the "Add" button.
-
Enter a unique name/description in the "Name" field.
-
Press the "Browse" button to select the previously prepared HTML file.
-
Press "OK" to add the HTML file to the log templates list.
Edit a Template
Press the "Edit" button if you want to change the name of the HTML file.
Remove a Template
To remove a template, select the entry in the list and press "Remove". This will only remove the entry, not the file itself.
Message List
On the "Message list" tab, the list of error messages is displayed.
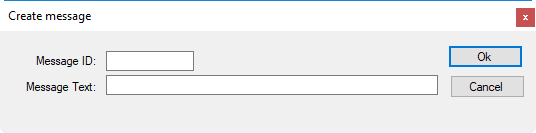
Press the "Add" button to create a new error message. In the following window that appears specify the message ID and massage text that will be displayed in the event of error:
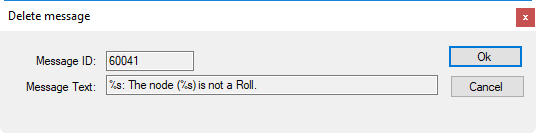
In order to delete the message from the list, select it and press the "Remove" button correspondingly. In the appeared window confirm your decision by pressing Ok:
It is recommended to leave the messages "as is" to avoid invalid or uninformative error messages texts. But if you really want to change a message text, select the required message field and press the "Edit" button.
Colors
The "Colors" help to distinguish between the different captured/imported materials:
| Color ID | Description |
|---|---|
0 - 99 |
Clip colors |
100 |
Voice-over |
101 |
Graphics |
102 |
Default video |
103 |
Default audio |
Example – Voice-over
Example – Roll
Import from Text File
Press the "Import" button to import a new color list from a TXT file. The new list will replace the current color list, so make sure you have defined all required "Color IDs" in your list.
-
Create a TXT file and insert your new colors.
Note"Color ID" is separated from "Color" with a tab. -
A dialog will appear to preview the imported color list.
-
Press the "Save to database" button to import the new colors.
Adding a New Color
If you want to add a new color, press the "Add" button:
-
Enter the new color ID into the "Index" field.
-
Press the "Color…" button and select the color. This will set the color value in the "Value" field.
-
Press "OK" to add a new color.
Editing a Color
To edit a color, select the desired color ID and press the "Edit" button.
Removing a Color
Press the "Remove" button to delete a color.