Step 2: Exporting and Importing Data
Reading time ~3 minutes
Choose the operation you need to perform – exporting data from source database to the target folder on your machine or importing data from the source location of your computer to the defined database.

Specify the necessary parameters for export or import mode, as described below and press Advanced Settings if you need to change plug-in connection settings.
|
Important
|
For detailed description of all Cinegy Archive Transfer settings, refer to the Cinegy Archive Transfer Manual. |
Export Operation Mode
In order to perform export operations, define the required parameters to ensure proper connection to the SQL server and Cinegy Archive database:
-
Enter the SQL Server instance name or IP address.
-
Enter the database name.
-
Choose the connection type from the drop-down list.
-
Enter the domain name, user name and password when the "Remote trusted" connection is selected or only user name and password for the "SQL" connection type.
The system automatically generates a target package for the exported data, which is given in the "Path" field by default. Press the "…" button to change the destination folder.
To start connecting to the source, press the "Connect" button within the "Source Connection" configuration group. In the "Target Package" configuration group, press "Connect" to establish connection to the target folder. If connection to both source and target package is successful, you are able to proceed with files export.
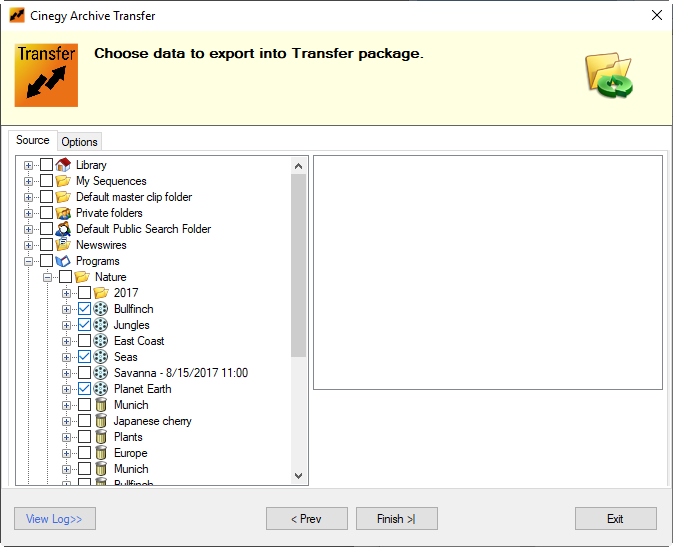
Pressing the "Next" button launches the dialog where you can select objects for exporting and define export settings on the corresponding tabs:

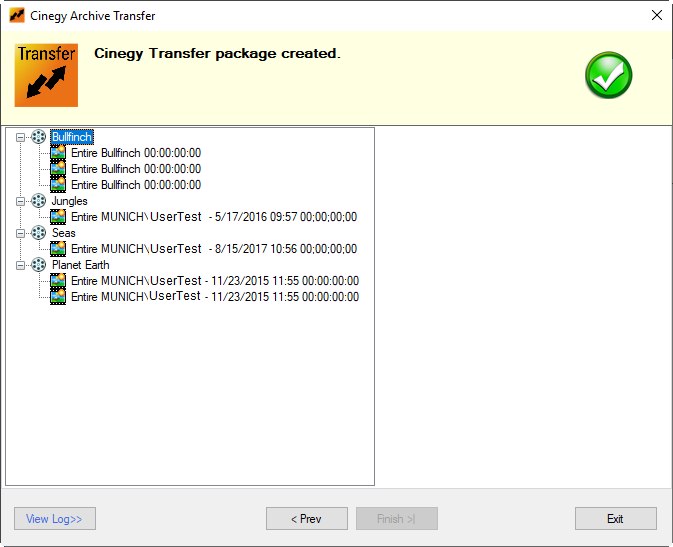
Press the "Finish" button to start exporting. The export progress along with details is shown on the progress bar at the top of the window. When export process is finished, the transfer package with all the contents is displayed in the next dialog. Each location and node can be expanded or collapsed by pressing the  and
and  buttons correspondingly:

The package you receive contains the main *.cxp file and automatically generates separate folders for media files, logs, etc.
Import Operation Mode
In order to perform import operations, define the required parameters to ensure proper connection to the SQL server and Cinegy Archive database the same way as for the export operation mode.
Define the location of the source package to be imported, select the *.cxp file, and enter the password if necessary.
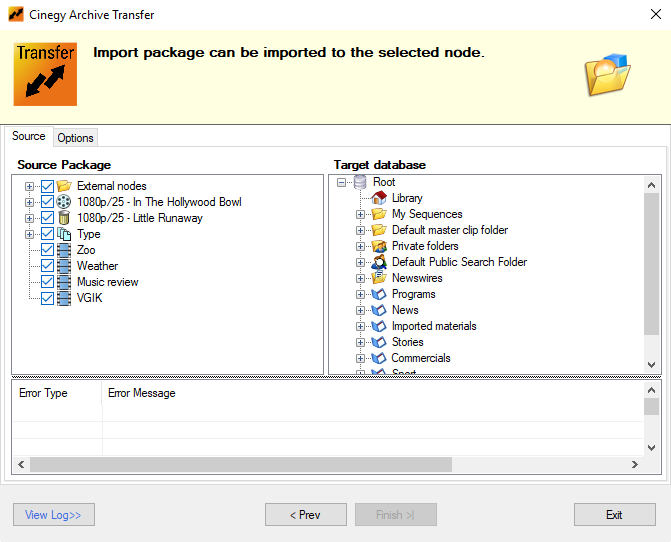
Having connected to both target and source package, you are able to proceed with importing files. Pressing the "Next" button launches the dialog where you can select data for importing and define the import settings on the corresponding tabs:

On the "Source Package" panel choose the locations from the list by pressing the  and
and  buttons and select the nodes to be imported into the target Cinegy Archive database. On the "Target database" panel right-click the locations you want to choose as parents for the main and external nodes via the corresponding context menu commands.
If any errors or warnings occur during the import process, they are displayed in a table at the bottom of the window comprising "Error Type" and "Error Message" columns.
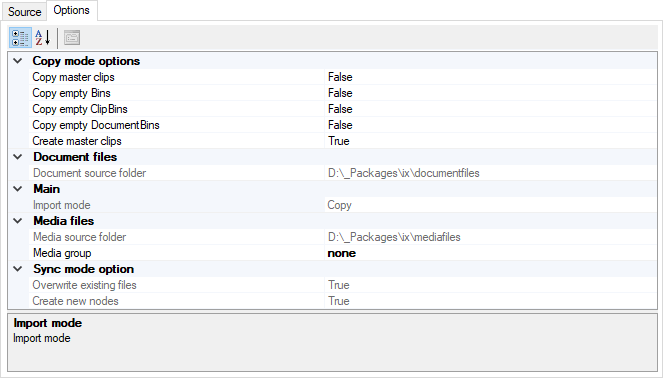
On the "Options" tab define the required media group:

|
Note
|
Please note, if media group is not specified, the imported media will be offline. |
Press the "Finish" button to start importing. The import progress along with details is shown on the progress bar at the top of the window. You will be informed about successful import completion with the "Import completed" message added to the log file.