Step 3: Preparing a Capture Session
Reading time ~4 minutes
Cinegy Capture Control is a Windows-based application designed as a complex solution for capturing purposes. Its conception covers various configuration models, such as Cinegy Archive integration mode and standalone workflow without involving the Cinegy MAM architecture.
|
Note
|
This quick guide describes work in standalone mode. |
|
Important
|
Please refer to the Archive Templates paragraph in the Cinegy Capture Control Manual for details on work in archive mode. |
Connecting to Cinegy Capture Services
|
To start Cinegy Capture Control, go to Start > Cinegy > Cinegy Capture Control or use the corresponding icon on the desktop. The client application will be launched. |
The Servers panel provides access to the controls for adding and removing the server(s) to be used for capturing, as well as managing Cinegy Capture engine(s) connected to that server(s).
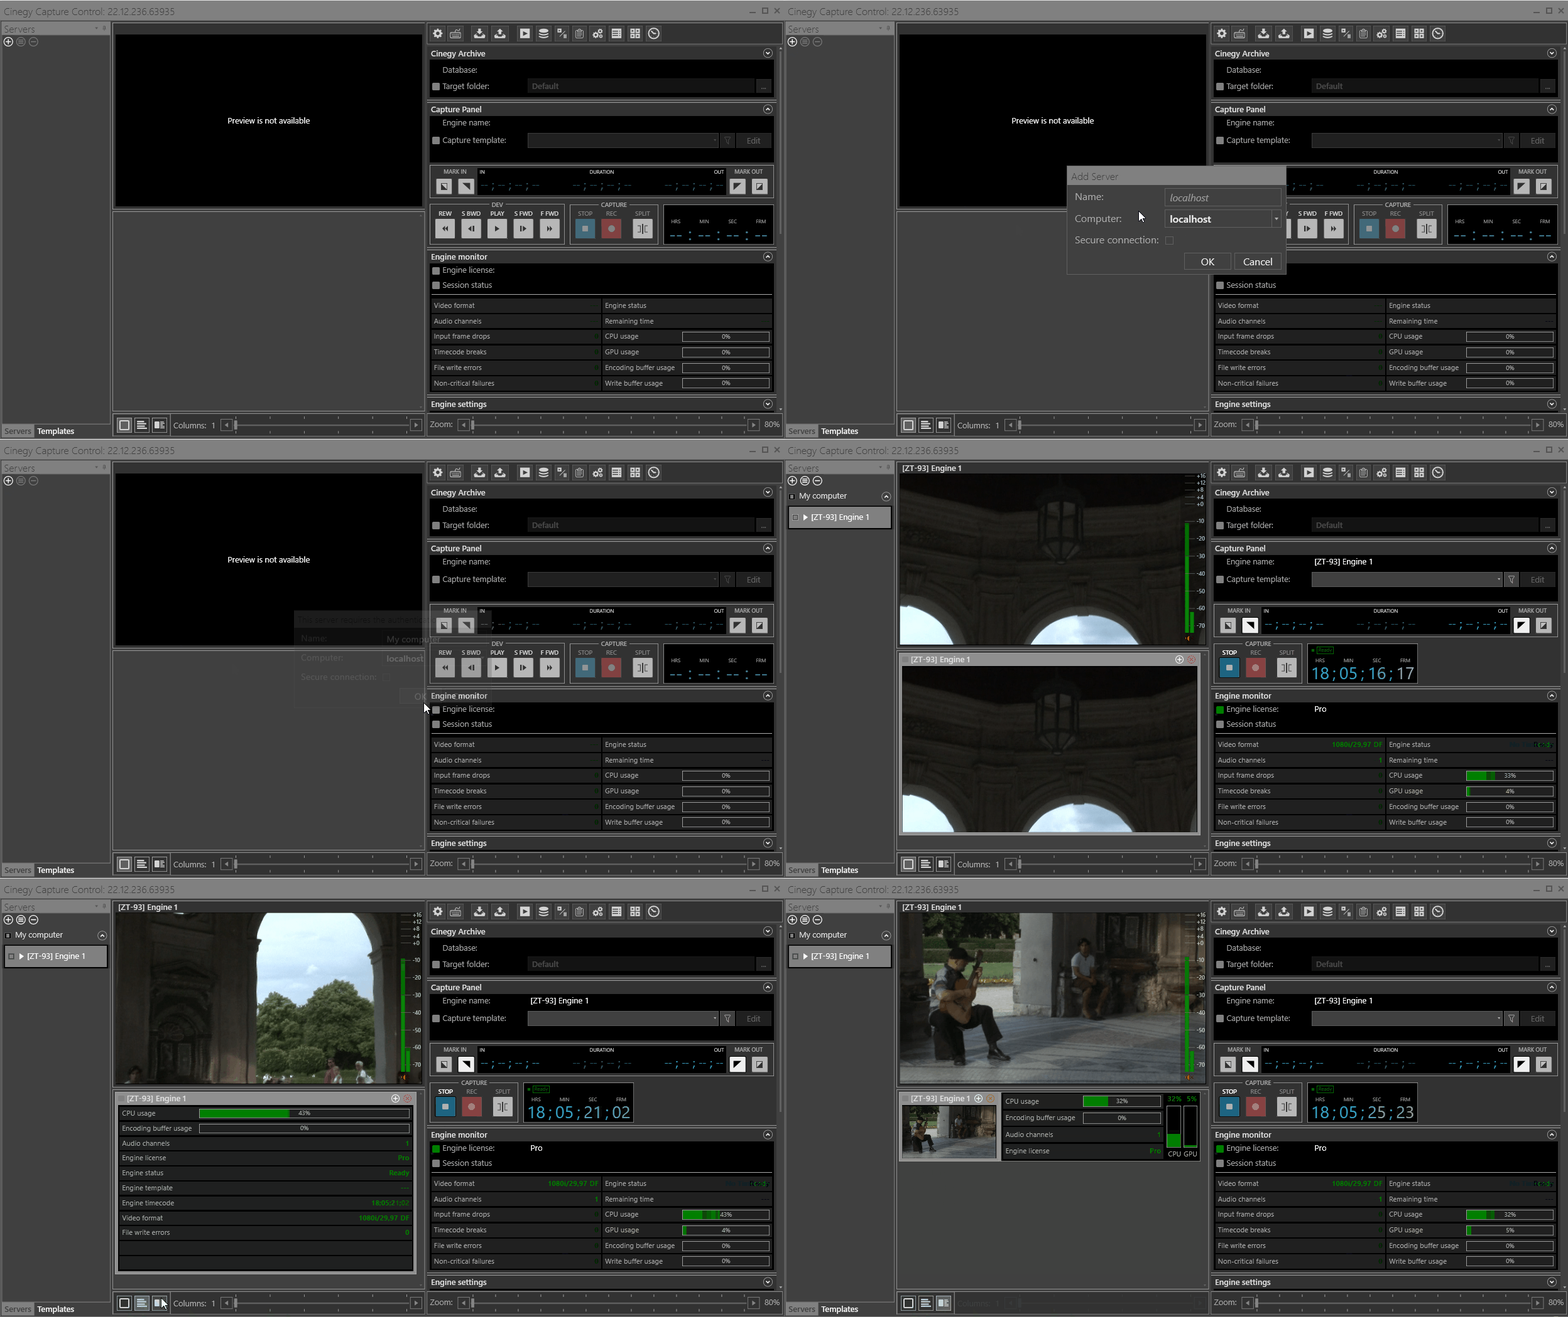
To add a new Cinegy Capture server, do the following:
-
Press the
 button on the Servers panel to add a machine where the Cinegy Capture engine was previously created.
 -
In the "Name" field, specify the name for the server being currently added. Use the "Computer" drop-down list to select the required machine with the Cinegy Capture engine(s) installed. In this quick guide we have previously created one Cinegy Capture engine on the local computer, so we recommend to leave "localhost" in the "Computer" field; press "OK".
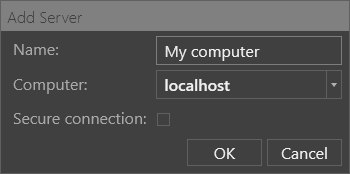
-
Select the Cinegy Capture engine connected to the added server to see its preview.
-
Optionally, you can adjust the engines monitoring area according to your needs. Cinegy Capture engines can be displayed in three different modes: preview mode, detailed dashboard mode, or compact dashboard mode, which can be switched using the corresponding buttons on the toolbar in the engine preview area:

Creating a Template
Cinegy Capture engine template is customizable for each Cinegy Capture engine service defining media encoding options such as video/audio formats, encoders, wrappers, and outputs for the captured media.
Templates can be of archive or standalone type. They are created and customized on the Templates panel.
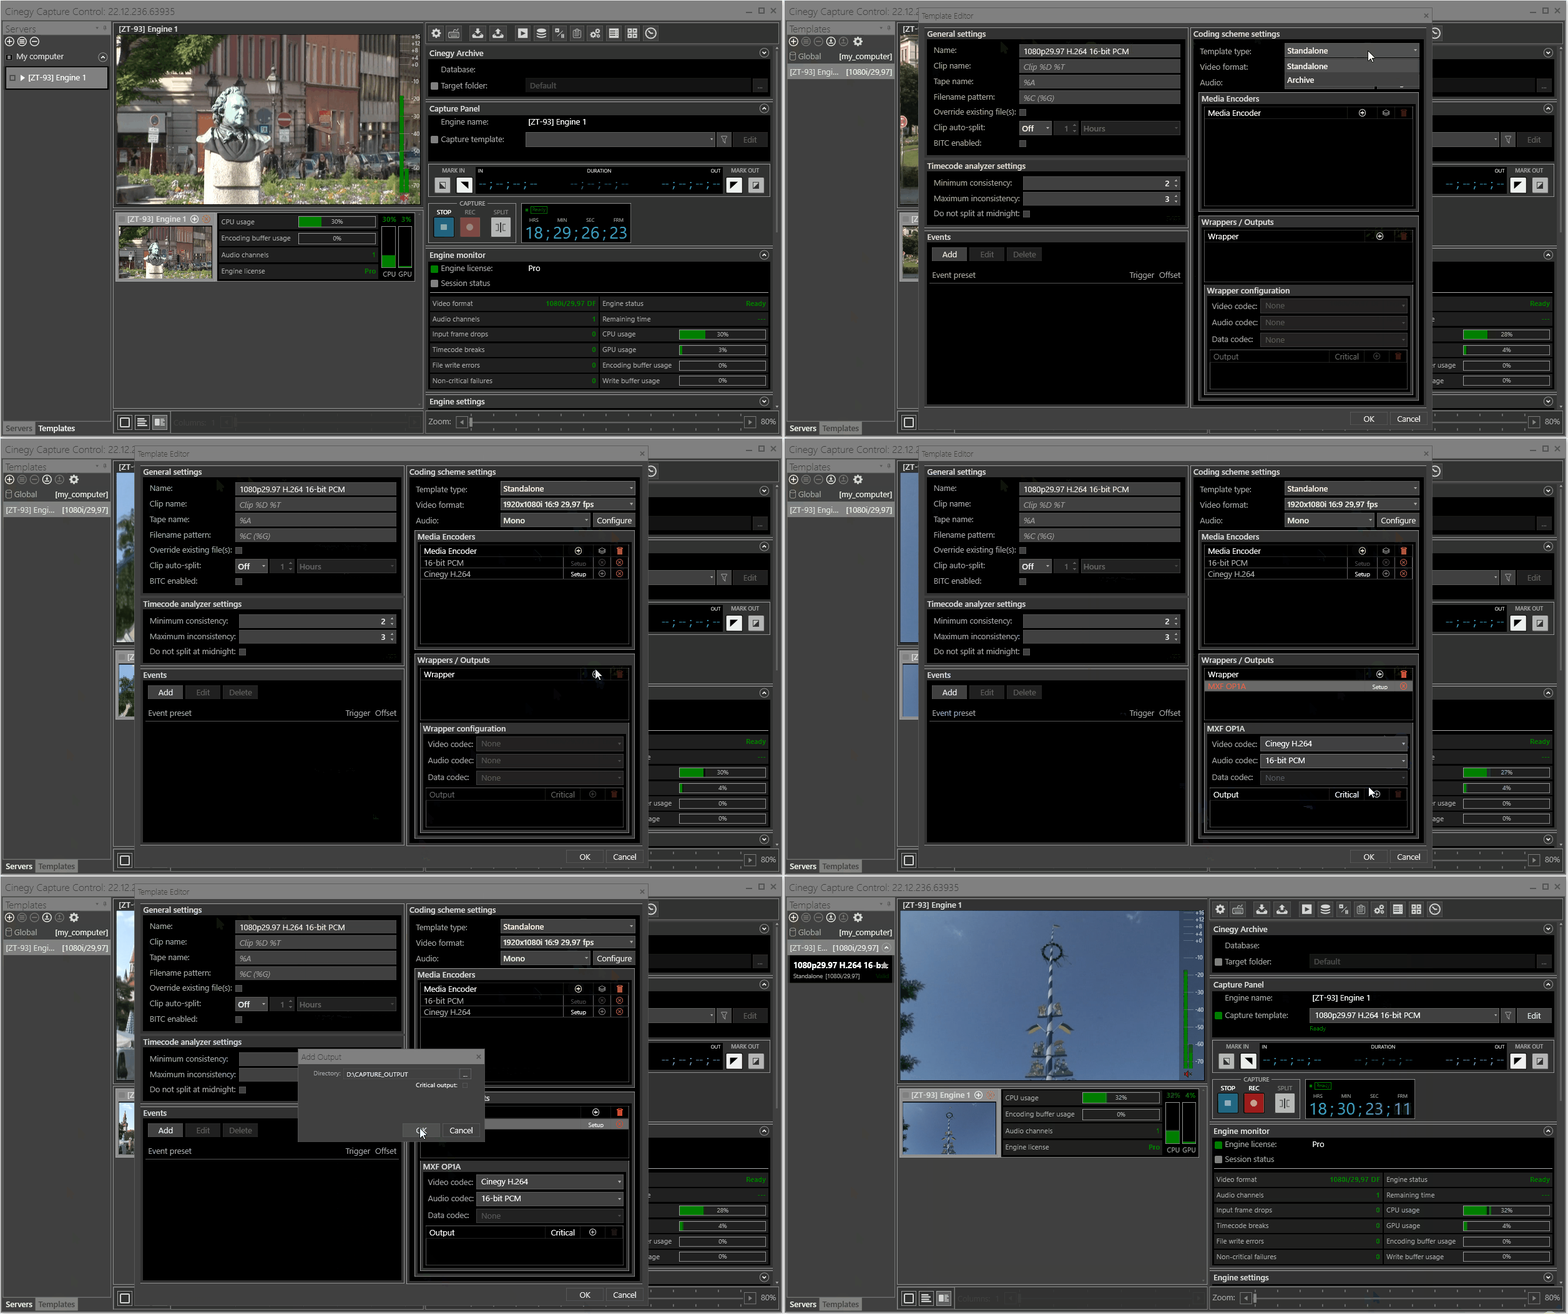
To create a new template for an engine, select the engine and press the  button; Template Editor will be launched.
Follow the steps to create a simple standalone template for demo purposes:
-
In the "General settings" specify the name of the template. The good practice is to specify the media format in the template name for easier template selection.
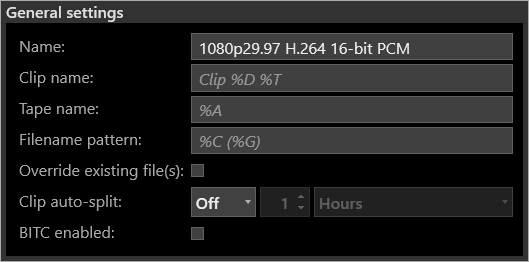
The clip name, tape name, and filename fields are filled with sensible macros by default.
-
In the "Coding scheme settings" section select the standalone template type and define video and audio formats of the captured media.

-
In the "Media Encoders" section, press the "Add encoder" button to define video and audio codecs to be used by the current template for the recording session.

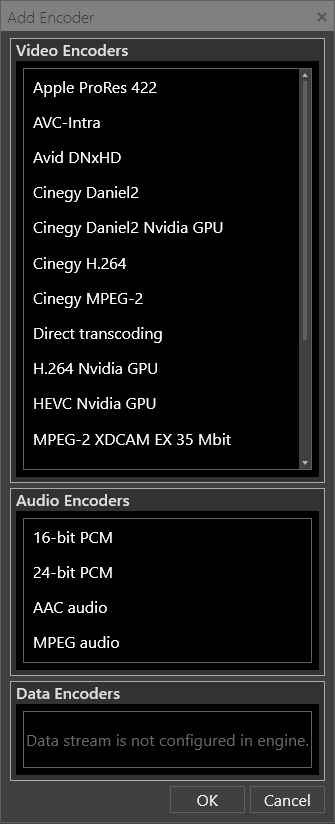
A dialog box appears listing supported video, audio and data codecs. Select the required codecs in the appropriate sections:
 Note
NoteThe list of available codecs may vary depending on your engine TV format specified via Cinegy Capture Manager. The audio and data codecs are only available when audio and data streams are properly configured via Cinegy Capture Manager for your engine. NoteSome codecs have additional settings that can be configured by clicking "Setup" and setting the necessary parameters. For demo purposes, you can leave the default settings. -
In the "Wrappers / Outputs" section, click "Add wrapper" to select the wrapper(s) that will be used for output by the current template during the recording session:

In the dialog box that appears, choose the required wrapper(s) from the list in the same way as you did for media codecs. Then press "OK".
-
All the wrappers are displayed in red until they are properly configured. To do so, select the required wrapper from the list and choose the proper video/audio/data codecs that have been previously added.
TipFor demo purposes we suggest you trying the following encoders / wrappers combinations for your coding schema:
Video encoder "Apple ProRes 422", audio encoder "AAC audio" and wrapper "MOV".
Video encoder "Cinegy MPEG-2", audio encoder "MPEG audio", wrapper "MPEG-TS".
Video encoder "MPEG-2 XDCAM EX 35", audio encoder "16-bit PCM" or "24-bit PCM" or "ААС audio", wrapper "MP4".
Video encoder "Cinegy Daniel2", audio encoder "16-bit PCM" or "24-bit PCM", wrapper "MXF OP1A". -
Press the "Add output" button in the "Output" subsection to specify the output location.

In the "Add Output" window that appears, press the "…" button and browse for the desired location:
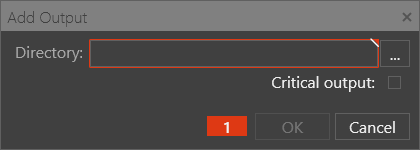
Set the "Critical output" option to mark the required location as critical output meaning that the failure of this output should cause the recording session to abort.
NoteIt is possible to add several output locations for each wrapper. -
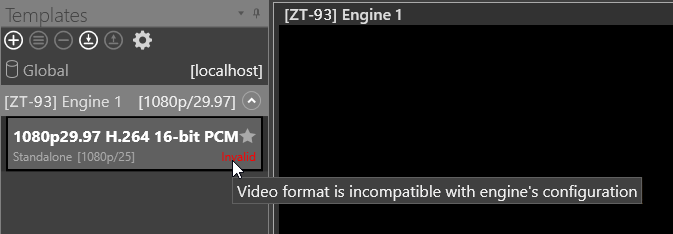
Having specified all the necessary capturing session parameters, press the "OK" button to finish the template creation process. All the templates are automatically checked for validity and have respective indication (valid or invalid). Hovering the mouse pointer over the "Invalid" indicator displays the tooltip describing a problem.
 Note
NoteYou can create as many engine templates for each engine service as you need to meet your capturing requirements.
