Working with Templates
Reading time ~10 minutes
In Cinegy Title Studio, media organization is structured around production folders, each representing a distinct show created within the application. Every production folder contains all essential components for that show, including Cinegy Title templates, playlist items, data sources, and working environment configuration files. These configuration files store information about which templates are assigned to which layers, their order within those layers, and details about user interface customizations, such as panel resizing.
This architecture ensures a smooth and efficient workflow when managing multiple shows. By simply switching to a different production folder, the user instantly enters the complete context of another show, with all its associated assets and configurations. As a result, transitioning between productions becomes fast, consistent, and highly efficient.
|
Tip
|
In the following public GitHub repository, you can download sample Cinegy Title templates for testing. |
Production Folder Selection
When Cinegy Title Studio is launched for the first time, no production folder is defined. A corresponding message is displayed in the lower-left corner of the Template List panel.

To define a production folder, use the "File" → "Select folder" main menu command, and then choose the desired folder in the dialog that appears:
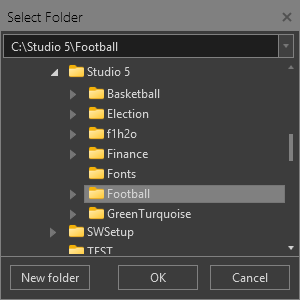
The selected production folder is saved and automatically loaded in the next application session.
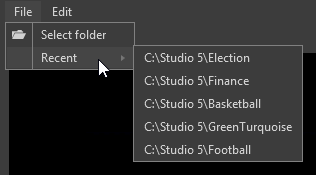
Production folders that were previously loaded in the application can be accessed via the "Recent" drop-down list in the "File" main menu:
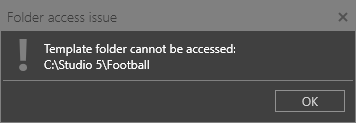
If a previously selected production folder becomes inaccessible (for example, if it was deleted, access permissions were revoked, or the network share went offline), the following warning is displayed when the application starts:
Template List
This panel displays all Cinegy Title templates stored in the selected production folder. The folder contents are presented in a grid view, showing each template’s thumbnail (its middle frame), name, description, and controls for sending the template on-air on a specified layer.
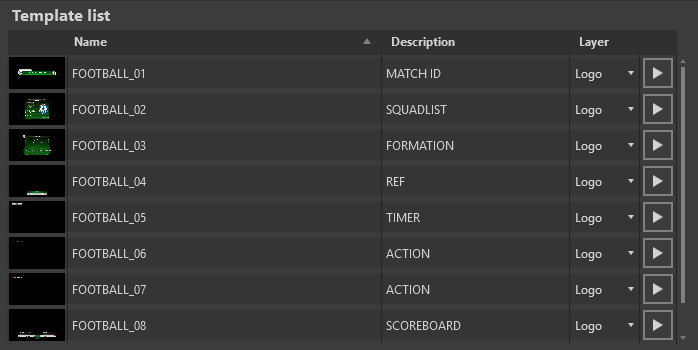
Cinegy Title templates are sorted alphabetically by name in the templates list. Use ▴ and ▾ to toggle the sorting order between ascending (A to Z) and descending (Z to A).
After double-clicking a template in the grid, it is loaded into the Edit/Preview panel. The currently loaded template is shown in bold in the template list.
|
Pressing the "Play" button sends the selected Cinegy Title template directly to the currently selected Cinegy Playout engine on the specified layer. For convenience, the output is displayed in the Playout Control Panel preview, where you can monitor the result and use the control buttons to exit loops or quickly clear graphics from any layer. |

|
Important
|
Refer to the Controlling Playout article for more information on controlling Cinegy Title templates applied to the live output. |
Playlist
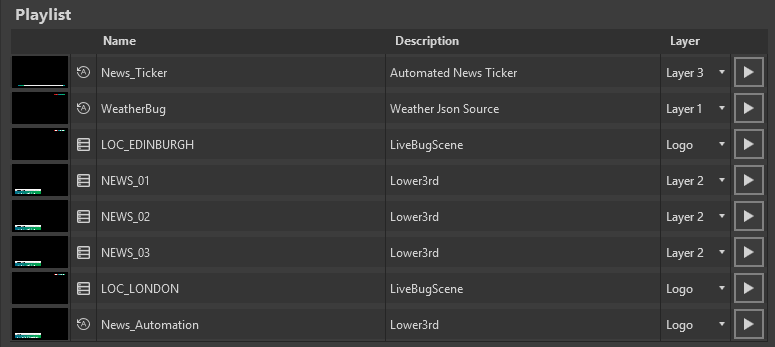
The Playlist panel displays Cinegy Title templates that have been drag-and-dropped from the template list, thereby saving them as playlist items in the current production folder. The playlist content is presented in a grid showing each item’s thumbnail, type (static or dynamic), name, description, and the layer on which it will be applied:
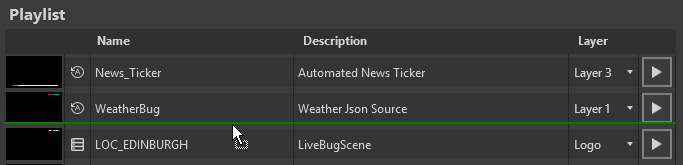
To add a Cinegy Title template to the playlist, drag it from the Template List panel. A green line will indicate the insertion position within the playlist:
After dropping the template at the desired position, the following dialog appears:
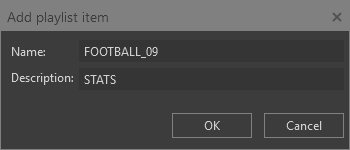
Here you can define the name and description of the playlist item. Each item must have a unique name different from the corresponding Cinegy Title template to avoid confusion and potential playback errors. Press "OK" to add the item to the playlist. The template is saved as a playlist item with its current variable values and the layer assigned in the template list.
To change the name or description of an item in the playlist, click the cell within the corresponding column and press F2. The "Name" or "Description" field will then enter text editing mode:

Press Enter to apply the changes, or Esc to discard any modifications made to the item name or description.
To reorder playlist items within the grid, click and drag the item to the desired position.
You can remove an item from the playlist by selecting "Remove Item" from the item’s context menu:

Double-click a playlist item in the grid to load the referenced Cinegy Title template into the Edit/Preview panel. The currently loaded playlist item is shown in bold in the playlist grid.
|
Pressing the "Play" button sends the selected playlist item directly to the currently selected Cinegy Playout engine on the specified layer. For convenience, the output is displayed in the Playout Control Panel preview, where you can monitor the result and use the control buttons to exit loops or quickly clear graphics from any layer. |
|
Important
|
Refer to the Controlling Playout article for more information on controlling Cinegy Title templates applied to the live output. |
Editing Playlist Items
There are two types of items in the playlist:
|
static |
|
dynamic |


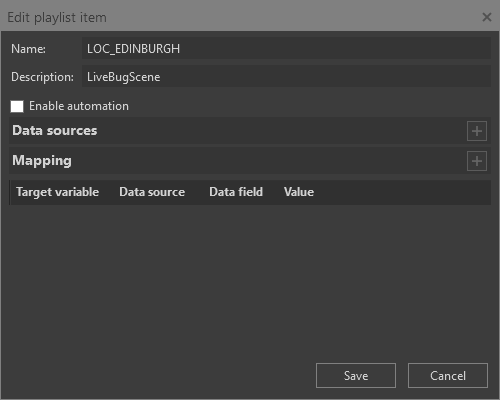
Dynamic playlist items are Cinegy Title templates mapped to external data sources (CSV, XML, JSON, MS Excel), while static items store variable values entered manually. To convert an item to dynamic, select "Enable Automation" in the "Edit playlist item" window, accessed via the "Edit Item" context menu:
|
Important
|
The detailed description of working with dynamic items is provided in the Automation article. |
Unavailable Templates Handling
If the original template becomes unavailable in the production folder, a red exclamation mark is displayed for the corresponding playlist item that references it. Such an item is disabled for selection in the playlist and cannot be previewed or sent to playout.
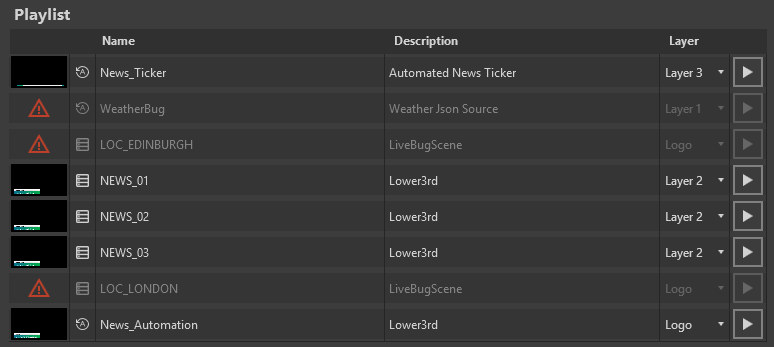
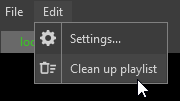
All items that have any missing referenced Cinegy Title templates can be deleted from the playlist via the "Clean up playlist" option in the "Edit" menu.
Previewing and Editing Templates
The Cinegy Title template is loaded into the Edit/Preview panel by double-clicking in the template list or the Playlist panel.
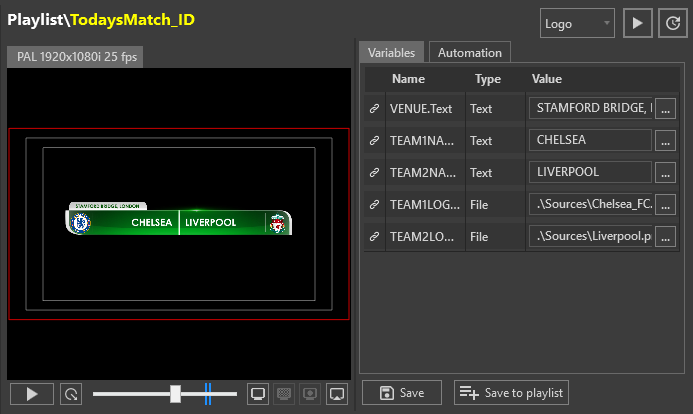
At the top of the panel, the template name is displayed in yellow, preceded by the name of the panel from which it was opened, shown in white.
|
The Cinegy Title template is displayed in the preview window together with safe zones to help control the positioning of template objects. You can view any frame of the template by dragging the time slider or using the "Play" button below the preview. |
|
The start and end frames of the loop span are shown as blue bars on the scrollbar. During preview, press the "Exit Loop" button to leave the loop set up via Cinegy Title Editor. |


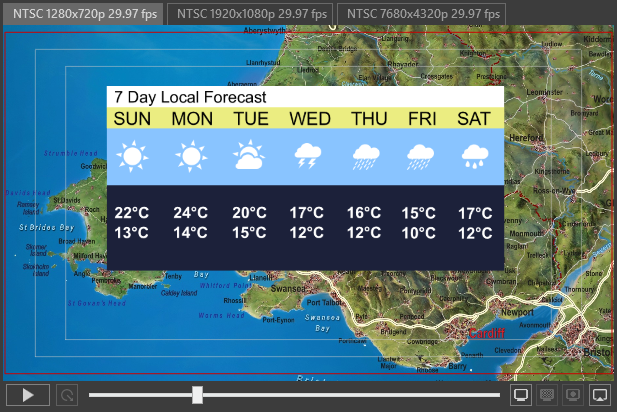
If multiple layouts are configured for the Cinegy Title template, each will be displayed on its own separate tab. Switch between the tabs to preview the corresponding layout.
Previewing Area Settings
It is possible to define a viewing mode for the preview window. The options are solid color background, transparent background, and alpha layer preview. Viewing mode can be switched using the following icons in the bottom right corner of the canvas panel:
|
When "Solid background" is selected, the background color specified during the Cinegy Title template creation is displayed in the viewing area.
|
||
|
When "Transparent background" mode is selected, the background is changed to a checkered board for better understanding of object transparency. |
||
|
Use the "Alpha layer" viewing option to preview the alpha (key) value of the objects, to estimate and adjust their transparency. |
||
|
Clicking the "Show in floating window" button opens the preview in a separate window, allowing you to enlarge it or display it on a second monitor. |


Editing Variables
The "Variables" tab displays the list of variables defined for the current Cinegy Title template. The information is presented in the form of a table showing the variable linking status, its name, type, and the field for the value editing.
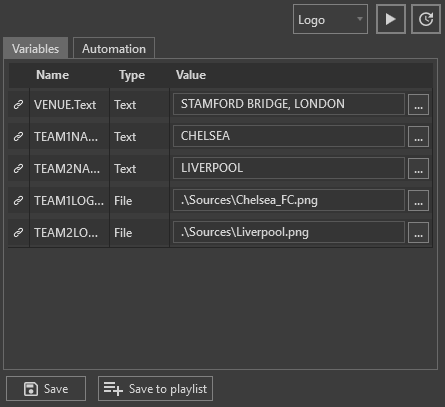
Variables can be edited on the fly, even while the template is on air. To modify a variable, click in the "Value" field and enter the desired data. Any changes made to variable values are reflected instantly in the Edit/Preview panel.
|
After modifying variable values, click "Update variables" to apply the changes to the template that is currently on air. The update is sent to the selected layer without restarting template playback. The update is applied only if a template is already playing on the specified layer. Only the modified variables that exist in that template are updated; all other variables remain unchanged. |

Working With Text-Based Variables
If a text-type variable contains long content, only the first line is shown in the "Value" field, accompanied by the  button. Clicking this button opens the extended text editor, where the variable content can be modified:
Tags
Text formatting can be applied either via tags or using the interface controls.
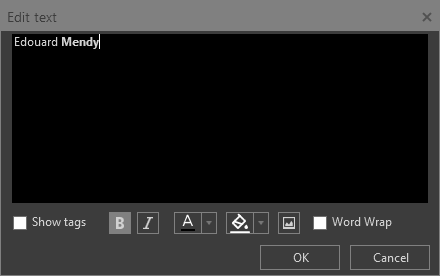
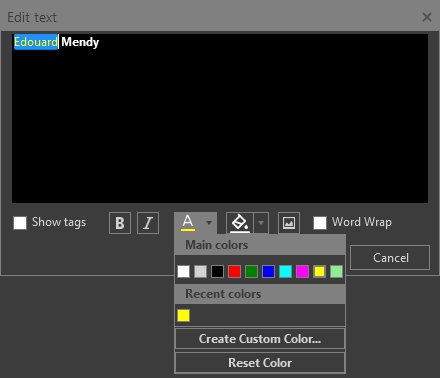
In the "Edit text" dialog, buttons for applying bold and italic styles, changing foreground and background colors, and inserting images into the text are available when the "Show tags" option is disabled:

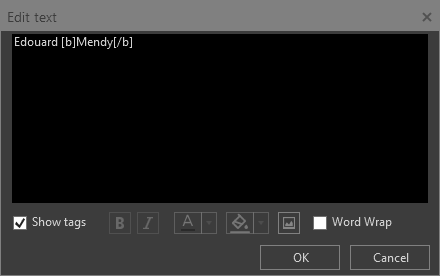
If "Show Tags" is enabled, formatting must be applied manually using the following tags: [b], [i], [color], [bgcolor], and [img], as shown in the example below:
|
Tip
|
The text formatting buttons are active if the cursor is placed inside the text. |
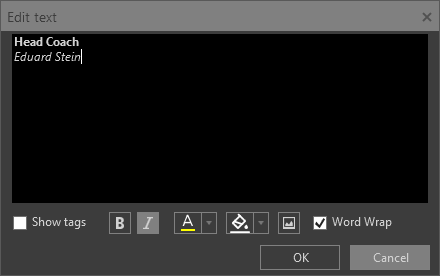
Select the "Word Wrap" checkbox to split long text into lines inside the text field in the "Edit text" dialog without actual line breaks.
Formatting
|
Select the text or place the cursor inside the word and press the "Set Bold" and/or "Set Italic" button(s) to apply the corresponding formatting. The button with applied formatting will be highlighted in light grey. |


Color
|
To apply the foreground or background text color, press the corresponding button. |


Pressing the ▾ sign opens the following drop-down menu:
|
Tip
|
Recently used colors are listed in the "Foreground" and "Background" color selectors for quick access. |
In addition to existing colors, you can create a custom color using the "Create Custom Color…" button, which opens the "Select color" dialog to define a unique color in different color models:

You can reset color formatting at any time using the "Reset Color" command. For the foreground, the color defined in the "Color" variable is applied. Resetting the background color removes any applied background highlighting from the text.
Image
To add an image inline with text, press the "Insert image" button; the following options are available:
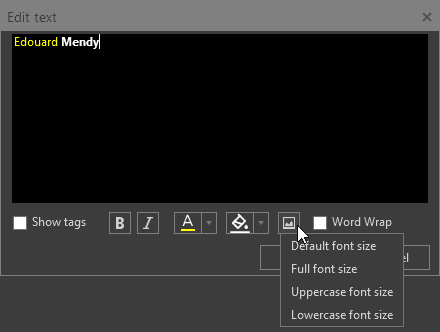
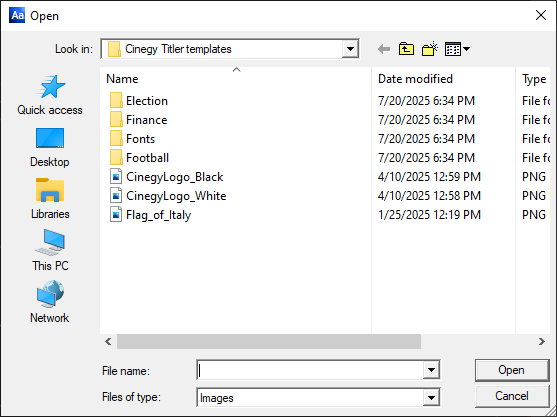
Select the size of the inserted image. It can match the height of uppercase or lowercase characters, or the full font size, corresponding to the "Default Graphics Size" parameter defined in Cinegy Title Editor. After selecting the size, the standard file selection dialog opens:
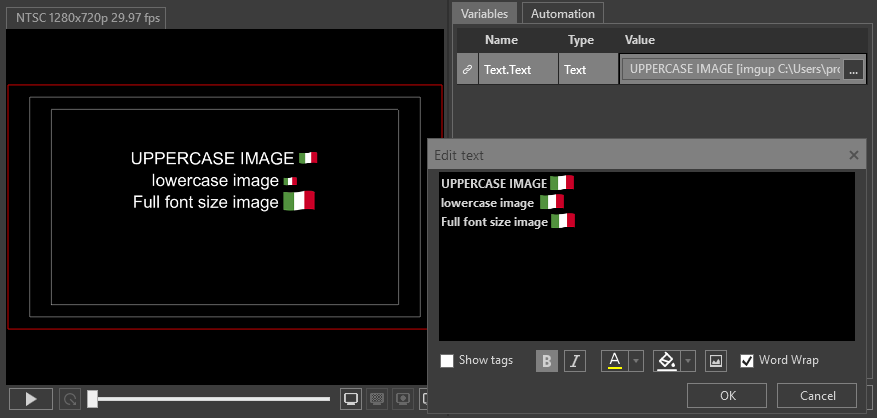
The results of the image inline insertion are as follows:
Sending a Template On-air
|
Whether the template was only previewed or its variable values were edited in the Edit/Preview panel, it can be sent directly to the currently selected Cinegy Playout engine on the specified layer by pressing the "Play" button. For convenience, the output is displayed in the Playout Control Panel preview, where you can monitor the result and use the control buttons to exit loops or quickly clear graphics from any layer. |
Saving Templates

To save the changes introduced to the variables defined for the playlist item, simply press the "Save" button.
|
Note
|
The "Save" button is not active for the templates added to the Edit/Preview panel from the template list. |
Saving changes as a playlist item via the "Save to playlist" button creates a link to the original template. This approach maintains a connection to the original template, meaning that the changes to the original template will be reflected in the playlist item. Also, a set of variables specific to the playlist item is stored, enabling customized playback settings without altering the original template.