Settings
Reading time ~2 minutes
The "Settings" dialog is opened via the corresponding command in the "Edit" main menu and appears as follows:
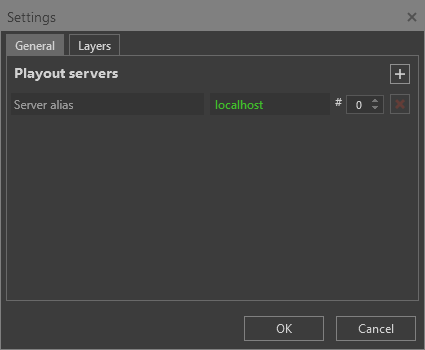
General
On the "General" tab, define the servers running the Cinegy Playout engines whose output will be used for preview and Cinegy Title template overlay in Cinegy Title Studio.
|
Note
|
These Cinegy Playout engines are configured and operated independently; adding them here allows templates to be overlaid on their output. |
One server is defined by default; additional servers can be added by pressing the  button.
If multiple Cinegy Playout engine instances are running on the same server, define the engine instance to be used in the corresponding "#" field next to the server IP address.
While entering the server name and during validation, the server name value is displayed in grey. After successful validation, the correct and accessible Cinegy Playout engine name and instance number are displayed in green. If an error occurs when defining server paths, they are displayed in red; hovering the cursor over the path shows a tooltip explaining the reason:
|
|
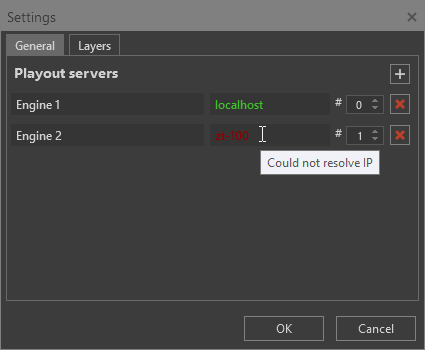

To remove a server, press the  button.
|
Note
|
For details on monitoring Cinegy Playout engine outputs and managing templates overlaid on them, refer to the Controlling Playout article. |
Layers
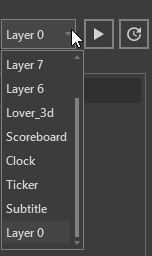
On the "Layers" tab, you can assign a short custom name (up to 10 characters) to each layer. This alias can help the operator identify layers more quickly and easily.
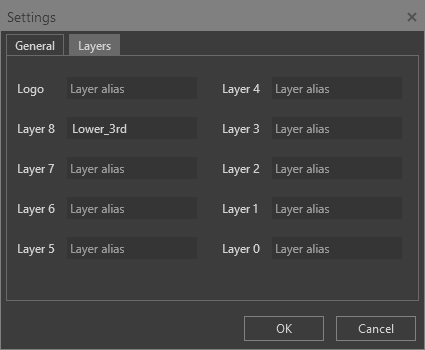
The custom aliases are displayed across the interface on all panels, replacing the numeric layer labels, while preserving their original order: