General Configuration
Reading time ~2 minutes
Several Cinegy Playout instances can be started on the same machine.
|
Note
|
A separate license is used for each Cinegy Playout instance. |
With the help of the Cinegy Playout Configurator you can add/remove Cinegy Playout instances and configure each of them individually.
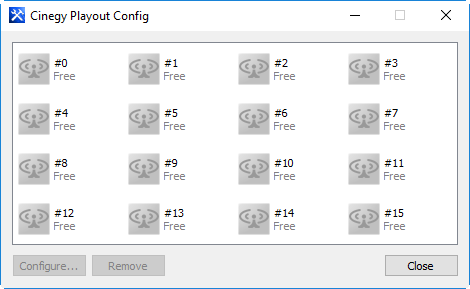
The "Cinegy Playout Config" dialog can be launched from Start > Cinegy > Cinegy Playout Config.
When started for the first time, no instance is configured:

To activate an instance, select any "Free" instance and configure it by pressing the "Configure…" button and specifying all the necessary parameters. To deactivate the configured instance, select it and press the "Remove" button.
Follow the instructions below to begin configuring the Cinegy Playout instance to work in Cinegy Encode mode:
-
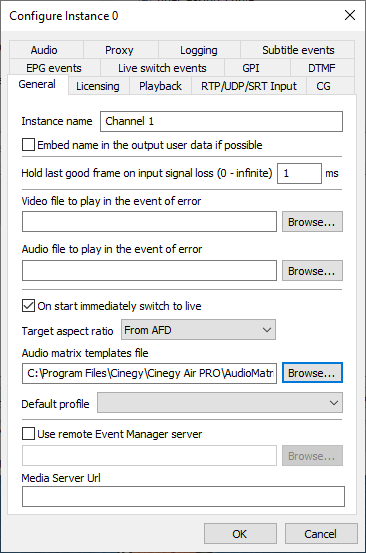
In the "General" tab, specify the instance name and select the "On start immediately switch to live" option:

When this option is enabled, the "Audio matrix templates file" selection becomes available. You can leave this field empty, then each audio input will be mapped to its corresponding audio output as is.
TipThere is a default pre-created audio matrix XML file in the Cinegy Air installation folder. Browse for it and select the audio mixing profile. Custom audio matrix profiles are created via Audio Profile Editor tool. -
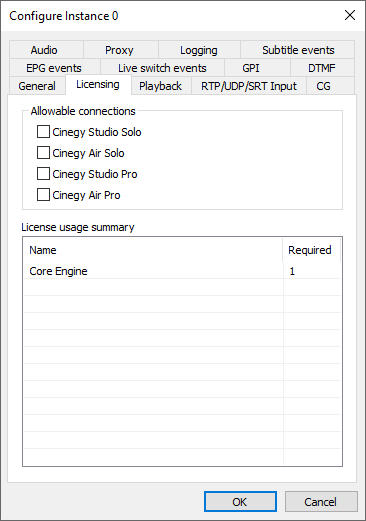
In the "Licensing" tab, do not select any connection:
 Caution
Make sure you have the "Core Engine" license.