Viewing and Editing Items
Reading time ~6 minutes
Previewing Clips
|
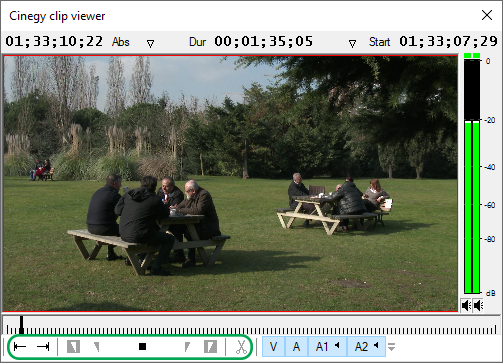
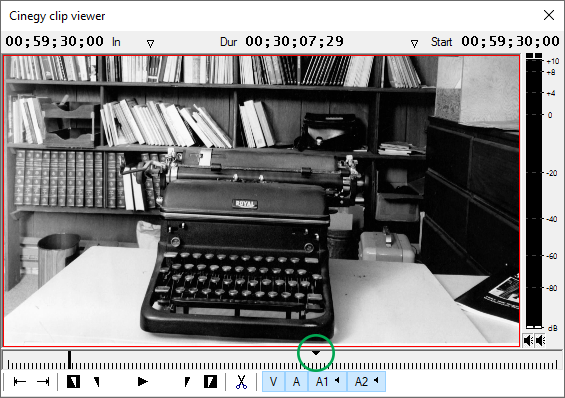
Select the item you wish to playback and press the "View" button on the item editor panel or choose the "Preview" command from the right-click menu. This command is also available from the "Item" main menu. The Clip Viewer window appears. Then press the "Play" button to play the clip in Clip Viewer. |
|
Note
|
All the clip editing controls are disabled in this mode. |
VANC Data Display
Clip Viewer can be set up to display the embedded VANC data. To enable this feature, right-click anywhere within the Clip Viewer window and tick off the "Show VANC" option:

The additional panel will be displayed at the bottom of the window showing the available VANC data.
To hide the VANC data panel, deselect the "Show VANC" option in the context menu.
Closed Captions Display
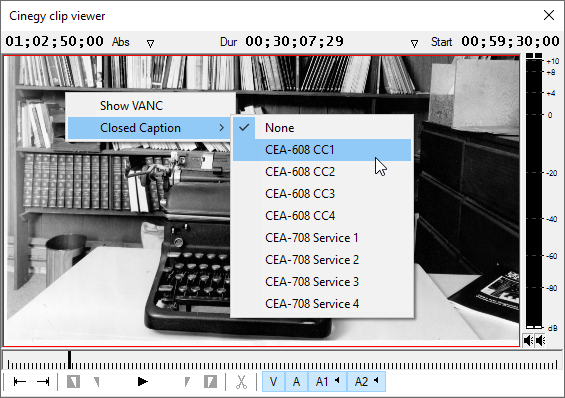
It is possible to display embedded closed captions in Cinegy Clip Viewer. To do this, right-click anywhere within the Clip Viewer window and select the corresponding closed captions channel in the "Closed Caption" cascaded menu:
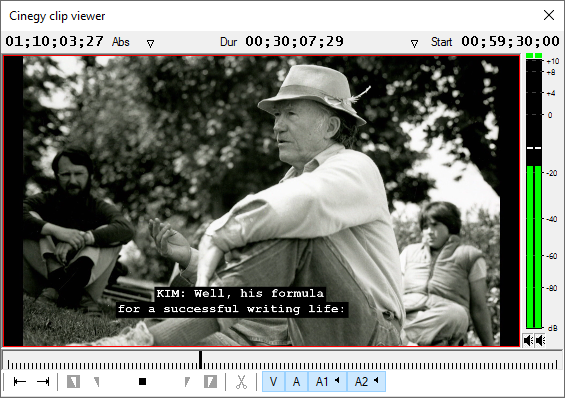
The video display will include the closed captions text:
The closed captions preview on the playout control panel can be enabled/disabled via the "Closed Caption" submenu from the "Playout" main menu:
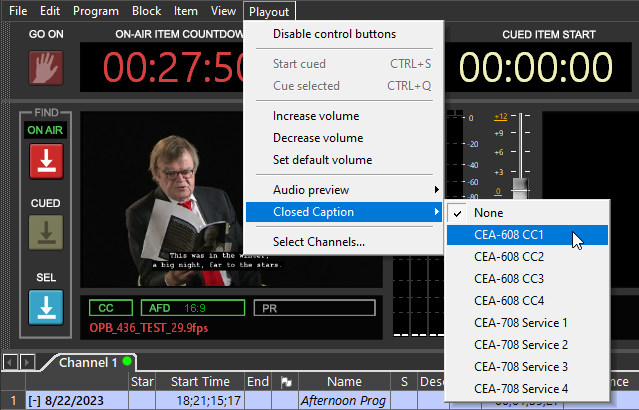
The closed captions text will also be displayed on the monitor panel:
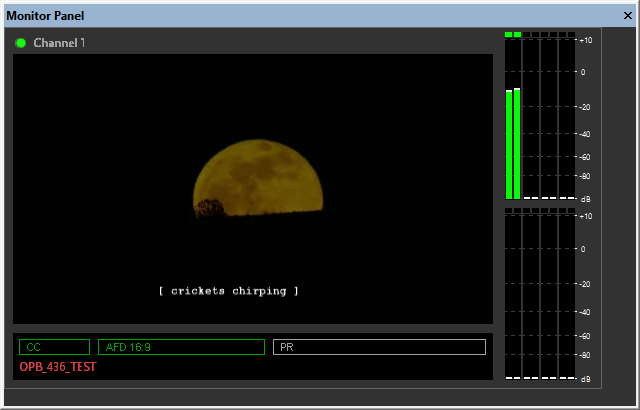
Cinegy Title Secondary Events Display
When a playlist item is open in the built-in Clip Viewer and it has the configured secondary events of the Cinegy Title template showing or hiding, these scenes will be rendered if they belong to the defined In-Out range. This is useful for fine-tuning or synchronizing CG scenes and video content.
This feature will work with the "Preview secondary events" option enabled in the Cinegy Air application Preferences dialog.
Audio Preview
|
The VU meter is shown on the right of Clip Viewer. It shows peak and integrated audio levels in the dB scale as the master output for all the enabled audio channels mixed together.
|
Selecting Tracks for Playback
The track selector in Clip Viewer shows the video and audio channels available in the clip.
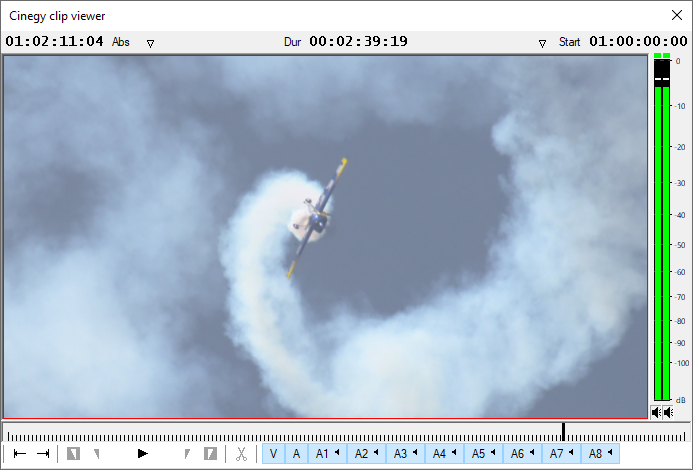
|
Depress the |
|
Depress the |
|
Depress the corresponding |
|
Depending on the type of audio channels, the track selector will show the audio buttons of the corresponding type: Mono, Stereo, or 5.1 Surround. |
Editing in Clip Viewer
|
To edit an item, select it in the playlist and press the "Edit" button on the item editor panel or choose the "Edit in the clip viewer" context menu command. This command is also available from the "Item" main menu. The Clip Viewer window appears. You can also preview the clip before and after editing. |
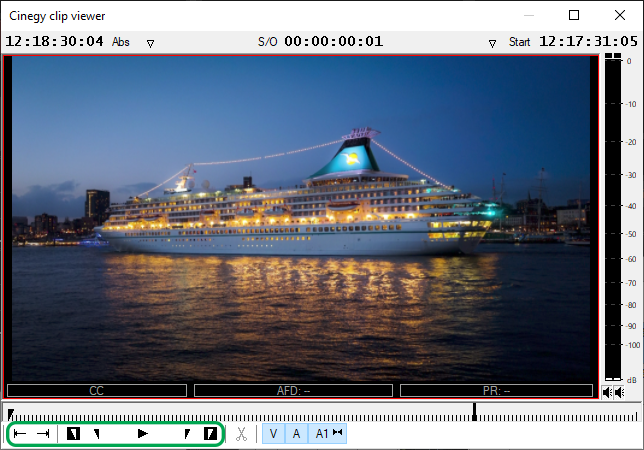
Use Clip Viewer to:
-
cut the clip;
-
set In and Out points;
-
delete In and Out points;
-
navigate to Edit points.
|
Note
|
The In point represents the beginning of the In frame and the Out point represents the end of the Out frame (or the beginning of the next frame). The duration of the item cannot be less than 0.5 seconds. |
Cutting an Item
|
The "Razor" command allows you to cut a clip at the current time slider position. |
|
Note
|
It is not possible to set In and Out points and split the clip simultaneously. You should first split the clip and then set new In and Out points. |
Setting and Deleting In and Out Points
|
Press the "In" button or hit the I or E key to trim your clip from the left. |
|
To delete the In point, press the "Delete In" button (inversed In). |
|
Press the "Out" button or hit the O or R key to trim your clip from the right. |
|
To delete the Out point, press the "Delete Out" button (inversed Out). |
Moving to the Next or Previous Edit Point
You can use respective buttons to move from event to event. Events are: start, end of a clip, In and Out points.
|
Use the "Previous event" button to navigate to the previous edit events. You can also use the A key to jump to the previous clip event. |
|
Use the "Next event" button to jump to the next event. You can also use the S key to jump to the next clip event. |
Closing Clip Viewer
Press the "X" button or the Esc key to close Clip Viewer.
When closing Clip Viewer, the following error message appears if In and Out points are not set correctly. You should keep in mind that the new duration value cannot be higher than the original or less than 0.5 seconds.
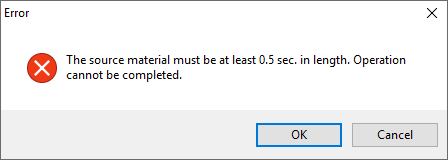
|
Note
|
All changes made during editing can be undone and redone with the "Undo" and "Redo" commands from the right-click menu. |
Playback Quality Degradation
To improve the reliability of the system, the quality degradation feature was introduced. If the required quality goes offline for some reason, the next lower quality will be played back on air with the frame-to-frame correspondence, without interrupting the playout. When no lower quality is found, the emergency footage or color bars will be played back depending on the playout station configuration. If the required quality eventually goes online, the playback quality will be restored.
Managing Interrupted Items
If the clip is interrupted by an urgent item during the broadcast (by using the "Start Cued" command), the operator can easily resume the playback of this clip. This feature is especially useful if it is a long clip, e.g. a movie.
The marker point is created at the time of broadcast interruption.
When the interrupted item is copied and pasted or dragged and dropped to the lower part of the playlist after the currently broadcast item, you can open it in Cinegy Clip Viewer in editing mode (using the "Edit" button on the panel or the "Edit in the clip viewer" context menu command), easily find the interruption point and adjust Mark In accordingly.
|
Note
|
If several playlist items are copied, and one of them is the interrupted item, the marker point is not created for it. |


