Configuration
Reading time ~2 minutes
Several Cinegy Playout instances can be started on the same machine.
|
Note
|
A separate license is used for each Cinegy Playout instance. |
With the help of the Cinegy Playout Configurator you can add/remove Cinegy Playout instances and configure each of them individually.
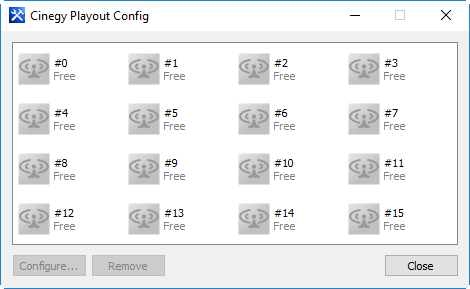
The "Cinegy Playout Config" dialog can be launched from Start > Cinegy > Cinegy Playout Config.
When started for the first time, no instance is configured:

To activate an instance, select any "Free" instance and configure it by pressing the "Configure…" button and specifying all the necessary parameters. To deactivate the configured instance, select it and press the "Remove" button.
To configure the Cinegy Playout instance to work in Cinegy Encode mode, follow the instructions below.

-
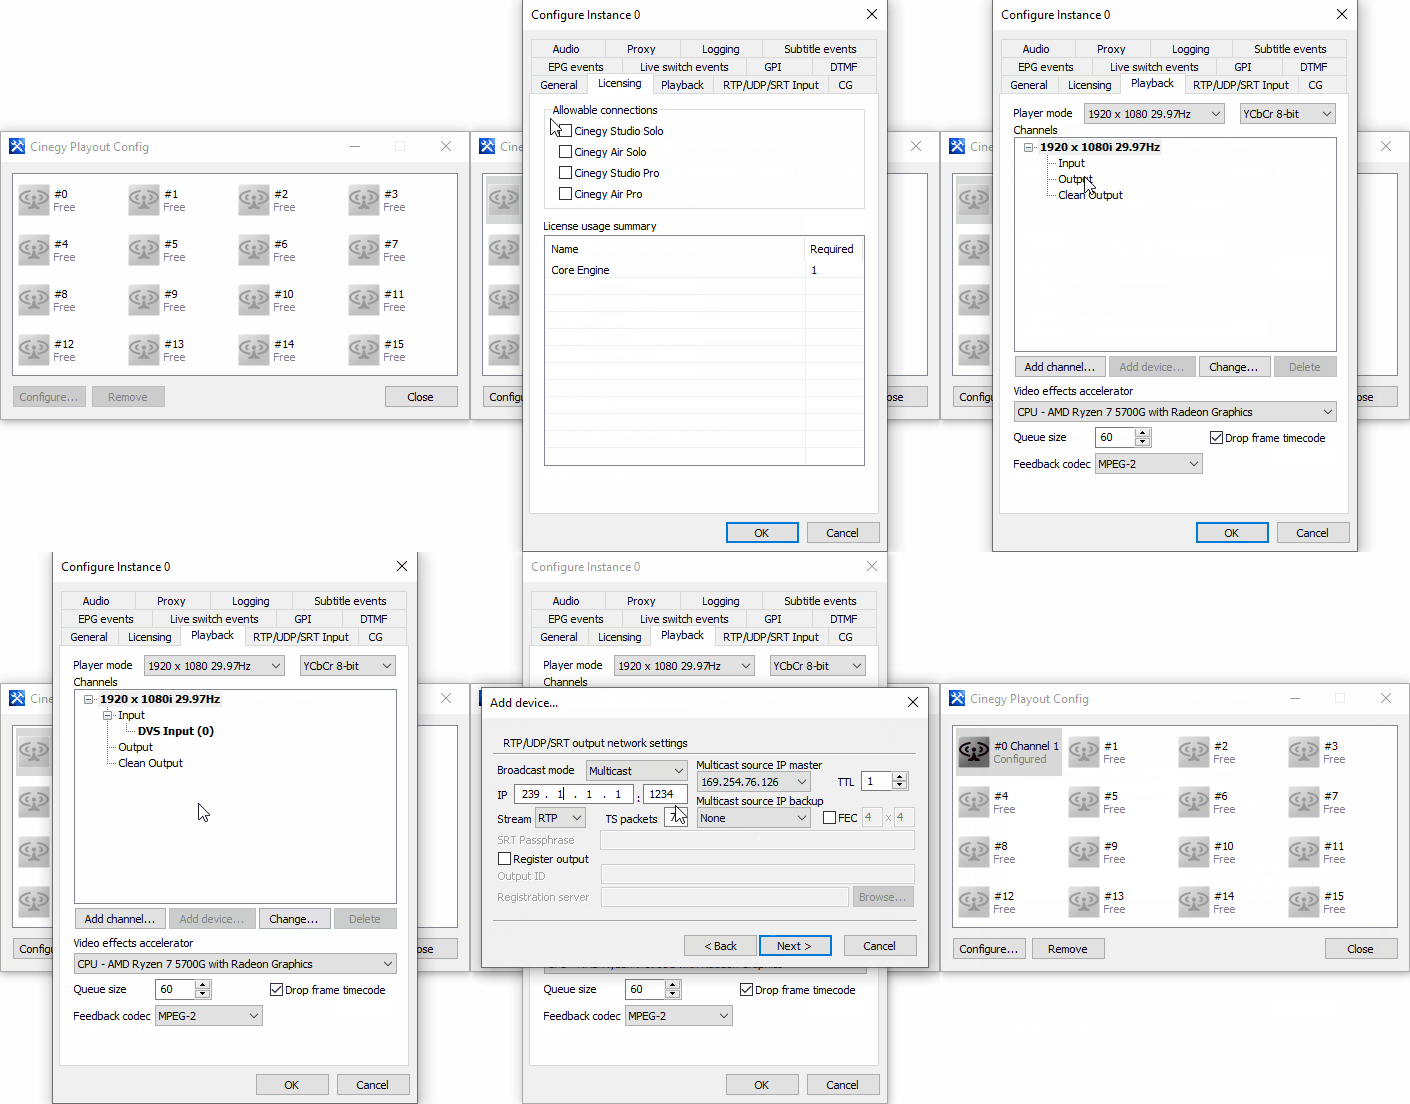
In the "General" tab, specify the instance name and select the "On start immediately switch to live" option.
-
In the "Licensing" tab, do not select any connection. Make sure you have the "Core Engine" license.
-
Proceed to the "Playback" tab. Here define the basic TV video format system that you want to use for conversion from the "Player mode" drop-down list.
-
To configure the SDI input, select "Input" for the configured TV format and press the "Add device…" button. In the dialog that appears select the desired supported SDI device. Then press "Next" and define the corresponding device settings.
ImportantThe detailed description of all supported input devices configuration is given in the Input Devices article within Cinegy Playout Manual. -
To add the output device for the defined channel, select "Output" and press the "Add device…" button. In the following dialog choose an output device.
ImportantThe detailed description of output devices configuration is given in the Output Devices article within Cinegy Playout Manual. In the illustration above the RTP/UDP/SRT output configuration is shown.
-
Press "OK" button to finish the instance configuration.