Operating from the Viewer Window
Reading time ~2 minutes
The "Position", "Scale" and "Rotation" parameters that are available for some effects can be adjusted directly from Clip or Sequence Viewer. Selecting an effect from the list in the Effect Editor control panel, or double-clicking on the effect area in the viewer window, activates effect editing mode:
Resizing
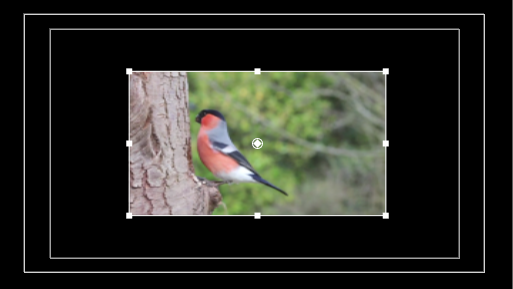
You can adjust the height and width of the effect application area by hovering the  ,
,
 , or
, or
 cursor over the edges of the image and dragging the resize tool vertically, horizontally, or diagonally:
Moving
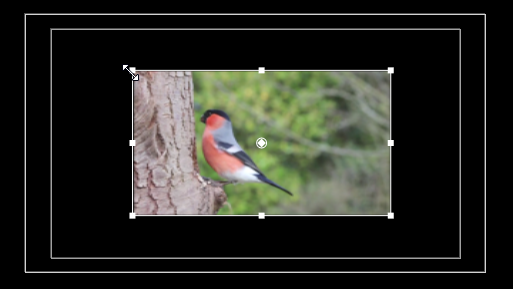
You can change the position of the effect application area on a particular frame by dragging it with the  cursor:
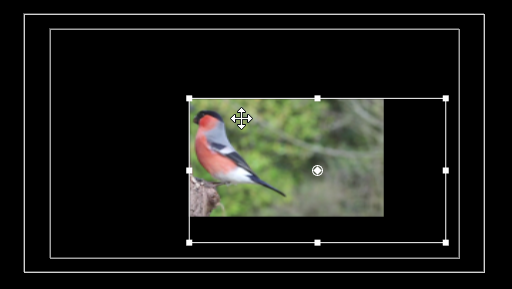
If animation is enabled for the "Position" parameter, any position change will force a new keyframe to be created at that particular frame, if there was none. In the viewer window you will see the trajectory of all located keyframes and when you start playing a media file, you can track the current position of the effect application area by its center point on the graph:
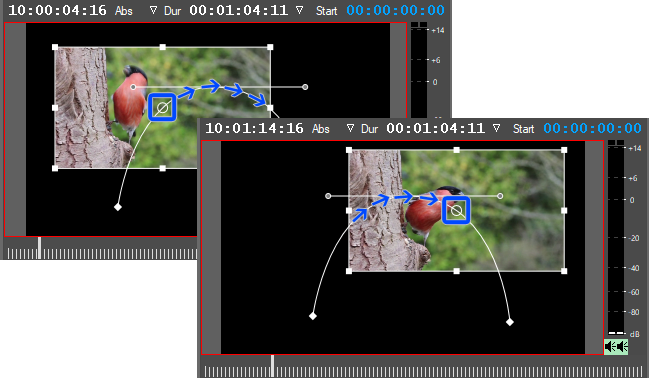
All keyframes displayed here can be manipulated with the mouse. Drag a keyframe with the  cursor to reposition it in the viewer window. For those keyframes that have handles, dragging the handles with the
  cursor sets curves to define the keyframe transition pattern.
|
Important
|
Refer to the Keyframes Transition section for more information about keyframe manipulation. |
Rotation
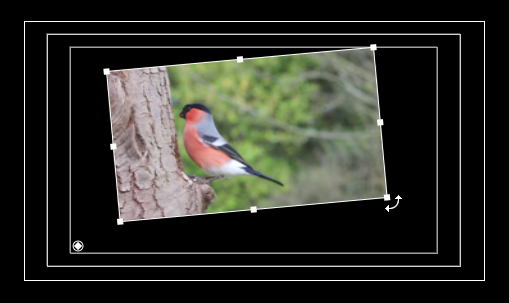
It is possible to rotate a clip clockwise or counter-clockwise directly in the viewer using the  cursor:
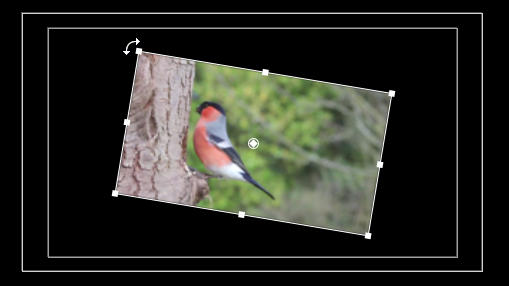
Typically, a clip is rotating around its anchor point located in the center of the "canvas". You can move this point using the  cursor, and then rotate the clip around that point:
