Working with Timecodes
Reading time ~4 minutes
Cinegy Desktop displays the system timecode as well as the original timecode in the viewers.
Understanding Timecode of System Events
The following timecode conventions are used throughout Cinegy Desktop plug-ins (such as viewers, Timeline, and Cinegy Import):
The END and Out events are related to the end of the respective frame. All the other events (START, In, current time, etc.) are at the beginning of the respective frame.

Therefore, if you mark the same frame as In and Out, the duration of the segment will be 1 frame. That is why if you go to the end of a clip, the END mark is always displayed 1 frame greater than the current time.
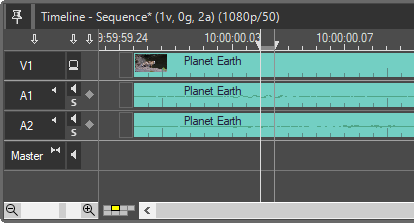
Original Timecode (OTC)
The original timecode (OTC) is the timecode read from the tape (or from the time generator, in the case of a live capture session).
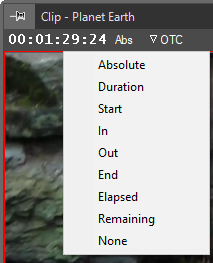
There are several different display options for the OTC. Default mode is "Absolute".
| Display Mode | Function | ||
|---|---|---|---|
Absolute |
TC for every frame corresponding to the original material |
||
Duration |
Duration of the clip |
||
Start |
Start TC |
||
In |
In TC |
||
Out |
Out TC |
||
End |
End TC |
||
Elapsed |
Time passed from the In point represented as TC
|
||
Remaining |
Time left to the Out point represented as TC
|
||
None |
No display |
System Timecode (STC)
The system timecode (STC) is the timecode assigned to the material during capture/import. Typically, it starts from 00:00:00:00 and is always continuous throughout the entire session. Technically, the STC is the frame number in the corresponding video files.
|
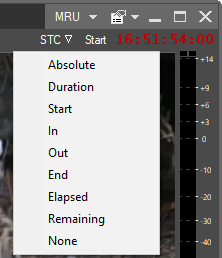
Display modes for the STC are the same as for the OTC |
Displaying STC as the Ingest Time
You can switch the STC display to the capture/import start time. This can be done by choosing the STC as the "Ingest Time" option from the Clip Viewer menu. The STC will be displayed in red in this mode.
Clip Duration
In the middle of the upper panel of Clip Viewer, the current duration of the clip is always displayed.
Using Timecode to Find a Frame
Any time during editing, you can enter a timecode value (using the numeric keypad on the right side of the keyboard) to navigate through a loaded clip or Sequence to a specific frame. In addition, you can cue forward and backward from the current position of the clip by a specified number of minutes, seconds, and frames using positive or negative frame offset values.
-
To cue to a frame based on a known timecode, enter the timecode using the numeric keypad. You can also enter the timecode value into the corresponding field on the timecodes panel.
-
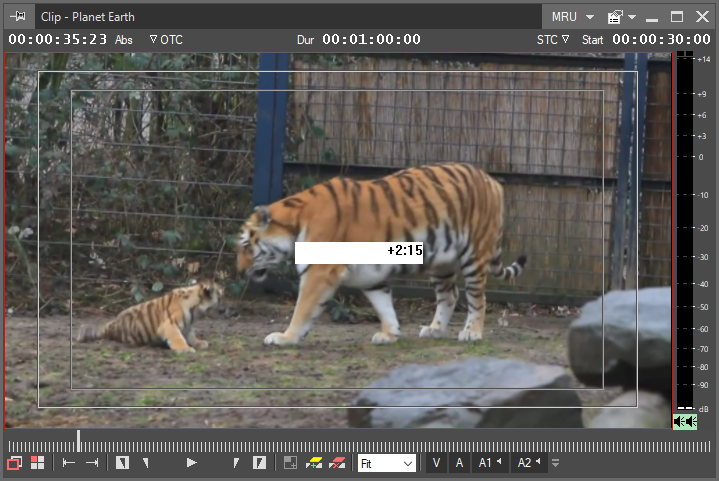
To cue forward from the current position, enter + and the offset amount using the numeric keypad.
-
To cue backward from the current position, enter – and the offset amount using the numeric keypad.
|
In the example above, the current viewing position will be moved forward to 2 seconds and 15 frames |
Cinegy Clip Viewer and Sequence Viewer support the timecode drag-and-drop feature. It works across any multiple viewers within Cinegy Desktop.
For example, you have the opened Master clip in one viewer window and its subclip in another Clip Viewer window. If you drag and drop the timecode from subclip to the master clip window, it will be applied as the OTC pointer position in Master Clip Viewer:
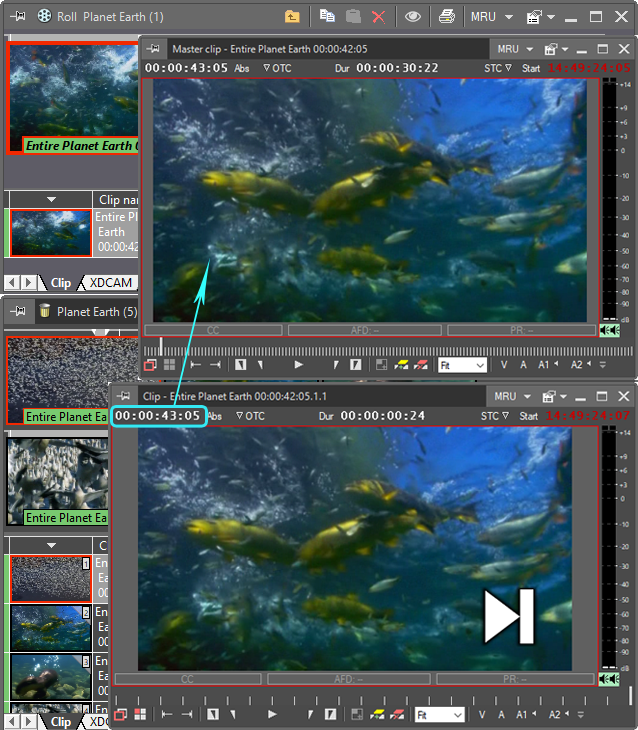
|
Note
|
Please note, if you are trying to drag and drop a timecode value that does not exist in the destination clip, the corresponding warning message will appear. |
On-Screen Timecode
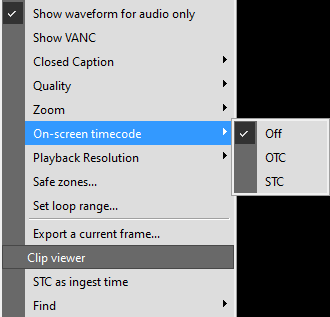
To display the timecode in the form of a running clock over the material in any Cinegy Desktop viewer, right-click on the viewer window and choose the OTC or STC to show the original timecode or system timecode accordingly:
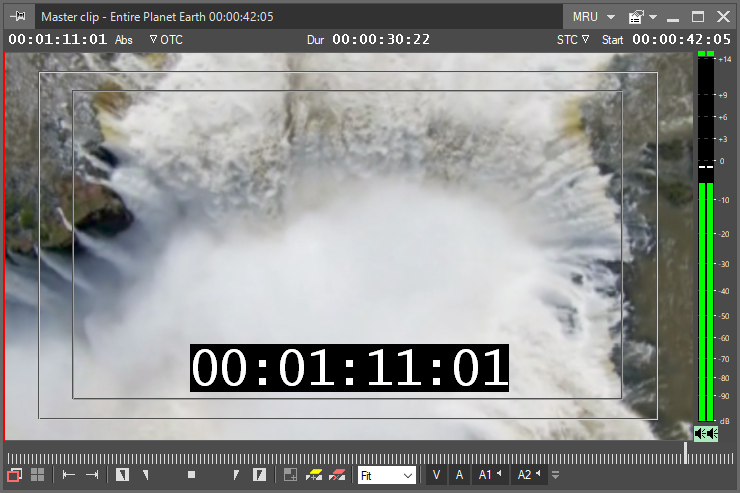
The timecode will be displayed over the clip being viewed in the hours:minutes:seconds:frames format:
For not showing the on-screen timecode, choose "Off" from the "On-screen timecode" drop-down context menu.
