Explorer Interface
Reading time ~3 minutes
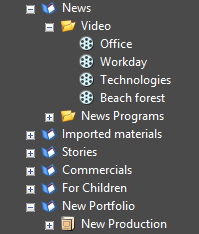
The Explorer interface resembles the familiar interface of File Explorer to make it easier for you to use.
Opening and Closing Items
Click a small plus sign on the left of the item or hit the + key to expand it. Click minus or hit – to collapse an item.

Double-click the terminal items to launch the corresponding editor window, or select the item in the tree view and hit the Enter key.
Creating a New Item
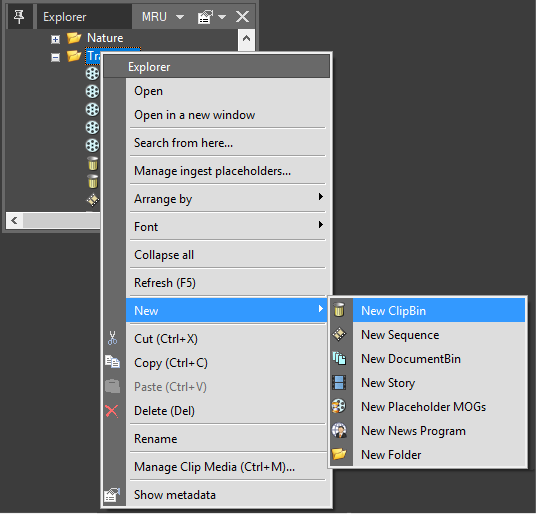
Right-click the object in which you would like to create a new item. In the menu that appears, select the "New" command, and another submenu appears, containing the list of the items you are permitted to create inside the selected parent object.

|
Note
|
You can create items only inside non-terminal objects. |
|
Important
|
When you create a new node with mandatory metadata fields assigned, a metadata dialog will open requesting the mandatory data. Refer to the Node Metadata article to learn more about node metadata. |
Renaming an Item
To rename an item:
-
Right-click the object and then select the "Rename item" command, or simply double-click the name of the object;
-
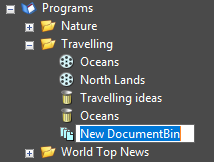
The text editor appears in place of the item name;

-
change the name and hit Enter to finish editing.
|
Note
|
Any language symbols can be used in the item names. |
Copying an Item
You can copy a terminal item to another location in the tree with the "Copy" and "Paste" commands.
-
Right-click the item and choose the "Copy" command or use the Ctrl+C shortcut.
-
Select the desired folder in the tree and choose the "Paste" command or use the Ctrl+V shortcut.
|
Note
|
You need to have permission to create all the required types of objects and sub-objects in the new location to copy an item. |
Moving Objects of the Tree
Tree elements can be moved to another location with the "Cut" and "Paste" commands.
-
Right-click the item and choose the "Cut" command or use the Ctrl+X shortcut. The item icon will be grayed out.
-
Select the desired folder in the tree and choose the "Paste" command or use the Ctrl+V shortcut.
|
Note
|
You need to have permission to create all the required types of objects in the new location as well as delete them in the old location, to move the sub-tree. |
Deleting an Item or a Part of the Tree
Choose the "Delete" command from the right-click menu, or simply select the item and hit the Delete key. You will be prompted to confirm the deletion.
|
Note
|
You need to have permission to delete all the required types of objects in the selected folder to delete the sub-tree. |
Sorting Items in the Tree
Right-click the folder you want to reorder and select a sorting option from the "Arrange by" cascaded command. The options are:
-
Name
-
Type and name
-
Creation date
-
Type and creation date
The sorting order will be applied to the first-level objects in the selected folder.
Font Size Control
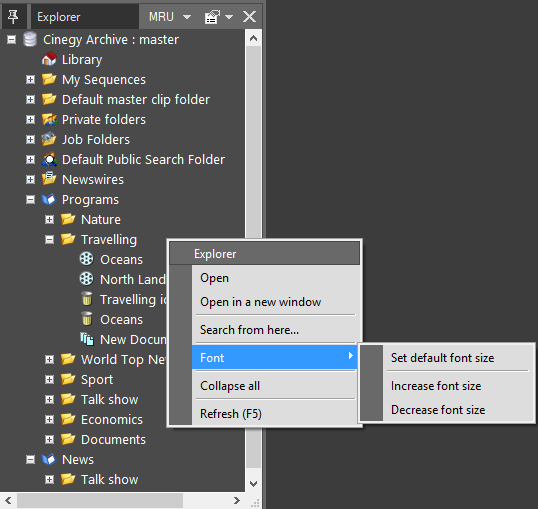
The option of increasing or decreasing the font size is available from the context menu. Right-click anywhere within the explorer window and choose the "Font" command:

|
Note
|
The "Font" command is also available from the tree item right-click menu. |
You can increase or decrease the font size or set it to the default value.
The font size change affects the explorer tree, object names in all folders and Bins, and metadata.