Working with Rundowns
Reading time ~9 minutes
Rundown Templates
The rundown template defines which Rundown(s) should be applied on the specified day of the week.
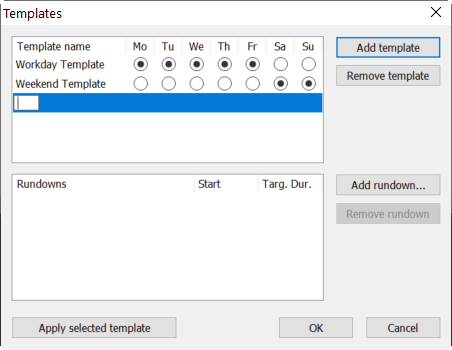
To manage the templates, use the "Templates…" command from the context menu of either the pool or rundown; the following "Templates" dialog box appears:
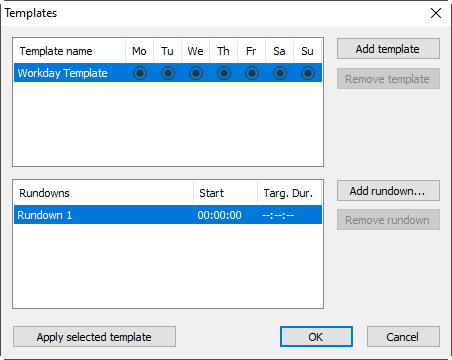
Here you can add new templates, edit and/or remove the existing one(s) as well as add Rundowns for the specified template.
|
To add a new template for the selected date, press the "Add template" button and enter the name of the new template. Then specify the days of the week when this template will be applied: |
|
|
Select a template and press this button to remove it. |
For each template you can assign a separate set of Rundowns, so for each day of the week the specified set of Rundowns will be available.
|
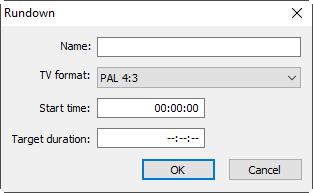
To add a new Rundown for the selected date, press the "Add rundown…" button. The following dialog will appear: |
|
|
Enter the name of the Rundown being created, define its TV format, start time, and estimated duration; then press "OK". |
|
Select a Rundown and press this button to remove it. |
|
Note
|
The last remaining template and Rundown cannot be deleted. |
|
Having added the necessary Rundown(s) to the template, you can apply the selected template for the defined date by pressing the "Apply selected template" button. This action is optional. |
Press the "OK" button to save changes to the template without applying it or press the "Cancel" button to exit the "Templates" dialog without changing the template.
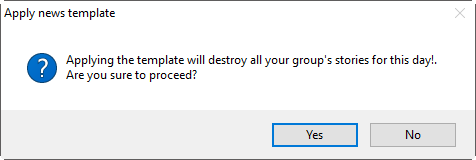
When changing the active template, you will be asked to confirm your decision:
|
Note
|
Please keep in mind that after applying the template, the lost Stories cannot be restored. |
The selected template will be applied for each day of the schedule you edit.
The next step is to fill the pool with the required Stories.
Adding Stories
Creating a New Story
To create a new Story within the current News Program, use the "New Story…" command from the context menu (either in the pool or directly in the rundown) in the News Program Manager window.
The following "Create a Story" dialog box appears:
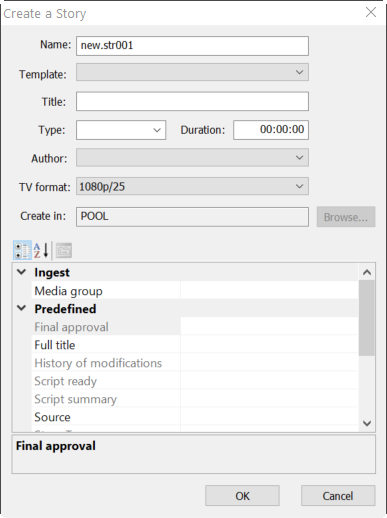
Here define the following Story parameters:
-
Name – the name of the Story object.
-
Template – the template of the Story object.
-
Title - the title of the Story object.
-
Type – the type of the Story object.
ImportantRefer to the Story Types article in the Cinegy Archive Manager Manual for details on how to create different Story types for the Story objects. -
Duration – the desired duration of the Story.
-
Author – the narrator’s name. If an authorized author is selected, the Story becomes “read-only” for everyone except this particular user/user group and the News director. The “Author” field can be left empty so that everyone can work with the Story.
ImportantRefer to the News Options article in the Cinegy Archive Manager Manual for details on how to create and configure the list of authors. -
TV format – this field is filled in automatically according to the defined News Program format.
-
Create in – the location (either pool or rundown) of the Story creation. This field is read-only, and cannot be edited by the user.
Fill in the necessary metadata fields and press "OK" to finish creating the Story; the Story Editor window will open.
|
Important
|
See the Working with Stories section for detailed information on how to work with Stories. |
A quick way to create a Story is to drag and drop a Sequence or a clip from a ClipBin / Roll, or an object from a DocumentBin directly to the pool or rundown area as follows:
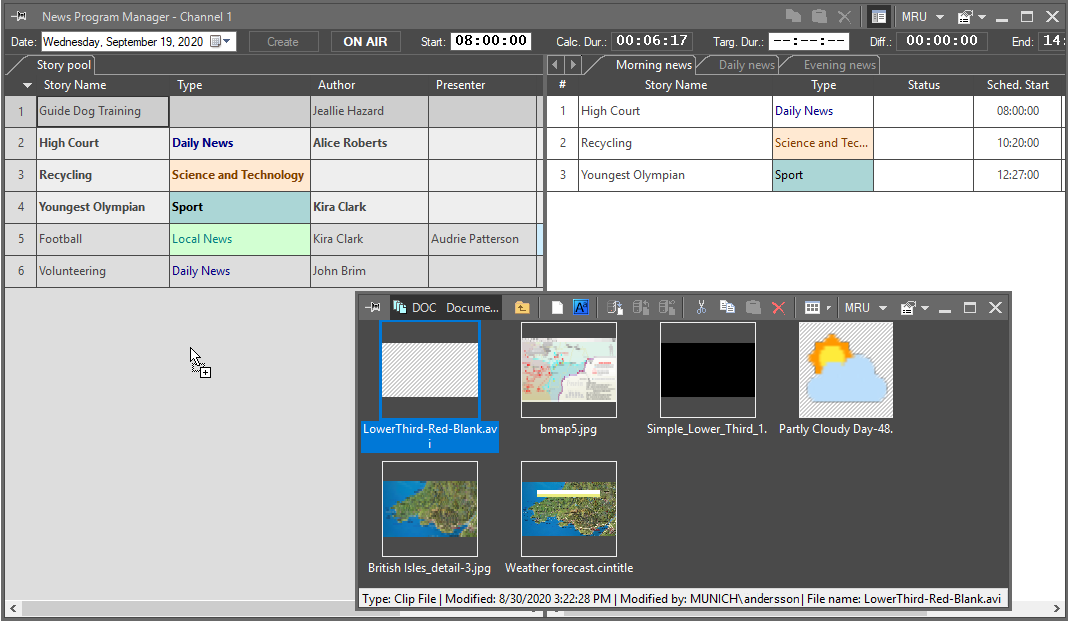
A common "Create a Story" dialog will appear. The created Story will contain the dragged object in the respective Story block.
|
Note
|
Dragging and dropping of images and some videos is currently supported. |
Adding Created Stories
|
Note
|
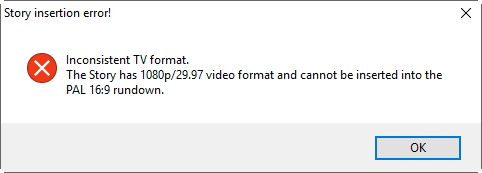
Ensure that the Stories being added to the rundown are of compatible TV formats. Otherwise, you will receive the "Inconsistent TV format" error. SD Stories can be inserted into SD and HD rundowns; however, HD Stories cannot be inserted into an SD rundown. |
To Pool
The pool is used as a container for the Stories in progress, waiting for approval, or completed ones.
To add a Story to the pool, select it in the explorer tree and drag and drop it to the pool panel of the News Program Manager window. You can also use "Copy" and "Paste" commands from the context menu.
The Story that has been added to the pool becomes a separate copy of the object; it can be further edited without any changes made to the original Story. So, several copies of the same Story can be inserted into the pool.
To Rundown
Having made all the necessary editing and approval of the Story in the pool, you can add it to the rundown. To do this, select the required Story either in the pool or in the explorer tree and drag and drop it to the desired position on the rundown panel. Once the Story is added to the Rundown, it becomes highlighted in bold in the pool.
|
Important
|
Make sure you have appropriate rights to be able to edit rundowns. For details see the Permissions and Security article in the Cinegy Archive Manager. |
If more than one instance of a particular Story is copied into the rundown, the following window will appear:
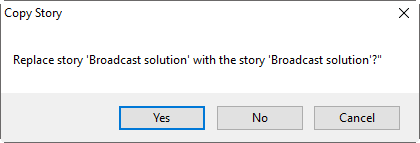
Press "Yes" to overwrite the existing Story with the new one. Press "No" to create a separate copy, the name for it is generated automatically as follows: <Story name> copy:

It is not possible to copy a Story from the Rundown and paste it into the same Rundown. The following message will appear informing that this action cannot be performed:
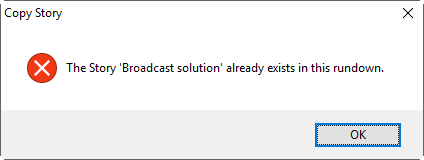
It is also possible to drag and drop Stories to the rundown directly from the explorer tree.
Editing Stories
You can edit Stories both those contained in the pool and those that are in the rundown area.
To edit a Story, use the "Open Story in the Story Editor" command from the context menu or simply double-click it. This will open the selected Story in the Story Editor for viewing or editing.
|
Note
|
Refer to the Working with Stories section to learn how to work with Story Editor. |
If the Story is already open for editing by another user, it becomes "read-only" and displays a "Locked" status.
Stories with an authorized author assigned, are "read-only" for everyone except this particular user/user group and the News director.
|
Note
|
Refer to the News Options article in the Cinegy Archive Manager manual for details on how to create and configure the list of authors. |
The Stories that receive the “Approved” status become read-only for everyone except the user with the "Edit Approved Story" role.
Replacing Stories
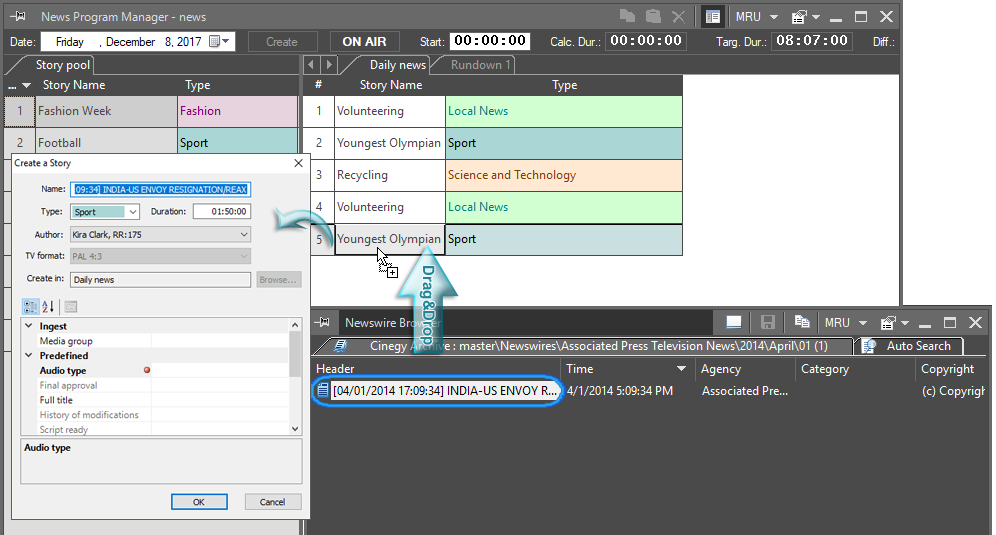
A Story existing in the Rundown can easily be replaced with another Story via drag-and-drop by holding the Ctrl key down.
Similarly, you can substitute a Story with a news item, Sequence, a clip from a ClipBin / Roll, or an object from a DocumentBin. In this case, the original type, target duration, and author are copied into the "Create a Story" configuration dialog, so there is no need to type it again:
Copy Rundown
To Template
To save a copy of the open Rundown with all its content to a template, select the "Copy Rundown to Template…" command from the rundown context menu. The following dialog appears:
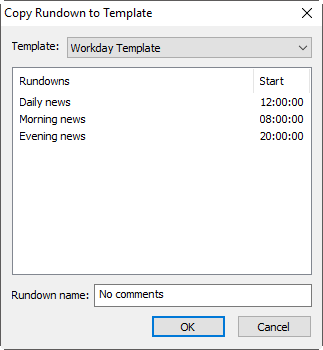
From the "Template" drop-down list select the template for copying the Rundown and specify the name for it in the "Rundown name" field.
From Date
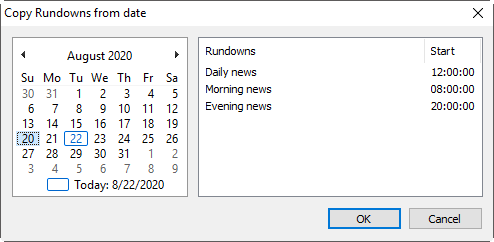
To copy all the rundowns with their content from the selected date to the current date, use the "Copy Rundowns from date…" command from the rundown context menu. The following dialog appears:
Choose the date in the calendar; all the rundowns for this date will be listed on the right. Having pressed the "OK" button you will be warned that all rundowns for the current date will be lost:
Press "Yes" to continue. All rundowns along with their Stories will be copied.
Printing Stories
To make your work with Stories more convenient you can print your Story data.
Use the corresponding commands from the News Program Manager menu:
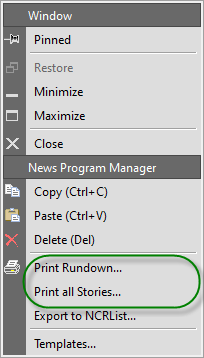
These commands are also available from the context menu of the rundown panel in News Program Manager. The "Print Setup" dialog box will appear where you can choose common print settings.
Printing Rundown
In the "Print options" section choose one of the two options available – "Use rundown view" or "Use custom view".
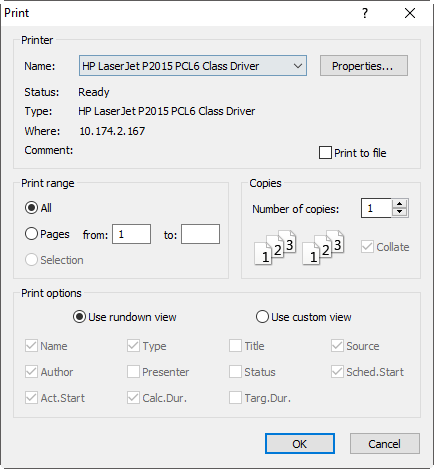
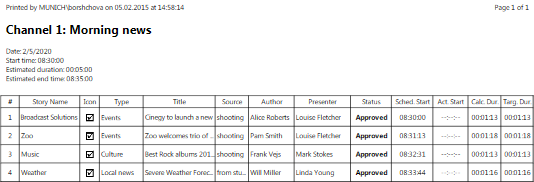
If the "Use rundown view" option is enabled, the printed document will contain the News Program name, date, start time, estimated duration, estimated end time, and the table with all the columns included in the Rundown view by default or customized by you according to your needs.
The printed document you receive using this option will look as follows:
With the "Use custom view" option enabled, you can choose which Story parameters will be printed by ticking off the necessary checkboxes:

Printing All Stories
Choose the "Print all Stories…" option to print the content of all Stories included in the Rundown. Define the printing options in the following "Print" dialog:
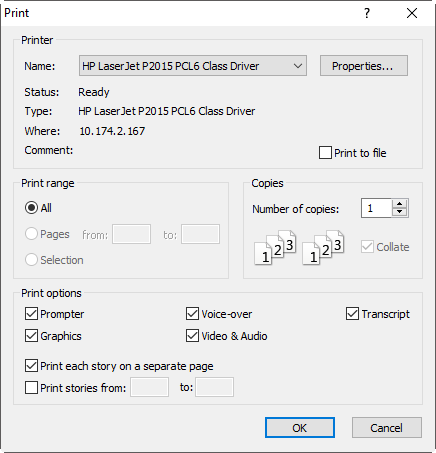
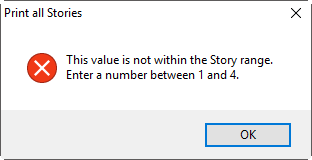
In the "Print options" section all the script blocks are chosen for printing by default. Deselect the checkboxes with the Story script blocks you do not need to be printed. The "Print each Story on a separate page" option is selected by default. If you need to print all Stories without page breaks, remove the selection of this checkbox. It is also possible to print a range of Stories. To do this, select the "Print Stories from" checkbox and define the numbers of the required Stories in the "from:" and "to:" fields correspondingly. To print only one Story, enter its number in both fields. If the option is selected, but any of these fields or both of them are left empty, or the entered numbers are higher than the total Stories number in the Rundown, an error message appears:
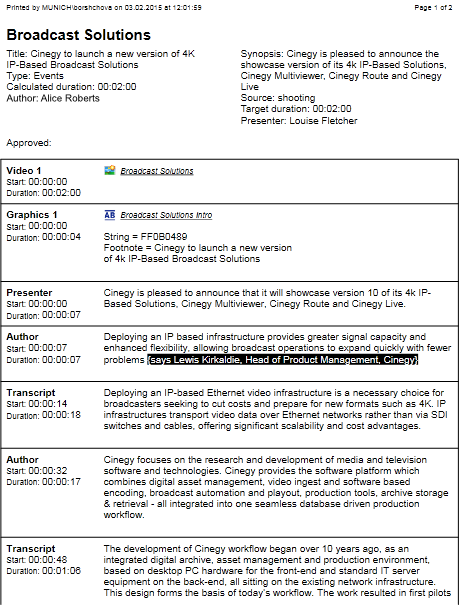
The document will include the Story name, its title, synopsis, type and source, calculated and target duration, the author’s and presenter’s names, and the table with text blocks you have chosen to be printed:
