Audio Mixes
Reading time ~3 minutes
Adding an Audio Mix
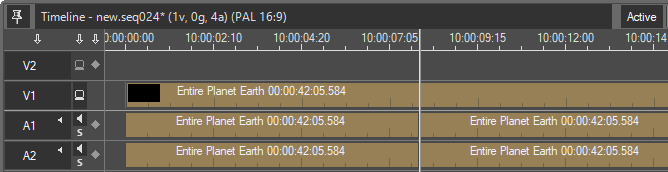
Audio mixes are always created as dissolves. To create an audio mix, position your time slider close to the edit where you want to create the mix.
|
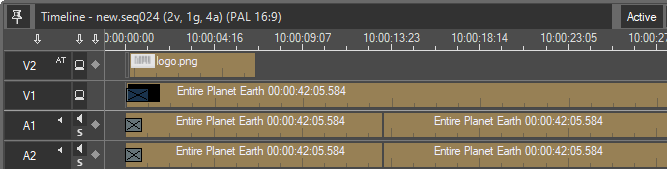
Press the "Mix" button, if the selected edit is only represented in the audio channel as shown above; the following dialog box appears: |

|
Note
|
If the edit also includes a video, then a video mix is created, and the dialog box shown above will also include the video mix properties. |
|
Important
|
Refer to the Mixes article for more details on video mixes. |
The default frame values shown in the dialog box depend on the settings of the Timeline preferences.
|
Note
|
One second of NTSC footage equals 30 frames; one second of PAL footage equals 25 frames. |
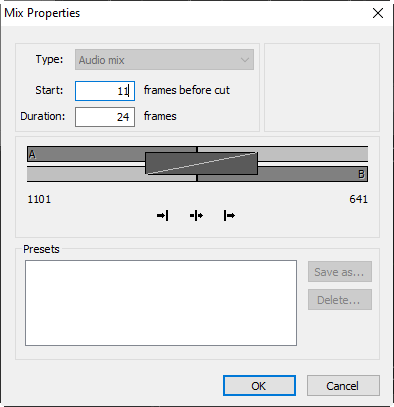
You can either enter the frame values into the text boxes for "Start" and "Duration" or you can drag the graphically represented mix with the mouse.
The possible length and position of your mix depend on the amount of material available from the clips being mixed. The maximum number of frames available for the mix is also displayed. In this case, clip A offers 200 frames for the mix, and clip B offers 641 frames.
Define the position of the cut by pressing one of the following buttons:
|
Ending at cut – this fades the audio on the outgoing A-side to zero so that it ends at the cut point. |
|
Centered at cut – this will create a crossfade. |
|
Starting at cut – this creates a fade from the B-side and starts from the cut point. |


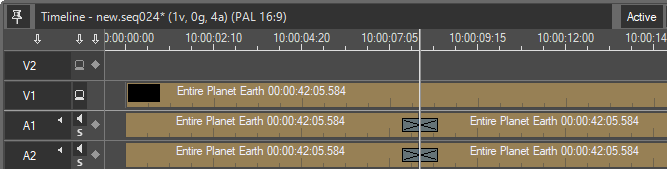
Once you have set up the mix properties, press the "OK" button and the audio mix is created.
|
Audio mix |
Audio Mix or Rubber Banding
The volume rubber band is designed to facilitate on-the-fly volume control, using the on-screen or external audio mixer. Use this feature to achieve the desired volume for the tracks.
Sometimes you need to achieve a seamless mix between two soundtracks. Trying to get the perfect result with the volume rubber band, you may end up with something like this:
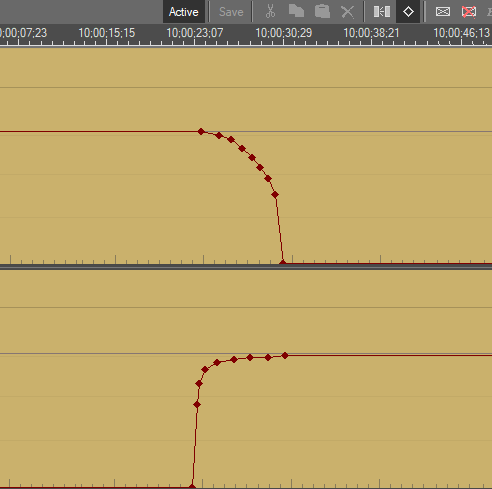
This approach is rather labor-intensive and does not always yield the desired result. That is why the audio mix was designed to provide a mathematically perfect mixing of non-coherent audio signals.
If you wish to mix just two different noise signals on Timeline, it is incredibly difficult to do this task manually, almost unachievable. However, by just dropping an audio mix between the two signals it can be done instantly:
|
Note
|
After inserting the mix, you can still use the volume and balance rubber bands to do some fine-tuning on top of the mix, if necessary. |
Creating an Audio-Video Fade
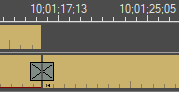
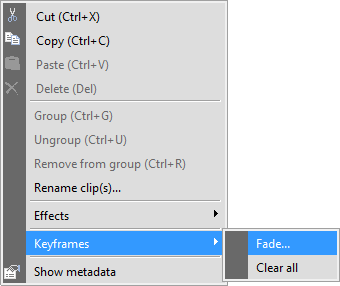
Sometimes it is necessary to introduce a visual object (a title, image, or video) synchronous to the audio clip. When adding an image to a clip, use the "Fade…" command from the context menu to create the fading in-sync with the audio file:
Define the Fade "In/Out" values on the window that appears or accept the default values suggested. The fade "In" value defines the time in frames from the beginning of the clip, the "Out" value defines the time in frames left before the end of the clip.
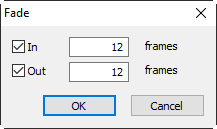
Once the Fade "In/Out" values are defined, press the "OK" button to apply changes:
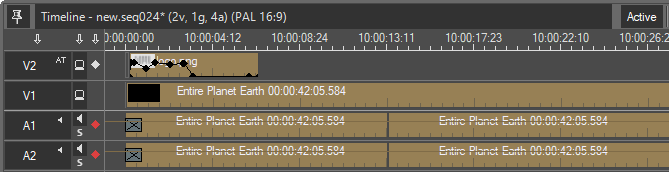
Use video and audio mixes to create the desired audio-video fade.
|
Important
|
Refer to the Mixes article for more details on video mixes. |