Installation
Reading time ~2 minutes
To install Cinegy Capture Desktop Edition plugin, run the Cinegy.Capture.DesktopEdition.Setup.exe file. The setup wizard will be launched:
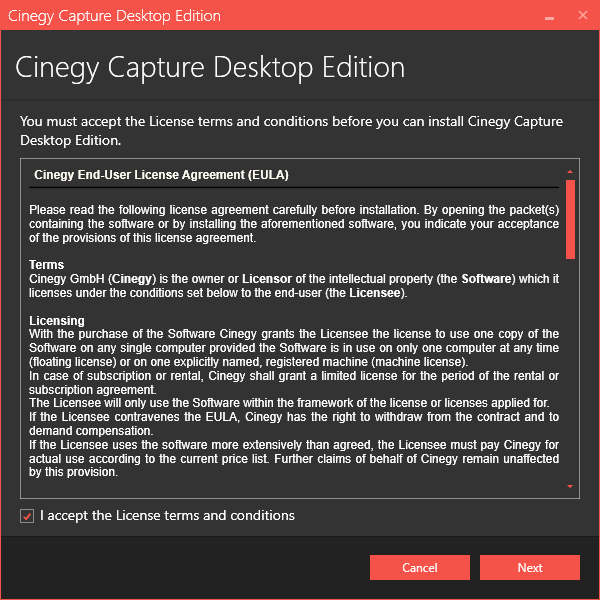
Read and accept the license agreement, press the "Next" button.
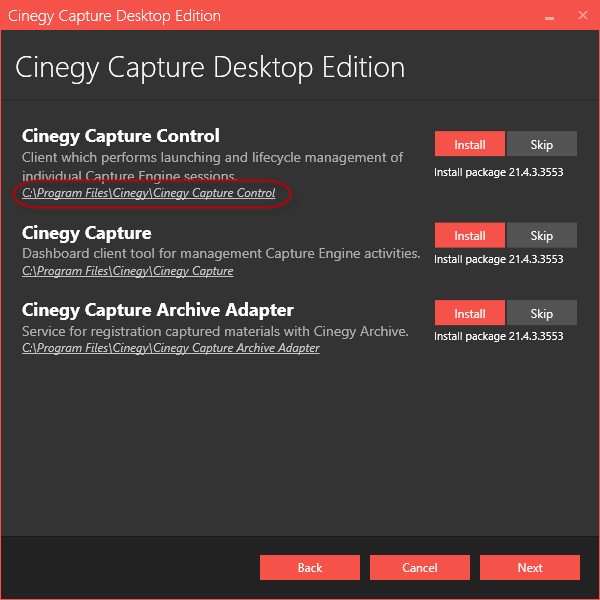
All the package components are listed in the following dialog:

|
Caution
|
Please note, that the Cinegy Capture Planner component is not available within Cinegy Capture Desktop Edition installation. |
|
Installation of each Cinegy Capture component(s) is enabled by default, which is indicated by the "Install" option selected and highlighted with red. |
|
Select the "Skip" option next to the relevant component to disable its installation. |


The default installation directory, which is indicated underneath the package component name, can be changed by clicking the path and selecting an existing folder or creating a new one in the "Browse for folder" dialog that appears:
Press the "Next" button to proceed with installation.
Check your system validation in the following dialog:
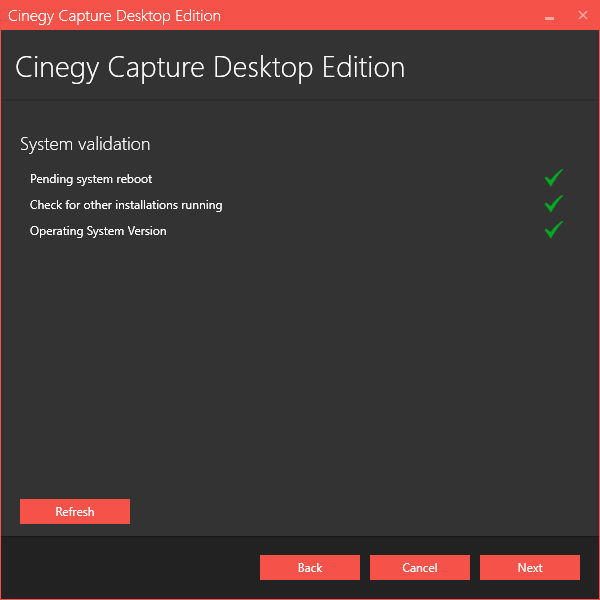
The green tick indicates that the system resources are ready and no other processes may prevent installation. Press the "Next" button to begin installation.
The progress bar indicates the progress of the installation process.
The following dialog informs that installation is completed successfully:

|
Press "Close" to exit the wizard. |

Once installation is complete, Capture Control plugin is available in the "Modules" list on the main Cinegy Desktop toolbar:
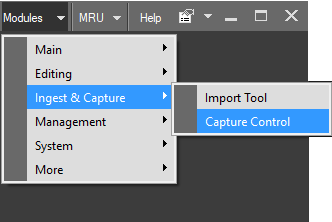
Before getting started to work with Capture Control plugin, it is necessary to configure Capture Service according to your needs.