Effects
Reading time ~7 minutes
The following effects can be applied to a loaded clip:
Below is the detailed description of effects and their parameters with examples of each effect applied to a video clip in a sequence with a Cinegy Titler template on the lower layer for better visual comprehension.
Transformation
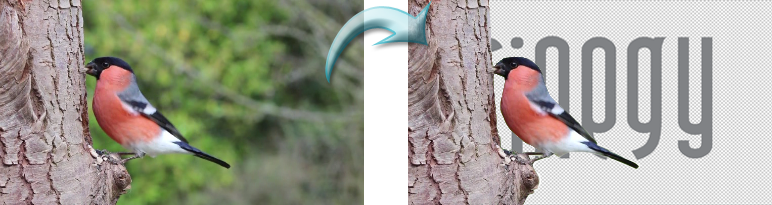
Using the transformation effect, you can adjust the position and size of the video.
Position
The "Position" parameters allows moving video material vertically and/or horizontally.
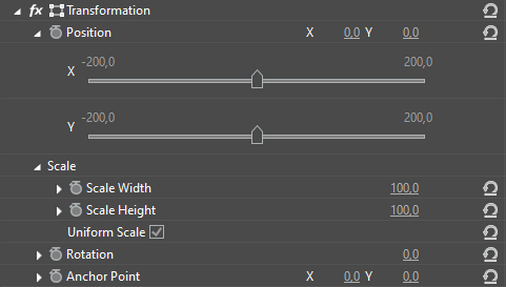
Drag the slider on the X axis to move the clip to the left or right and on on the Y axis to move it up or down. Alternatively, you can enter the precise values for position on both axes in the relevant fields and hit Enter to apply them.
Scale
Use the corresponding sliders of fields to change the width and height values for the clip:

The "Uniform Scale" option is checked by default, meaning that changing any of the two parameters values will adjust the other one so that the video proportions are preserved. Uncheck the box to define custom values for the width and height parameters.
Before |
After |
|
|
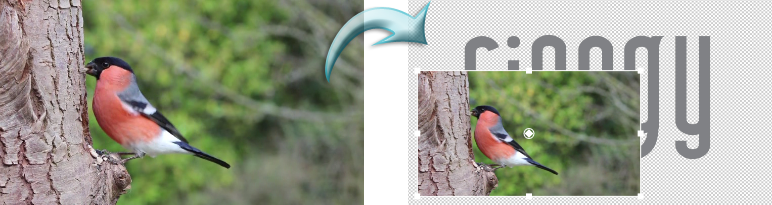
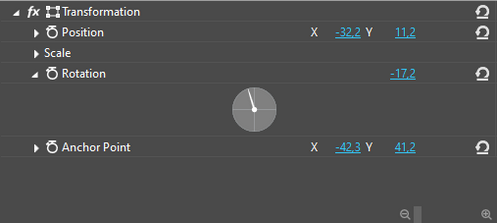
Rotation
This effect makes the clip rotate in a specified manner. Rotating the clip means turning around its transformation point located in the center of the "canvas".
By changing the rotation angle parameter or dragging to the desired position the needle on a directional compass dial you can rotate the image clockwise or counter-clockwise:
The result of rotation can be simultaneously observed in the Clip Viewer. The Clip Viewer also supports interactive object rotation in its "canvas".
Anchor Point
An anchor point determines where your video scales and rotates from. Use the corresponding sliders to move the horizontal and vertical axe of the video material:

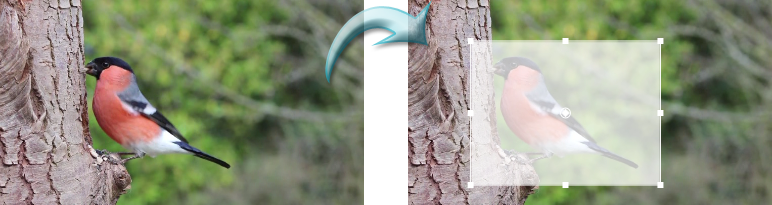
Opacity

Drag the slider to the left to add opacity to the clip. The 0 value means the clip is completely transparent.
The example below illustrates how the back layer becomes visible through the transparent video file image:
Before |
After |
|
|
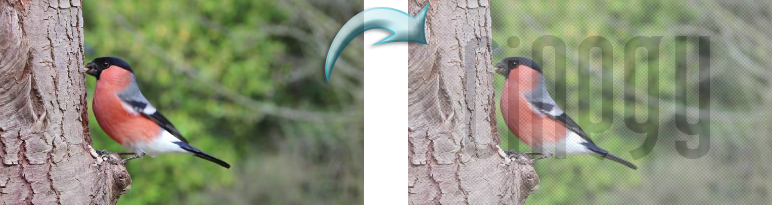
Blur
This effect adds blur to the clip.
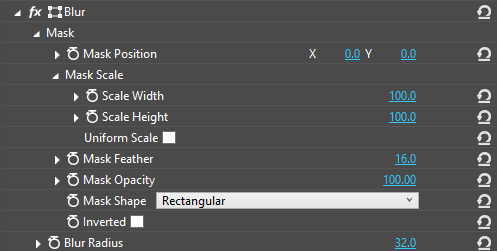
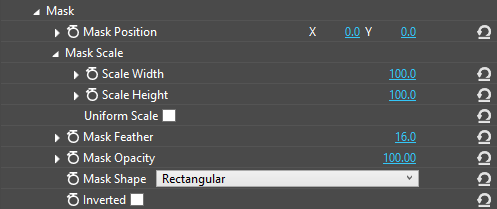
Mask
The mask parameters define the area of a clip where blur is applied.
-
Mask Position ‒ change the values on X axis and to move the mask horizontally, and on the Y axis to move it vertically.
-
Mask Scale ‒ use the corresponding sliders to change the mask height and width. With the "Uniform Scale" option selected will change the mask size proportionally.
-
Mask Feather ‒ changing this parameter will adjust the mask edges softness.
-
Mask Opacity ‒ this parameter adds opacity to the mask.
-
Mask Shape ‒ use the drop-down list to define the mask shape: rectangular or elliptic.
-
Inverted ‒ check this option to invert the area where effect is applied.
Blur Radius
Changing the blur radius value increases/decreases the spread radius for the blur mask starting from its center point.
Before |
After |
|
|
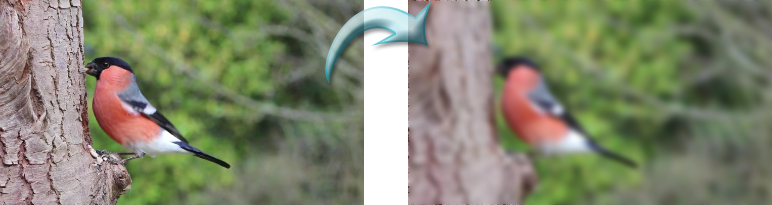
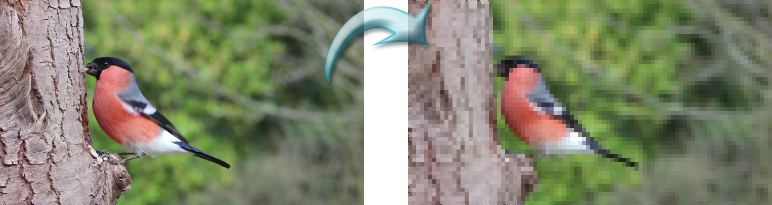
Mosaic
This effect makes the image pixelated.
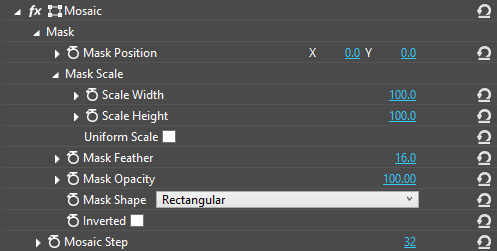
Mask
The mask parameters that define the area of a clip where mosaic is applied are set up as described above.
Mosaic Step
Drag the slider right to increase the size of mosaic steps or right to decrease it.
Before |
After |
|
|
Tint
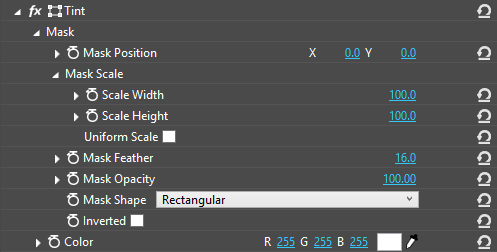
This effect adds color tint to the image.
Mask
The mask parameters that define the area of a clip where tint is applied are set up as described above.
Color
The default tint color is white.
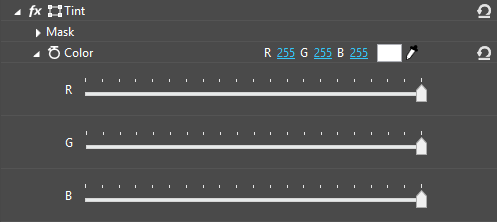
Drag the sliders to adjust the red, green, and blue primary colors to mix them according to the RGB color model. Alternatively, the corresponding color values of 0–255 can be defined in the respective fields via the keyboard.
You can also change the tint color using the palette that appears when clicking the color selection box:
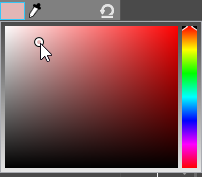
To use a color from the active image or from anywhere else on the screen, you can also click  . The mouse pointer will turn into a color picker tool. The color of a screen area with the tool hovered over is sampled in the color selection box with the corresponding color values automatically detected. Once a required color is selected, the regular mouse pointer replaces the color picker tool.
Before |
After |
|
|
Mask
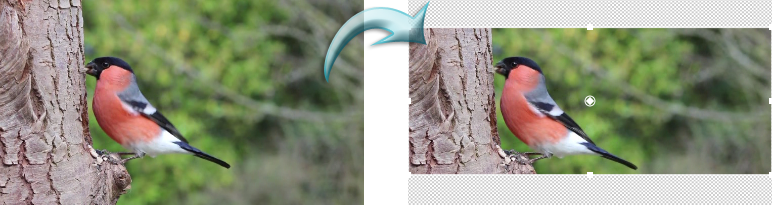
This effect is applied to allow partial or complete exclusion of an image from display during playback.
The parameters for this effect are set up identically to other effects as described above.
Before |
After |
|
|
Before |
After (with the "Inverted" option applied) |
|
|

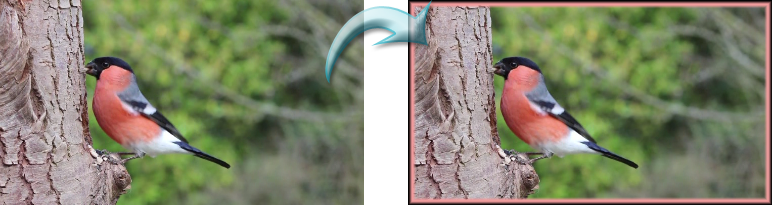
Border

This effect adds a border to the clip and has the following parameters:
-
Border Size – defines the border width;
-
Border Feather – adds blur to the outer border edges;
-
Border Color – defines the border color, that can be adjusted as described above
Before |
After |
|
|
Color Balance

This group of parameters is used to reduce or strengthen the color intensity within the ranges of colors with the primary red, green and blue. You can adjust the color balance in shadow, midtone, and highlight areas using the corresponding sliders under the respective sections.
Check the "Preserve Luminosity" option to save the original lightness of the image:
Before |
After |
|
|
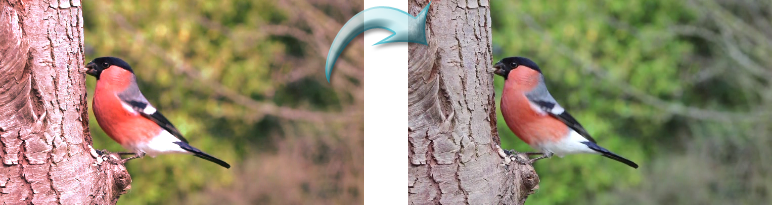
Color Corrector
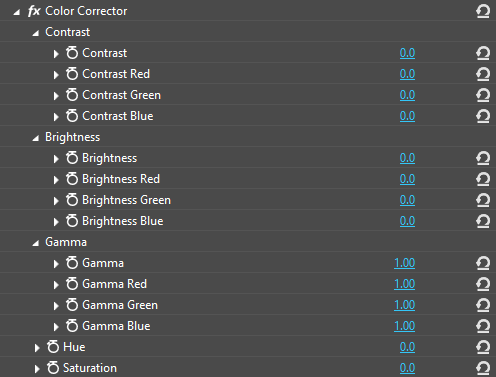
The color corrector provides you with the tools for color correction of a clip.
-
Contrast – parameters of this section allow defining the amount of contrast in the image. You can use the "Contrast" slider to adjust the overall contrast of the image or set the amount of contrast for colors with the primary red, green and blue via the separate sliders.
-
Brightness – the image brightness is adjusted here. Use the corresponding sliders to set the overall image brightness or the brightness of colors separately with the primary red, green and blue.
-
Gamma – these parameters are used for correction of luminance and optimization of perceptual performance of a limited number of bits in each RGB component or in the whole image; the default value of 1.00 represents no change to the image.
-
Hue – shifts the color of all the pixels in the clip; the 0.0 value represents no change to the image.
-
Saturation – specifies the intensity of the color; the 0.0 value represents no change to the image.
Before |
After |
|
|
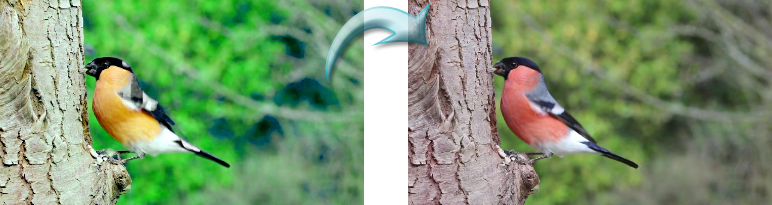
Recolor
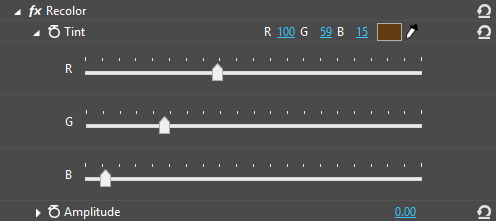
This effect allows you to replace colors of the clip by adding tint and setting the amplitude.
-
Tint – click the cell with color sample or use the color picker tool as it is described above to choose the tint color. Alternatively, you can define the amount of tint each RGB component by dragging the respective sliders. The RGB decimal code used for tint color by default is (100, 59, 15).
-
Amplitude – this parameter is intended to improve the colors that appear to be either too weak or too saturated after the tint color has been applied, and the image looks.
Before |
After |
|
|
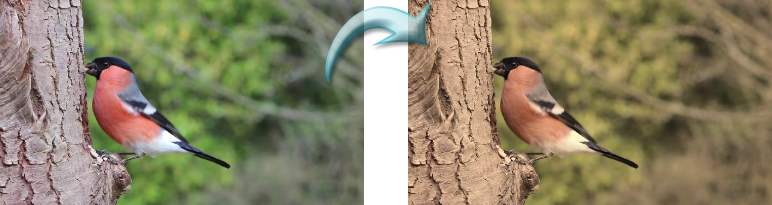
White Balance
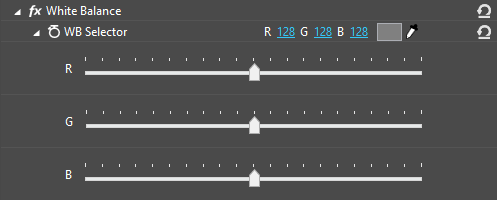
If the white balance of the image needs to be adjusted you can define the colors to be rendered by using color picker or a standard color palette as it is described above. The color you choose becomes white and the other colors are adjusted to correct the whole image.
Before |
After |
|
|
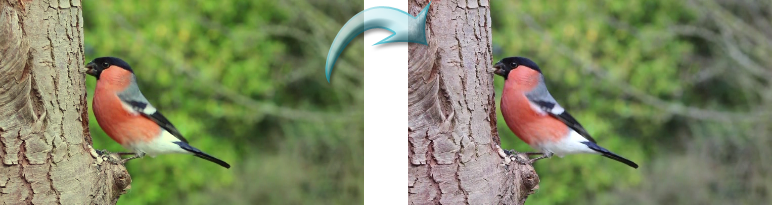
Chromakey
The Chromakey effect allows you to set transparency for the background and reveal another image behind. This effect is useful for replacing the background of the video with another video footage, for example for weather forecast broadcasts when the presenter is standing in front of a map.
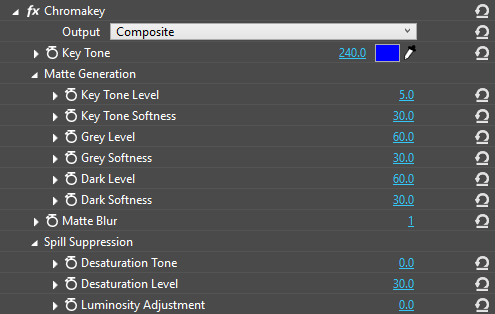
Choose one of the available output modes from the corresponding drop-down list:
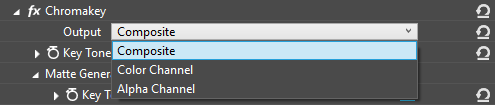
-
Composite – creates a colored image with the transparent area instead of the selected key color.
-
Color Channel – creates a colored image with the key tone replaced with a color of black and white range.
-
Alpha Channel – creates the alpha channel with determined transparent and visible areas of an image.
Select the color you need to make transparent using the "Key Tone" color picker or dragging the slider on the color palette bar:

Use the "Matte Generation" settings group to add matting in order to outline the foreground object(s) so that they look realistic in the new composited image. Adjust the "Matte Blur" parameter if it is required to soften the edges of the foreground object(s).
The "Spill Suppression" settings groups allow you to define desaturation tone and level, as well as adjust luminosity using the corresponding sliders. These parameters will remove color spill of the foreground object and preserve its original colors.
Before |
After |
|
|