Audio Mixer
Reading time ~4 minutes
The "Audio mixer" tool provides you with the full range of audio functionality for each audio channel in use.
It allows you to control basic audio track parameters like volume and pan/balance for the selected audio effect target – clip or the whole audio track. Audio Mixer can also map the audio output from Timeline to the output audio channels.
Each mixer track corresponds to the audio track on Timeline of the currently active Sequence. It also displays the master fader for the output channel(s).

|
|
Tracks Handling
The basic operations with tracks can be done directly in Audio Mixer.
To add more audio tracks, right-click anywhere within the Audio Mixer window and select the desired audio track type from the "Add audio" submenu.
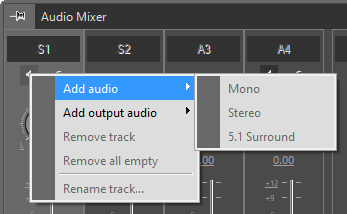
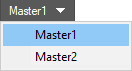
You can add as many output audio channels as needed in a similar way using the "Add output audio" submenu.
To remove a track, select it and choose the "Remove track" context menu command. The "Remove all empty" command can be used to delete all unused empty tracks on Timeline.
The track name can be changed using the "Rename track…" command.
Audio Mixer Modes
Audio Mixer allows you to select the audio effect target – clip or the whole audio track.
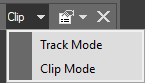
The Track/Clip selector on the caption bar defines whether the effect is applied to the clip or to the whole audio track. This allows you to use Audio Mixer to adjust clip effects as well as manage audio tracks.
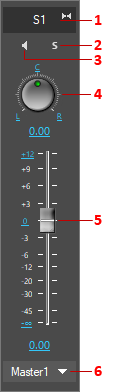
Panning and Balancing in Audio Mixer
At first you should specify whether you want to change the pan/balance of the clip or the whole track by selecting the corresponding Audio Mixer mode.
To pan the audio balance of the stereo track, use the adjustment knob of the respective audio track. While keeping the left mouse button pressed, move the mouse left or right; the current value is shown as a decimal below the adjustment knob. If you want to create a 100% left or right channel, simply press "L" or "R"; by pressing "C" the audio channel will be centered. It is also possible to enter the values directly to the decimal display or use the keyboard left and right arrows to change the balance values.
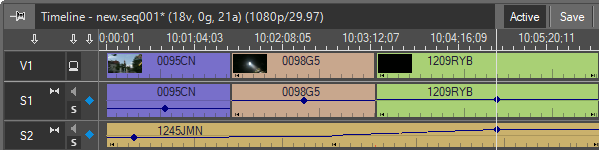
The result of this action can be seen on Timeline as keyframes will be set:
|
Pan audio balance keyframes on S1 and S2 after the adjustment in Audio Mixer in clip mode |
|
Note
|
The keyframes are set according to the position of the Timeline slider. |
|
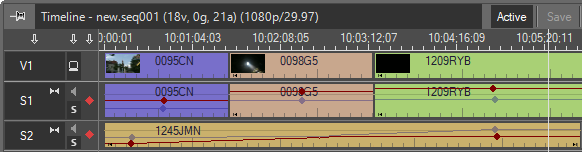
Pan audio balance keyframe levels on S1 and S2 after the adjustment in Audio Mixer in track mode |

Adjusting Volume Levels
At first you should specify whether you want to change the volume of the clip or the whole track by selecting the corresponding Audio Mixer mode.
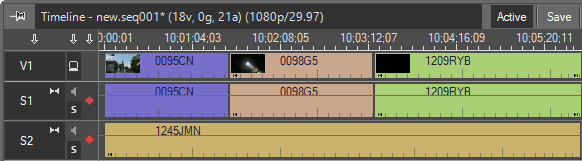
To adjust the volume of the audio clip, use the volume fader of the respective channel. It is also possible to enter the values directly to the decimal display beneath the volume fader or use the keyboard up and down arrows to change the volume value. Volume changes are also displayed by keyframes on the audio clip(s) or Timeline tracks.
|
Volume keyframes on S1 and S2 after the adjustment in Audio Mixer in clip mode |
|
Note
|
The keyframes are set according to the position of the Timeline slider. |
|
Volume keyframe levels on S1 and S2 after the adjustment in Audio Mixer in track mode |
Hardware Setup
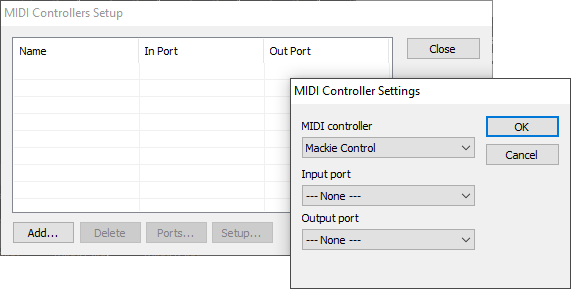
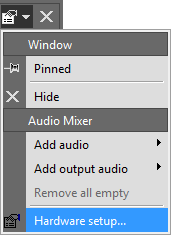
External MIDI controllers can be connected to control Audio Mixer. Use the "Hardware setup…" option from the Audio Mixer main menu to set up the MIDI controller:
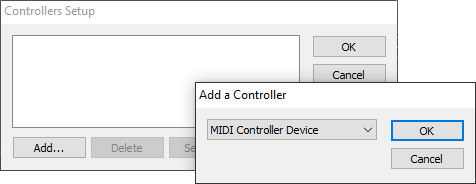
On the window that appears press the "Add" button to add a MIDI Controller Device:
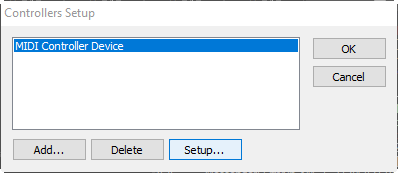
You can also setup the added controller device using the "Setup…" button:
Select the control name from the drop-down list, define the Input and Output ports and press the "OK" button to save changes: