Capture Configuration
Reading time ~3 minutes
Launching and Configuration
To launch Cinegy Capture Manager, go to Start > Cinegy > Cinegy Capture 64-bit Manager. The configuration procedure begins with creating a new database.
|
Important
|
Refer to the Database Configuration article to learn how to configure database. |
Proceed with the setup and define the main parameters of your capture session. Pressing the "Common settings" button opens the following dialog:
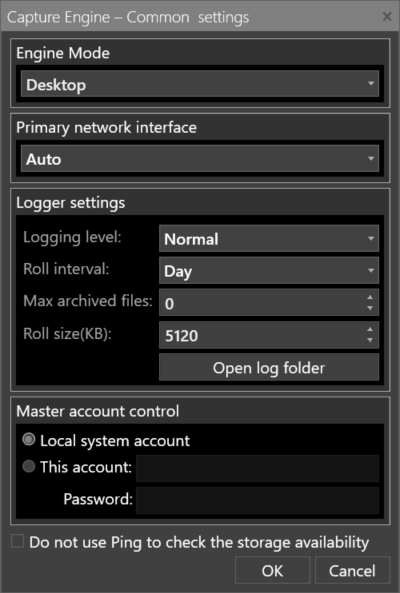
The Cinegy Capture Engine mode is set to Capture Desktop Edition by default.
The "Primary network interface" drop-down list contains all the current network adapter IPs installed on the machine running Cinegy Capture Manager. Selecting the appropriate network adapter ensures stable network load balancing.
|
Note
|
If the "Auto" option is selected, Cinegy Capture Agent will use the random available network adapter IP instead of the specific IP address. This option should be used if the Capture Engine is installed over the internet and controlled by "remote" Capture Control. |
|
Note
|
The selection of the network adapter IP to be used should be based on the system administrator recommendations. |
|
Important
|
Refer to the Main Configuration article to learn how to configure logging parameters of your capture session along with managing accounts. |
Adding Service
Press the "Add" button to add a new Capture Service. It will appear in the "Engine Service" panel informing you of not being installed yet. To install the Service, press the "Install" button.
|
Important
|
Only one Capture Service is allowed to run in Capture Desktop Edition mode. |
Press the "Configure" button and define the settings for your Engine Service including common settings, audio and preview settings as well as metadata and timecode settings.
|
Important
|
To get detailed information on the Service configuration refer to the Service Configuration section within the Cinegy Capture Manager manual. |
On this step it is also required to specify the video stream capturing source type.
|
Important
|
Refer to the Capture Source article for the list of supported input devices. |
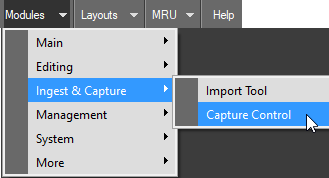
Having performed the necessary Service configurations, select the "Capture Control" option from the drop-down list in the "Ingest & Capture" category in Cinegy Desktop:
Cinegy Capture Control panel will be launched, allowing you to configure the Engine templates for your capture session.
Setting Up Capture Session
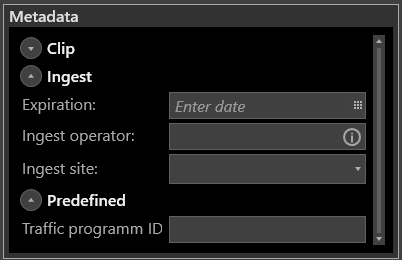
Before you start your capture session, you have to set up the Engine templates to be used for recording. Start with specifying the General settings and define the Roll name and Media group, which are mandatory parameters. Depending on your database settings, define the values for the available metadata parameters:
|
Important
|
Refer to the Archive Templates paragraph to get information on archive templates setup. |
Having completed the template creation, you can start your capture session. One capture session is normally recorded into a single Roll. Additionally, one capture session can be represented by several separate Rolls created during one recording process.
|
Important
|
Refer to the Coding Scheme Settings in Archive Mode paragraph to get more information on capture session setup. |
Once the capture session has started, the resultant growing Roll in Cinegy Desktop, can be viewed, sub-clipped, added to a Sequence and controlled using a common set of keyboard shortcuts. During viewing, IN and OUT points of the Clip/Roll can also be adjusted whilst still recording, if required.
|
Important
|
Refer to the Capture Panel paragraph to get more information on controlling your capture session. |