Video Opacity Adjustment
Reading time ~2 minutes
The video track opacity can be adjusted by adding and manipulating the keyframes (KF) using the rubber banding Timeline feature.
|
Note
|
The objects added to the V1 video track are always non-transparent, so video opacity adjustment is not available within the V1 track. |
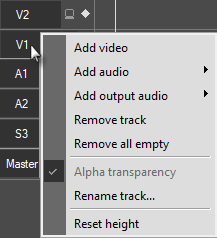
By default, all V1 video tracks are with disabled "Alpha transparency" mode. The corresponding information is displayed in the context menu while right-clicking the V1 track name:
For other video tracks the "Alpha transparency" mode is disabled by default.
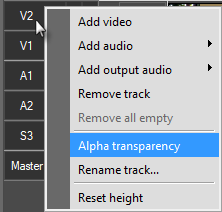
To enable "Alpha transparency" mode for a video track, right-click the required track name and selected the "Alpha transparency" option from the context menu:
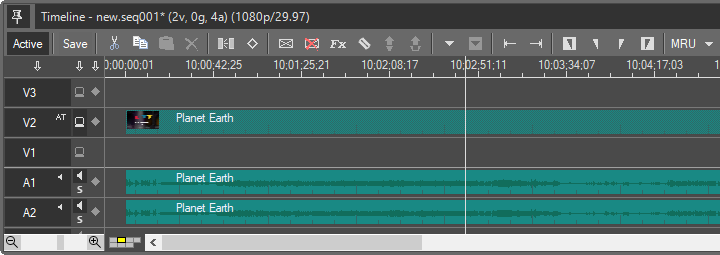
If the "Alpha transparency" is enabled, the corresponding "AT" icon will be displayed next to the track name, allowing to work with video opacity rubber banding:
If you drag-and-drop a Titler template or an image into a regular track without "Alpha transparency" mode enabled, the following message appears:
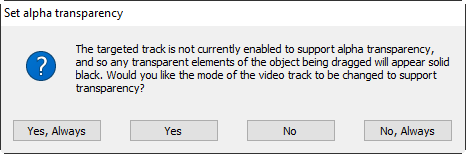
The following options are available:
|
Add a Titler template or an image with "Alpha transparency" mode enabled. |
|
Add a Titler template or an image with "Alpha transparency" mode enabled for this and all subsequent operations. |
|
Add a Titler template or an image without "Alpha transparency" mode enabled. |
|
Add a Titler template or an image without "Alpha transparency" mode enabled for this and all subsequent operations. |


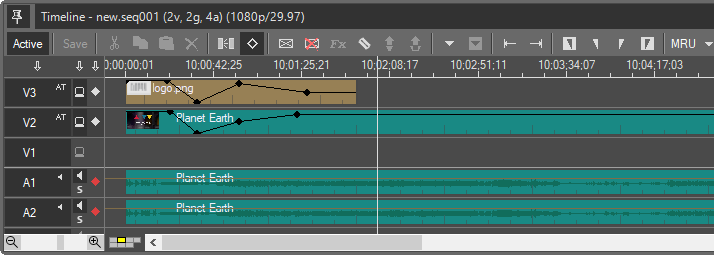
Once drag-and-dropped with "Alpha transparency" mode enabled, the image will be displayed on the timeline allowing to work with the video opacity rubber banding:

To start working with the video opacity rubber banding, do the following:
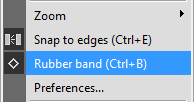
1. Use the Ctrl+B keyboard shortcut or enable the "Rubber band" command in the main Timeline menu:
|
|
2. Move the time slider to the position where you want to change the opacity. |
|
3. Press the "Add/Remove keyframe" button or use the N shortcut. The new keyframe appears on all the objects of activated tracks at the current position. The track mode is automatically changed to support transparency with the corresponding icon displayed next to the track name: |

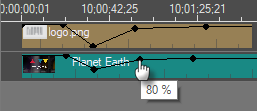
4. Drag the key to obtain the desired effect. The opacity gain will be shown in percentage as a tool-tip during dragging: |
|
|
The video opacity change will be immediately reflected in Sequence Viewer.