Metadata Manager
Reading time ~5 minutes
The Metadata Manager plug-in is a flexible tool for working with metadata from Rolls and ClipBins.
The Metadata Manager plug-in is included in the Cinegy Desktop package and can be accessed directly from the Cinegy Desktop interface.
The purpose of the Metadata Manager plug-in is:
-
to view metadata stored against an object;
-
to export metadata to a number of different formats.
|
To access Metadata Manager, press the "Modules" button in the top right toolbar within Cinegy Desktop: |
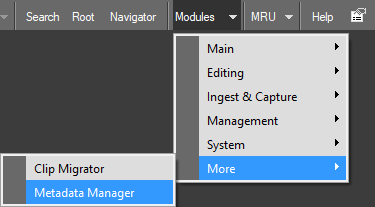
Select "Metadata Manager" from the drop-down list. This will open Metadata Manager:
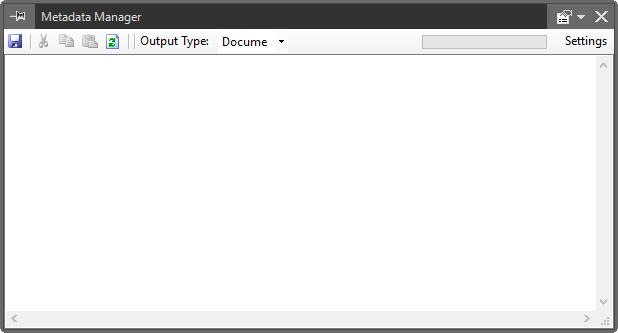
Metadata Manager Toolbar

The Metadata Manager toolbar provides a series of functions:
| Button | Function |
|---|---|
|
Press the "Save" button to save a metadata file in the current format that has been selected in the "Output Type" field. |
|
Press the "Cut" button to cut the highlighted text to the clipboard. |
|
Press the "Copy" button to copy the highlighted text to the clipboard. |
|
Press the "Paste" button to paste the highlighted text from the clipboard. |
|
Press the "Refresh" button to refresh the current view. This will undo any copy, cut or paste changes made during this session. |
|
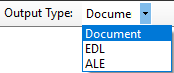
Use this drop-down list to select the desired output format in which the metadata will be represented. You can select one of the following: |
|
Use this button to access the metadata manager settings. |
|
Press the "Pin" button to fix the size and position of the windows on the screen. |
|
Use the "More functions" button to toggle a drop-down list showing a choice of further functions. |
|
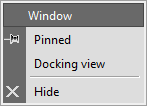
Options in the "More functions" drop-down list: |
|
Use the "Hide" button to hide Metadata Manager. |


Operating Metadata Manager
Adding Media
Drag-and-drop the desired Roll or ClipBin into the Metadata Manager window. The metadata will be presented in the format selected in the "Output Type" field.
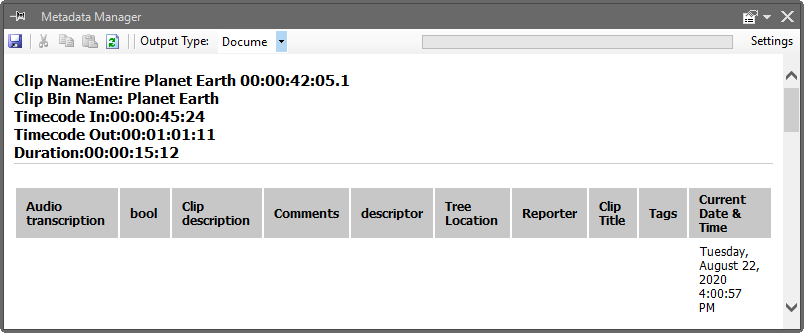
The Document output type:
|
Note
|
Launched for the first time, the Metadata Manager window with the selected Document output type can be empty. Choose the metadata to be displayed in the Document Tab using the metadata Manager Settings window. |
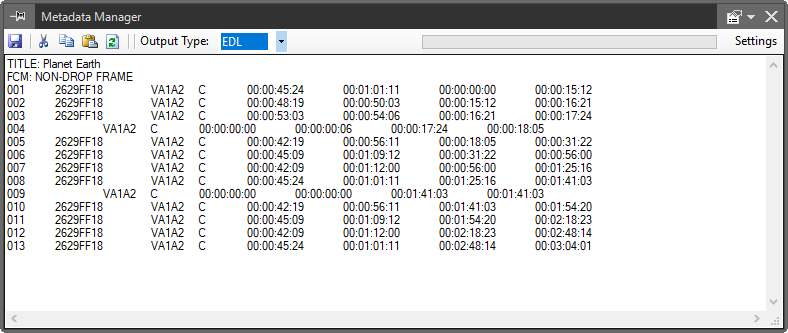
The EDL output type:
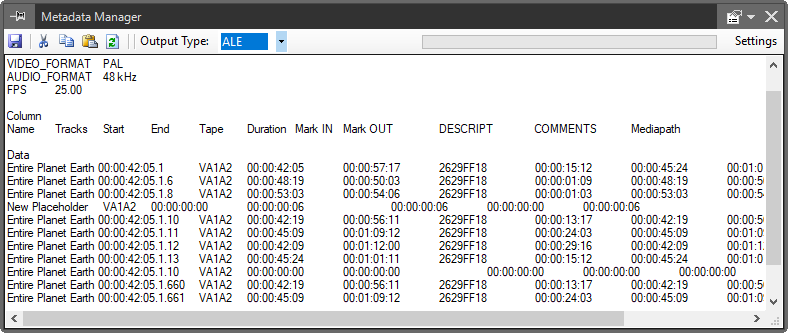
The ALE output type:
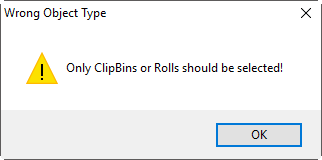
Metadata Manager can only process ClipBins or Rolls; if any other object type is selected, the following error message appears:
Saving the Metadata
|
Press the "Save" icon on the Metadata Manager toolbar in order to save the metadata. The common "Save as" dialog box appears: |
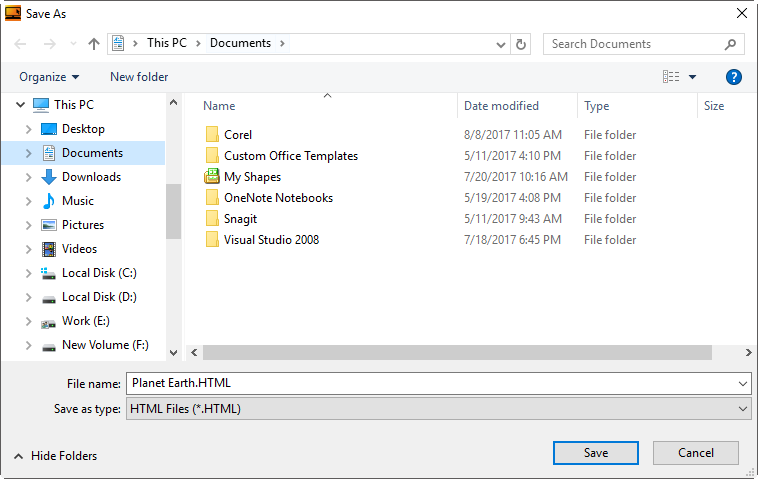
Browse for the desired folder location and press "Save".
Depending on the selected output type in which the metadata is represented, the metadata file will be saved in the following file format:
| Output Type | Metadata File Format |
|---|---|
Document |
*.HTML |
EDL |
*.EDL |
ALE |
*.ALE |
|
Use the "Settings" button to access controls that allow user to configure the output parameters in more detail. |
Metadata Manager Settings
The "Settings" dialog can be used to configure and control elements of the Metadata Manager behavior.
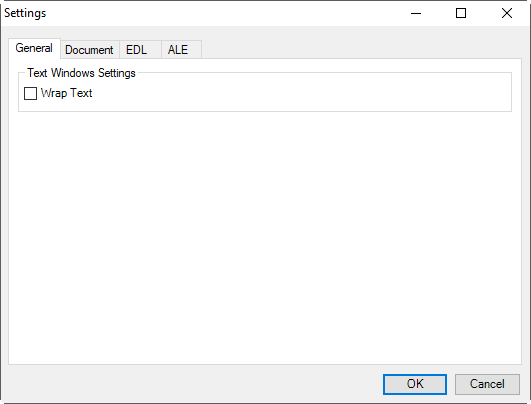
General Tab
On the "General" tab, the "Wrap Text" checkbox can be used to control whether the text in the textbox within the main "Metadata Manager" window is wrapped to fit the window.
Select the checkbox to wrap the text, or leave the checkbox deselected to ensure the text is not wrapped.
Document Tab
The "Document" dialog allows the configuration of the document production facility within Metadata Manager.
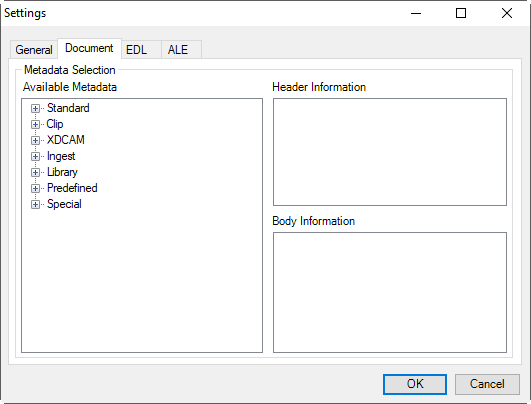
The "+" symbols inside the "Available Metadata" pane can be clicked to expand the metadata hierarchy. Once the desired metadata tag is in view, it can be dragged to the "Header Information" pane (if the tag is to be displayed as a part of the header), or to the "Body Information" pane (if the tag is to be displayed as a part of the body of the document).
After all the selections have been made, press "OK" to confirm them.
EDL Tab
The "EDL" dialog allows the configuration of the Edit Decision List (EDL) format for Metadata Manager:
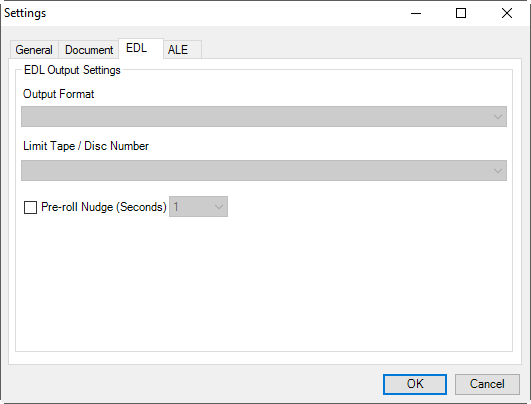
Choose the desired output format for your EDL from the drop-down list and set the length limit for the tape or disc number if you wish to truncate the text during the export.
Select the "Pre-roll Nudge (Seconds)" option and define the value from 0 to 10 to generate the time in seconds of the pre-roll.
ALE Tab
In the "ALE" tab, you can configure the ALE format used in Metadata Manager.
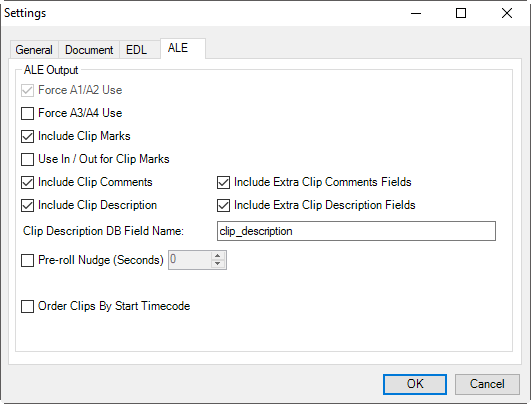
Select the features you want to enable to include the associated detail within the main Metadata Manager textbox, or deselect to remove the associated detail from the Metadata Manager textbox. The following ALE output options can be chosen:
-
Force A1/A2 Use – includes the information of the A1 and A2 audio tracks of the clip;
-
Force A3/A4 Use – includes the information of the A3 and A4 audio tracks of the clip;
-
Include Clip Marks – includes the information of the In and Out marks set for the clip;
-
Use In/Out for Clip Marks – uses In and Out points as clip marks;
-
Include Clip Comments – includes the clip comment. Maximal length is 255 symbols;
-
Include Clip Description – includes the description from the specified metadata field of the clip. Maximal length is 255 symbols;
-
Include Extra Clip Comments Fields – creates multiple extra clip comment fields split into the fragments of 255 symbols per field to fit the clip comments longer than 255 symbols;
-
Include Extra Clip Description Fields – creates multiple extra clip description fields split into the fragments of 255 symbols per field to fit the descriptions longer than 255 symbols;
-
Pre-Roll Nudge (Seconds) – generates the pre-roll delay in seconds;
-
Order Clips by Start Timecode – automatically arranges clips according to the start timecodes.