Features and Functions
Reading time ~14 minutes
Clip Colors on Timeline
The colors of the clip are defined during capture/import. When adding a clip to Timeline, the clip bars are displayed in your predefined colors:

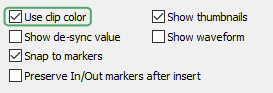
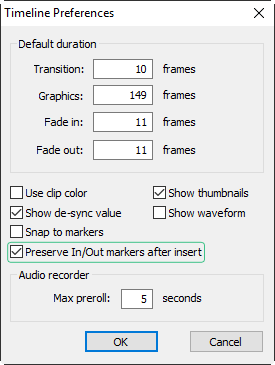
You can disable the use of different colors on Timeline by deselecting the "Use clip color" option in the Timeline preferences:
When this option is disabled, the video and audio tracks bars will be displayed in two predefined colors accordingly:

|
Important
|
Refer to the Colors section in the Cinegy Archive Manager Manual to get more information on assigning colors to the clips. |
Clip Thumbnails
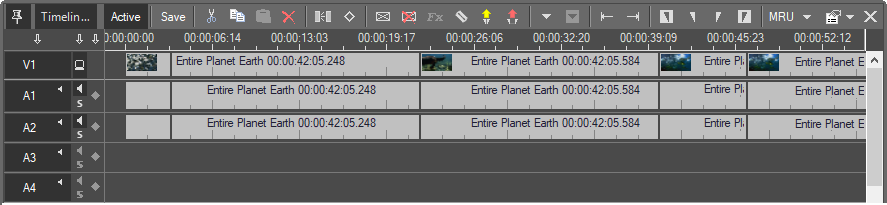
The thumbnails of the clips and graphic images are displayed on Timeline within the corresponding video tracks:

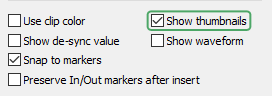
To disable the thumbnails display, deselect the "Show thumbnails" option in the "Timeline Preferences" dialog box:
Timeline will be displayed as follows:

Audio Waveform
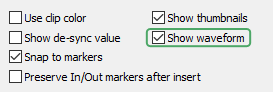
To display the audio waveform on Timeline, tick off the "Show waveform" option in the "Timeline Preferences" dialog box:
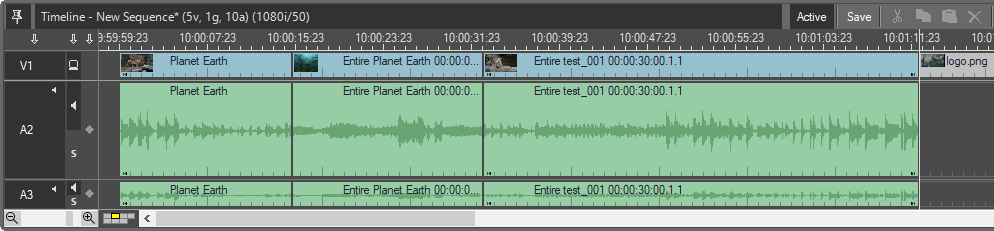
The audio tracks waveform will be displayed as follows:
Match Frame Indicator on Timeline

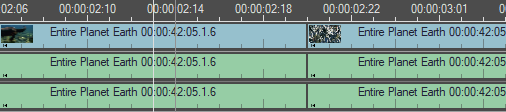
If two adjacent clips come from the same capture/import session and can be played seamlessly, yellow triangle markers are displayed between the clips to indicate the seamless playback.
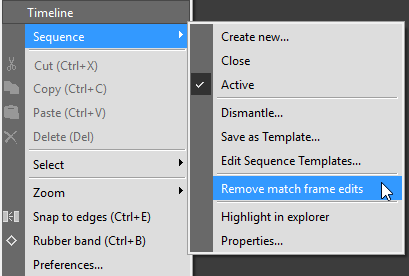
Removing match frame indicators from Timeline will merge the adjacent frames and extend the clip to the entire. To do it, simply use the "Remove match frame edits" command from the Timeline menu:
|
Note
|
The "Remove match frame edits" command is disabled for the match frame with a mix effect applied. |
|
Note
|
This command is not available for multiclip objects inserted into Timeline. |
24-Hour Boundary for Sequences
The Sequences cannot be longer than 24 hours as this would make any EDL or AAF export impossible. A red line marks the 24 hour boundary on Timeline.

Moving the Time Slider
To change the current position of the time slider, simply click the time ruler.
The current frame will be displayed in Sequence Viewer; the Sequence Viewer and Timeline time sliders will move synchronously. The two lines represent the edges of one frame (the beginning and the end). The gap between the lines corresponds to the zoom level. Usually all actions are applied to the beginning of a frame, marked by the white line. (Exception: "Mark Out" applies to the end of the frame.)
Setting the Time Scale
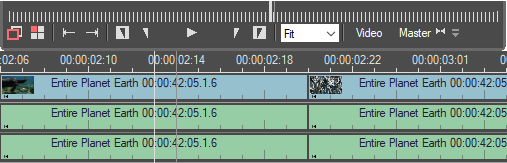
In the bottom left corner of Timeline, there is a time scale control.

Drag the slider to change the time scale on Timeline. You can also use the ↑ and ↓ keys to step the time scale up and down accordingly.
The minimal scale is selected in order to fit the entire Sequence into Timeline.
You can also scale the zoom factor by scrolling with the pressed mouse wheel.
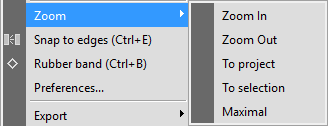
In the Timeline menu, you will find the zoom commands: "Zoom In", "Zoom Out", "To project", "To selection" and "Maximal".
|
Note
|
Right-clicking the time scale control also gives you the zoom options mentioned above. |
| Shortcuts | Zooming |
|---|---|
Up |
Zoom out |
Down |
Zoom in |
Ctrl+Up |
Zoom to project |
Shift+Up |
Zoom to selection |
Ctrl+Down |
Zoom to current position |
Shift+Down |
Zoom to the previous zoom level |
Changing Track Height
Simply drag between the tracks in the left part of Timeline to change the height of the desired track.


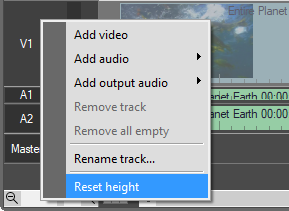
To reset the height of all the tracks to the default value, right-click the track selector on Timeline and choose the "Reset height" command.
Selecting Clips
You can select a clip or multiclip on Timeline by simply clicking it.
|
Note
|
If the video and audio tracks in the clip are linked, all the corresponding tracks will be selected. |
Selecting a Range of Clips
You can also select a range of clips and/or multiclips at once by dragging the mouse from an empty space on Timeline. A rubber band appears. All the clips intersecting with the rubber band will be selected when you release the mouse.
Selecting Multiple Clips
You can use Ctrl+click to select a number of arbitrary clips and multiclips on Timeline.
A repeated Ctrl+click deselects the clip/multiclip.
Selecting from Timeline Menu
You can also select a range of clips and/or multiclips by choosing one of the commands from the Timeline menu. The "To end" and "From start" commands depend on the cursor position.
|
Note
|
You can also use the Ctrl+A> shortcut to select all items on Timeline. |
Dismantling Sequence
You can gather all clips (including placeholder clips) you have used in the Sequence in one bin via the "Dismantle" command from the Timeline menu:

Define the ClipBin used for dismantling:

As a result, a new ClipBin will be created containing all clips used in the Sequence.
Show Metadata
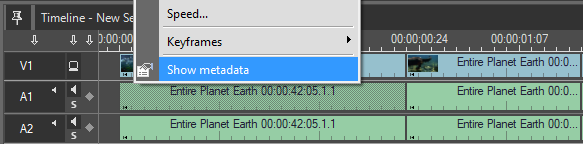
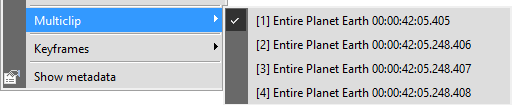
To view the clip metadata on Timeline, select the desired video or audio track, right-click it and select the "Show metadata" context menu command:
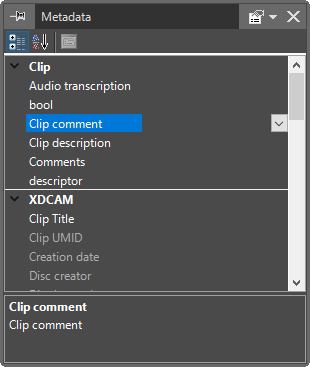
The following metadata dialog box appears:
Aspect Ratio Changing
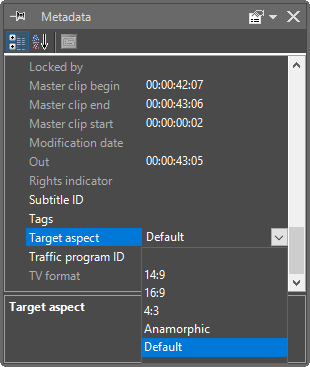
Cinegy Desktop supports the ability to change the aspect ratio for any clip within the existing Sequence. To do this, select the required video clip on Timeline and open its metadata properties as it is described in the previous section. Then locate the "Target aspect" field and choose the required format from the pull-down list:
|
Note
|
Changing the aspect ratio affects only the Timeline project and does not modify the original master clip. |
|
Note
|
If the "Default" value is selected, it means that the target aspect ratio is the same as the physical clip aspect. |
Aspect Ratio Conversion
The effective picture area of the clip will look different after aspect ratio conversion. See the table below for a detailed and pictorial explanation of all possible cropping scenarios:
| Original Aspect Ratio | Target Aspect Ratio | Description | 16:9 Sequence Aspect Ratio |
|---|---|---|---|
4:3 |
4:3 |
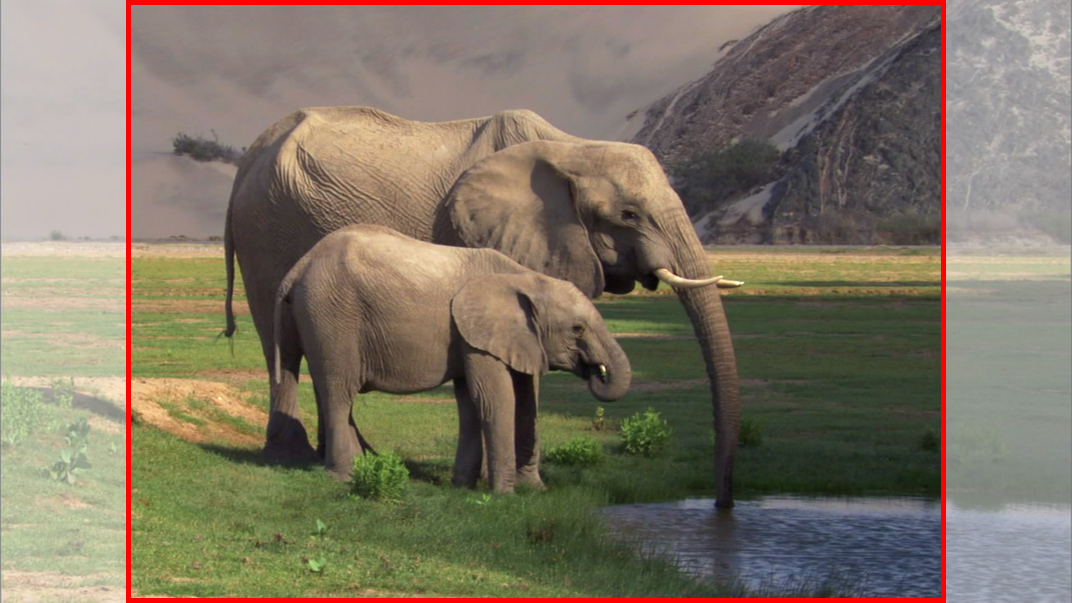
The 4:3 video is placed in the center of the 16:9 screen. The vertical black bars (pillars) are added on each side of the frame. |
|
14:9 |
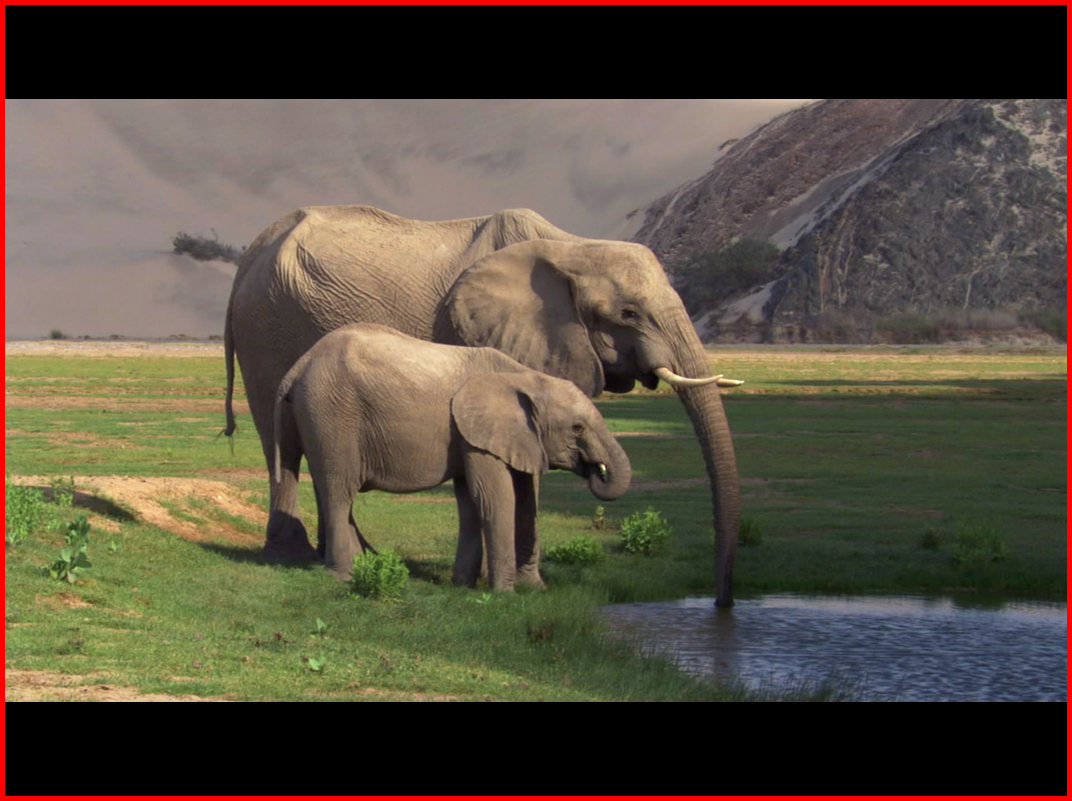
The 4:3 video is placed in the center of the screen. The top and bottom of the original frame are cropped to 14:9, and black bars are added to either side. |
|
|
16:9 |
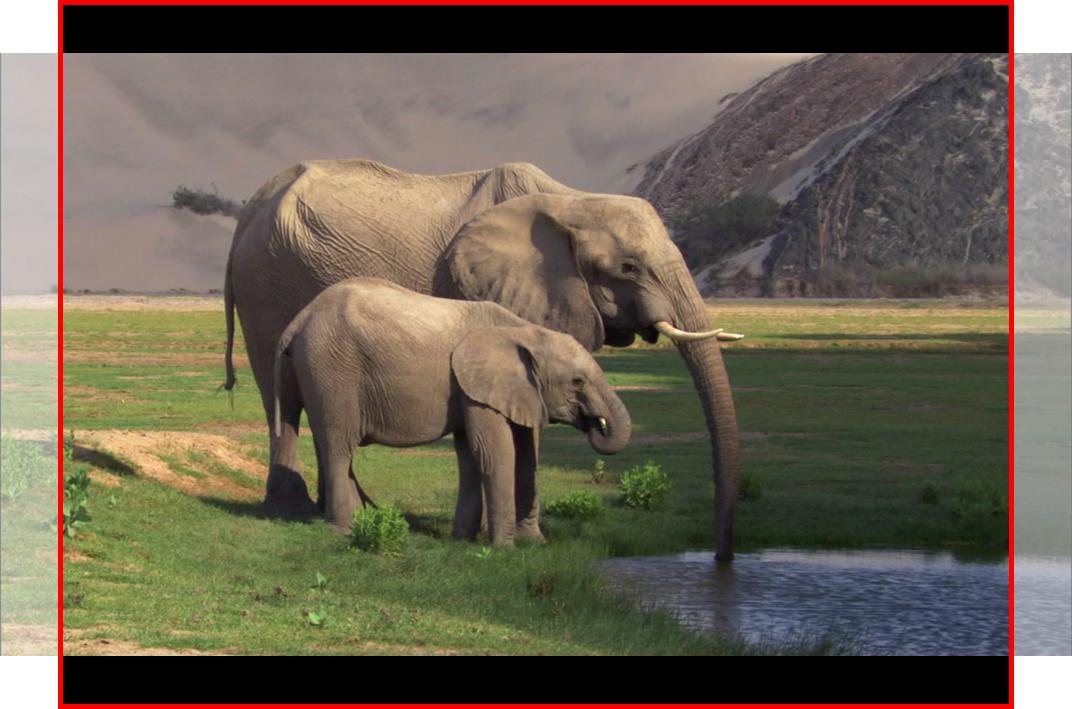
The top and bottom of the original frame are cropped to the 16:9 aspect ratio. |
|
|
Anamorphic |
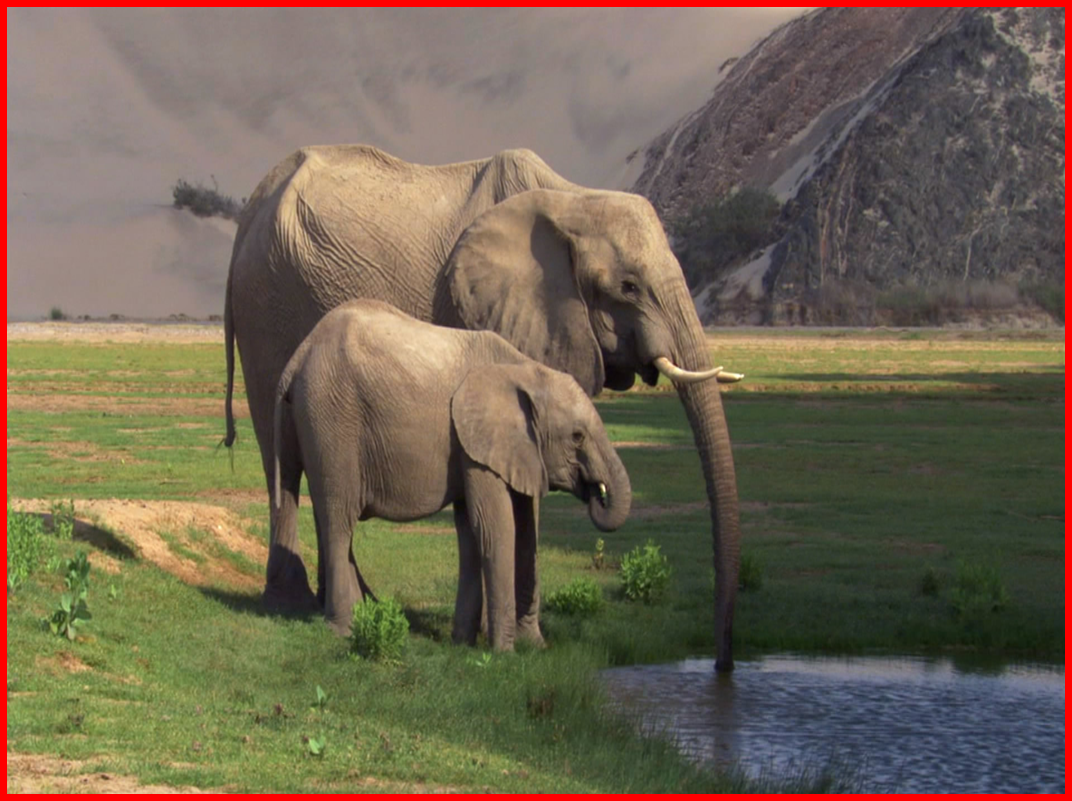
The original frame is stretched horizontally to fill the entire frame resulting in distortion of image. |
|
| Original Aspect Ratio | Target Aspect Ratio | Description | 4:3 Sequence Aspect Ratio |
|---|---|---|---|
16:9 |
4:3 |
The widescreen video is cropped on the left and on the right. Only the main part of the image is shown. |
|
14:9 |
The widescreen video is placed in the center of the screen. The sides of the image are cropped to 14:9 and narrow black bars are added to the top and bottom. |
|
|
16:9 |
The black pillars are added above and below the image preserving the entire 16:9 video. |
|
|
Anamorphic |
The original frame is stretched vertically to fill the entire frame resulting in distortion of image. |
|
Moving Clips
To move a clip/multiclip on Timeline, just drag-and-drop the selected one to a new position.
Snap to Edges
|
When enabled, this feature pulls the mouse pointer to the events on Timeline (i.e. clip starts and ends). You can also use the Ctrl+E keyboard shortcut to enable/disable the snap to edges mode. |

|
Note
|
When moving a group of multiple objects, snapping is performed for the object under the mouse pointer the moment you grab the group. The behavior can be different depending on which object of the group has been grabbed. |
Deleting Clips
|
You can delete a selected clip/multiclip with the "Delete" button in the toolbar or by selecting the "Delete" command from the right-click menu of the clip. |

Add an Edit
|
The "Add an edit" command allows you to cut a clip/multiclip at the current time slider position. You can also use the P shortcut to add a new edit. If the clip/multiclip has linked audio, it will be cut too. |

Moving to Next and Previous Edit Point
|
Use the "Previous event" button to navigate through the previous edit events (i.e. clip start / In point / Out point of clips or multiclips). You can also use the A key to jump to the previous event. |
|
Use the "Next event" button to jump to the next edit event (i.e. clip end / In point / Out point of clips or multiclips). You can also use the S key to jump to the next event. |


Markers
Markers can be used to mark specific events in your project, making it easier to find a certain point or helping to place objects.
Add Markers
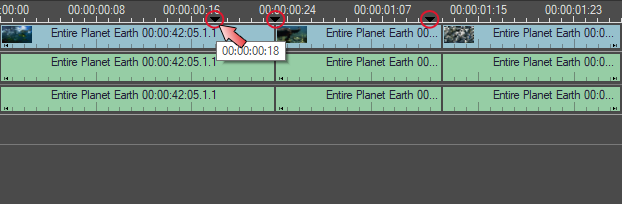
1. Move the Timeline slider to the position where you want to place a marker. |
|
|
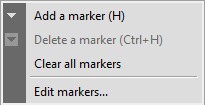
2. Press the "Add a marker" button or use the H shortcut. Alternatively, you can right-click the Timeline ruler and select the "Add a marker"command: |
|

The marker points to the beginning of the frame:
Edit Markers
Right-click the Timeline ruler and select "Edit markers" or double-click a marker. Double-clicking a marker will select the marker in the "Edit markers" list automatically.
The following window appears:

Add a Marker
Press the "Add" button, enter the timecode and hit the Enter key.
Add a Comment
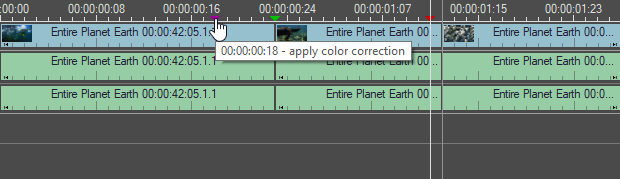
Click into the desired comment column and enter your comment. The comment will be shown as a tool tip (including the timecode) when you move the mouse cursor over the marker.
Delete a Marker
To remove a marker, select it and press the "Delete" button.
Changing Timecode
To move a marker, select it in the "Edit markers" dialog and enter the new timecode. Alternatively, you can point to a marker on Timeline, hold the left mouse button and drag it.
Changing Marker Color

The standard color of the marker is black, but it can be changed – choose between 10 different colors to highlight an event.

Markers and the Timeline Event List
The markers are included in the Timeline event list. This means it is possible to snap to them and that they are recognized by the "Next event" and "Previous event" navigation features.
Snap to Marker
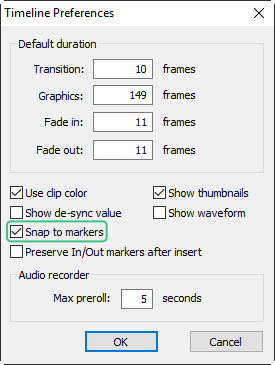
To enable this feature, select the "Snap to markers" option in the "Timeline Preferences" dialog box and enable the snap to edges mode using the Ctrl+E keyboard shortcut.
To deactivate snapping, remove the selection of the "Snap to markers" option.
Preserve Markers after Insertion
To preserve the In and Out points of the copied element on the Timeline, select the "Preserve In/Out markers after insert" option in the "Timeline Preferences" dialog box. If this option is deselected, the In and Out points of the copied element are not displayed after the "Paste" operation.
Managing a Multiclip
Switching the Angles During Playback
The multiclip inserted into Timeline can be processed in order to display various angles during different periods of time.
In order to switch the active angles of the multiclip on Timeline, follow the steps:
-
Double-click a multiclip on Timeline. This will open the multiclip in Clip Viewer.
-
Start playback of the multiclip. During playback activate the desired angle by clicking it.
-
Close Clip Viewer.
The vertical lines in the multiclip mark points where the angles switch:
Switching the Angles within Timeline
You can change a multiclip’s active video/audio source directly on Timeline. To change the active video (or audio) source on Timeline, select the desired video (or audio) angle from the context "Multiclip" menu:
|
Note
|
The "Multiclip" command is only available when the Sequence is active. |
In order to change the active angle for the clip, double-click to open it in Clip Viewer. Select the angle you wish to be activated.
Grouping and Ungrouping Clips
When a video clip is added to Timeline, any corresponding audio will be grouped to the video clip. This is to prevent unsynchronized video and audio on Timeline. It is also possible to add further video and/or audio clips to a group. Moving a group of clips means that all the grouped clips will be moved on Timeline. This is very useful for preventing audio getting out of sync and clips from being separated when playback needs to be seamless:
-
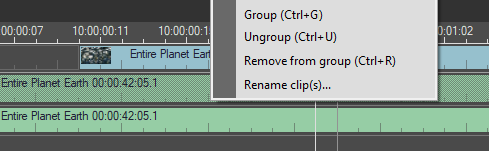
Select more than one video/audio clip and use the "Group" command to combine the selected clips into a group. The "Group" command also works when selecting an existing group plus other clips; alternatively, you can select several groups to form a new group. Use Ctrl to select multiple clips.
-
The "Ungroup" command releases all clips (video and audio) from a group.
-
Use the "Remove from group" command to release only the selected clip(s) from the group. To select clip(s) to be removed from the group, click it(them) holding the Ctrl key down.
|
Note
|
It is also possible to add empty parts of Timeline, "holes", to a group. In this case, the "Remove from group" command is unavailable. |
Moving Segments
To move clip segments on Timeline, simply left-click a segment and keep the left mouse button pressed while dragging it to a new position. Usually video and audio are linked together and will be moved correspondingly. Depending on the track selection (the track selection is mentioned in the next chapter) you can move video and audio tracks individually. The resulting offset is displayed in the clip segment.

It is possible to move a single clip horizontally and vertically on Timeline.
You can move two contiguous audio tracks selected together either vertically or horizontally.
Besides adding video and audio segments to a selection, it is also possible to include "holes". The empty part of Timeline, the "hole", is then grayed out to indicate that it is selected and will then also be moved along with other selected segments.

Extracting Material
There are several ways to remove a segment from the project.
To extract (i.e. remove and close) a segment of your project on Timeline, do the following:
1. Mark the segment with the In and Out points. |
|
|
2. Press the "Extract" button. |

|
Note
|
Insert/overwrite mode currently enabled does not affect the result of this operation. To exclude certain tracks from the operation, deactivate them with the track selector. |
Lifting Material
To lift (i.e. remove and leave an empty space) a segment of your project on Timeline, do the following:
1. Mark the segment with the In and Out points. |
|
|
2. Press the "Lift" button. |

Handling Segments and Gaps
If items (clips, CG templates) are not adjacent on the Timeline, a gap exists between them and is handled as an independent object. A gap may also appear between two segments after lifting the previous material.
You can select and delete but neither move nor copy a single gap, as well as it is not possible to select two or more gaps.
|
Tip
|
When you select several segments on the Timeline with a gap in the middle, the gap is selected automatically, but you cannot select segments and unconnected gaps together. |
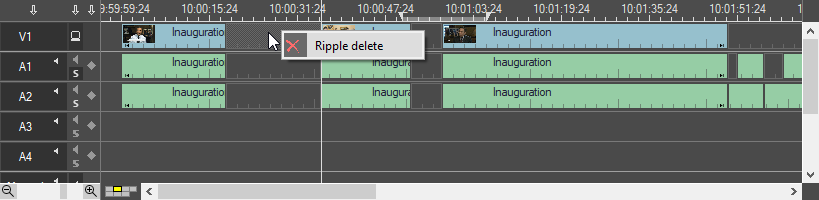
To remove the gap, right-click it and choose "Ripple delete":
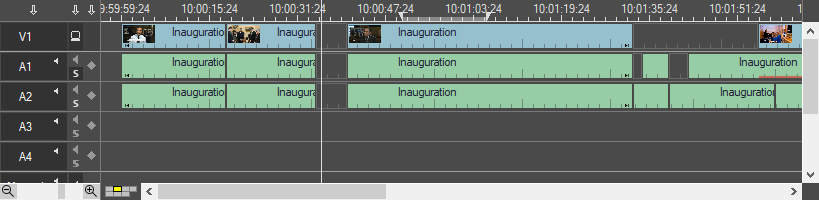
All the items placed further from the starting point of deletion will be shifted to the left by the duration of the deleted gap.
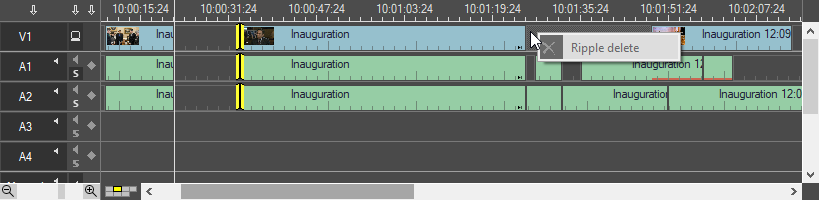
If the gap duration exceeds the possible shift, the "Ripple delete" command is disabled:
When the Overwrite mode is on, moved and pasted items replace the corresponding parts on tracks. If two or more discontinuous items (with gaps between) are inserted, parts of existing objects are overwritten by inserted items where they overlap each other. Parts of existing objects are preserved at gaps between inserted clips. The relative position of inserted clips is preserved.
Setting In and Out Points
|
Use the "In" button to set up the In marker in your Timeline. The keyboard shortcuts are I or E. |
|
Use the "Out" button to set up the Out marker in your Timeline. The keyboard shortcuts are R or O. |


The In-Out interval is shown in gray on the Timeline ruler, as well as in Sequence Viewer. You can use the interval for various operations on Timeline.
The In and Out point in Sequence Viewer are always the same as on Timeline.

|
Note
|
You can hit the 6 key to play from In to Out. |
Automatic In and Out Points
The T shortcut automatically creates In and Out points at the beginning and the end of a selection of objects.
|
Note
|
If selected, gaps are considered as objects. |
Deleting In and Out Points
|
Use the "Delete In" button to remove the In marker. The keyboard shortcut is D. |
|
Use the "Delete Out" button to remove the Out marker. The keyboard shortcut is F. |


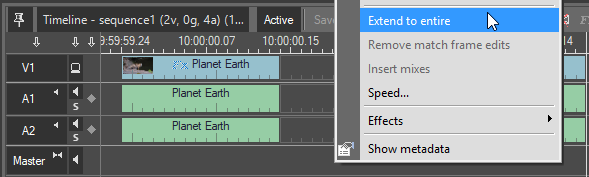
Extend to Entire
The "Extend to entire" command is used for replacing the selected clip‘s reference to its "Entire" clip keeping the segment as a fragment of the "Entire" between the In and Out points.
Right-click the required segment on Timeline and select the "Extend to entire" command:
|
Note
|
This command is unavailable with the required segment being open in Clip Viewer. |
The In and Out points can be adjusted or removed if necessary.
This command can be applied to the currently selected segment(s) or to grouped segments on Timeline.
|
Caution
|
Often clips can be a result of manual trimming; so trim removing can be dangerous as some unwanted material can squeeze itself back into the project. |
|
Note
|
This command is not available for multiclip objects inserted into Timeline. |
Locating a Sequence

The "Highlight in explorer" command opens the corresponding folder in the explorer window and highlights your Sequence.
Closing the Sequence
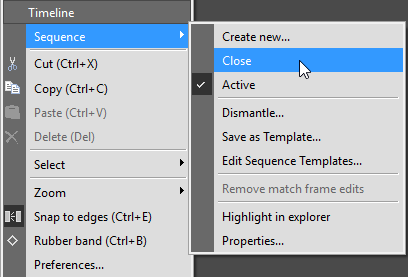
Choose the "Close" command to close and deactivate your Sequence. Timeline will be empty after selecting this command.
Most Recently Used Sequence List (MRU)
|
Select your recent projects from the drop-down list. Use the Alt+Insert keyboard shortcut to access the MRU list. |
