Story Editor Interface
Reading time ~4 minutes
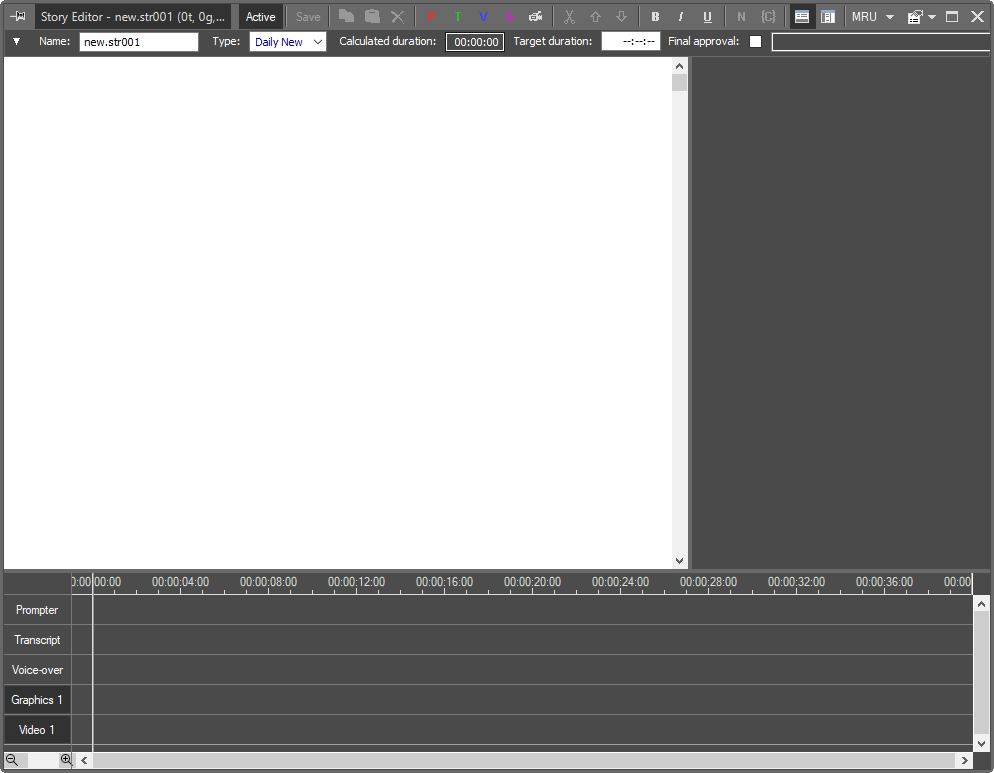
The following Story Editor window appears after a new Story object has been created:
Toolbar
The main toolbar of the Story Editor window contains buttons which perform the most frequently used commands. Here is their quick overview:
| Button | Action | ||||
|---|---|---|---|---|---|
|
Press the "Active" button to unlock Story Editor and enable the editing functions. This will lock the Story for other users.
|
||||
|
Press the "Save" button to save all the changes made to the Story. |
||||
|
The buttons for copying, pasting and deleting. |
||||
|
The buttons for creating Presenter, Transcript, Voice-over, Graphics blocks and adding a Live Input item. |
||||
|
|||||
|
The formatting commands buttons. |
||||
|
The comment commands buttons. |
||||
|
The buttons for changing the Story Editor window layout: horizontal or vertical. |
||||
|
Gives access to the list of previously opened Stories. |
||||
|
The Story Editor menu. |


Story Editor Menu
|
Press this button to get the full list of available commands. You can also get access to this menu by right-clicking anywhere except the script panel. |
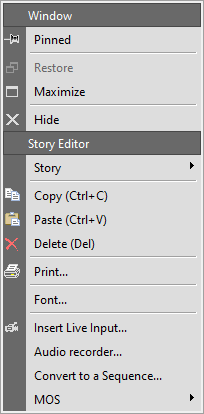
Window Arrangement
The "Window" group contains the plug-in window arrangement commands:
-
Pinned – fixes the size and position of the window on the screen.
-
Restore – restores the original size of the window.
-
Maximize – opens the window in full-screen mode.
-
Hide – closes the Story Editor window.
|
Note
|
These commands are also available as toolbar buttons. |
Story Commands
The "Story" submenu contains commands for working with Story objects:
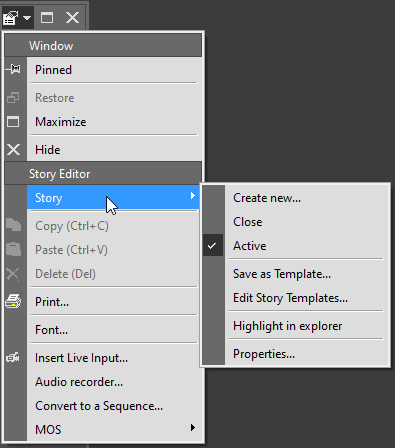
-
Create new – launches the dialog for creating a new Story object.
-
Close – closes and deactivates the Story.
-
Active – activates/deactivates the Story for editing.
-
Save as Template – saves the data of a certain Story as a template.
Having selected this command, define the template name:
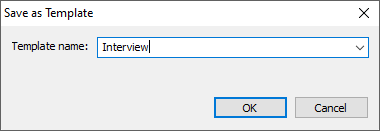
You will be notified about template creation with the corresponding message.
-
Edit Story Templates – launches the dialog for managing Story templates:
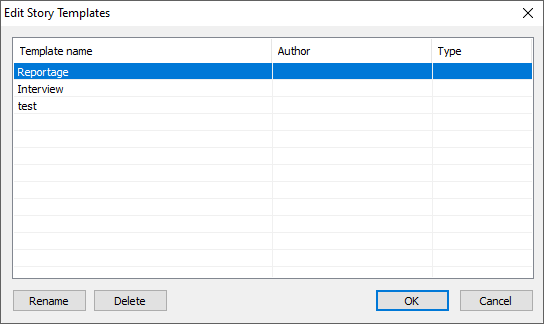
Here you can rename and delete previously created Story templates.
-
Highlight in explorer – shows the location of the Story in the explorer tree.
Once a Story from the explorer is added to the Rundown, all the modifications are saved in News Program Manager without affecting the original Story. Thus, when it is opened from News Program Manager, the "Highlight in explorer" command is replaced by "Find Rundown":
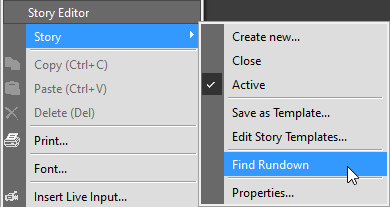
When this command is selected, News Program Manager will load the Rundown containing the Story.
ImportantRefer to the News Program Manager chapter to learn how to work with News Program Manager.
Story Properties
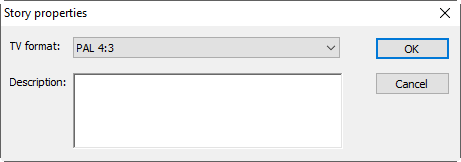
To set up the Story properties, choose the "Properties" command from the Story Editor menu. The following dialog box appears:
|
Note
|
You have to activate the Story to be able to edit its properties. |
-
TV Format – define this setting at the stage of the Story object creation (for an empty Story). Otherwise, this field will be read-only.
-
Description – enter some information describing your Story.
Story Editor View
|
Story Editor can work in two different layouts: horizontal view and vertical view. To switch between layouts, use the "Vertical view" and "Horizontal view" buttons on the window toolbar. The horizontal view is selected by default. |
Horizontal View

The Story Editor interface in the horizontal view consists of the following panels:
-
data panel (at the top);
-
script panel (on the left);
-
assets panel (on the right);
-
timeline (at the bottom).
Vertical View
In the vertical view the timeline is represented as vertical bars for different types of media material included into the Story: script, graphics, video. The time scale ranges from top to bottom.

Vertical view mode allows you to see how all the components of the Story are synchronized. During the Story playback the words of the script are highlighted according to the defined reading rate as they should be spoken by the presenter. It makes this mode convenient for previewing ready Stories and making final editing.
To add, delete and move blocks, select them within the script column and use the corresponding button on the toolbar. Double-click the text block to be able to edit the text, change its formatting or split the block.
|
Note
|
It is not possible to merge text blocks in vertical view. Merging blocks is explained in the Working with Scripts article. |
|
Note
|
The Story Editor description further in this manual represents the workflow in horizontal view mode. |