Table View
Reading time ~4 minutes
The table view provides a quick and easy way to work with metadata stored against the clips in Cinegy Archive. It resembles the familiar spreadsheet interface:
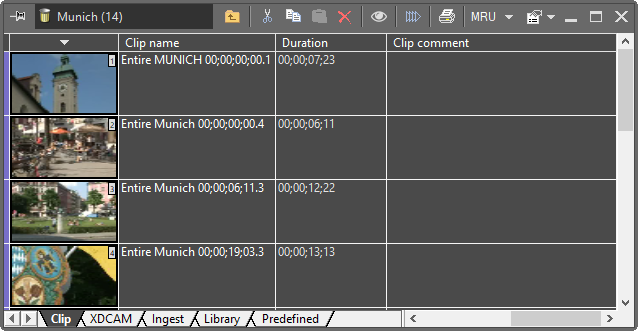
The tabs located in the bottom part of the window group the metadata fields into several separate spreadsheets.
|
Note
|
The set of metadata fields and groups are installation-dependent and can be configured by your system administrator according to the requirements of your organization. |
Accessing Metadata Fields
You can edit the metadata fields in the table the same way as you would in a spreadsheet. Simply click the desired field to edit it. The editing interface depends on the field type.
Some of the text fields can be very long. The setup of such fields depends on the configuration of your database. In addition to standard text editing inside the field, Cinegy Desktop provides a floating editor for the fields. When you select such a field, the  button on the right of the field appears. Pressing the button will launch a floating window with the text editor.
If a URL reference is used instead of a clip description, it becomes highlighted and clicking it opens the corresponding web page in your browser:
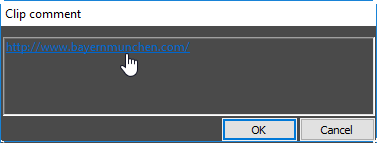
You can follow the URL reference, edit or remove the clip description in this dialog.
Auto Fill Functionality
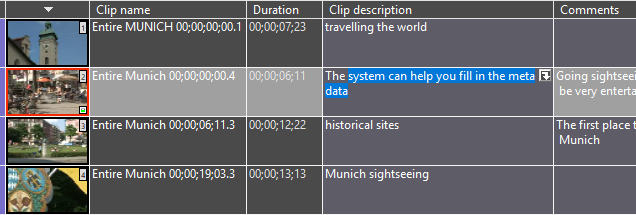
The auto fill functionality can be quite useful and a great time saver. When you start typing a description into a metadata field, the system will try to recognize the text on the basis of what you have typed into previous metadata fields. Having recognized the text, the system will then offer its suggestion to you. If you are satisfied with the text suggested by the system, simply hit the Enter key to accept it.
If the suggested metadata text is not acceptable, simply keep on typing.
|
Note
|
This feature is enabled only for simple fields of the "String" type. |
Spell Checking
The spell checking option enables user to check the metadata spelling in Rolls and ClipBins. By default, the spell check is active ("Enable check spelling as you type" option is selected in the text field context menu), indicating misspelt or unknown words with a red wavy underline.
To correct the spelling, right-click the underlined word in the metadata field and choose the appropriate variant from the drop-down list. User can also ignore the given word, ignore all instances of this word or add the word to the dictionary by choosing the corresponding option from the context menu:
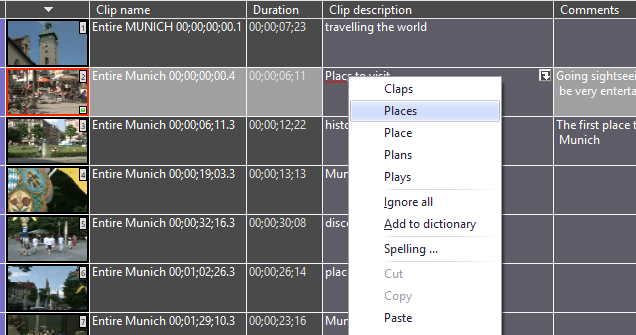
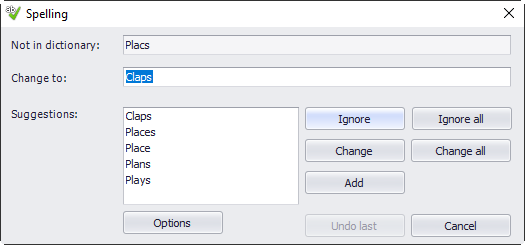
It is also possible to run the spell check manually. To do this, double-click the corresponding metadata field in the Roll or ClipBin and choose the "Spelling…" command from the context menu. The following dialog box appears:
|
Press the "Ignore" button to ignore the word and jump to the next misspelt or unknown word. |
|
Press the "Ignore all" button to ignore all the instances of the word. |
|
Press the "Add" button to add the word to the dictionary. |
|
Press the "Change" button to substitute the word with the selected suggestion from the list below. |
|
Press the "Change all" button to substitute all the instances of the word with the selected suggestion from the list below. |
|
Press the "Undo last" button to undo the last action. |
|
To skip the spell check in the current field and move to the next one, press the "Next" button. To cancel the spell check and close the dialog, press the "Cancel" button. |
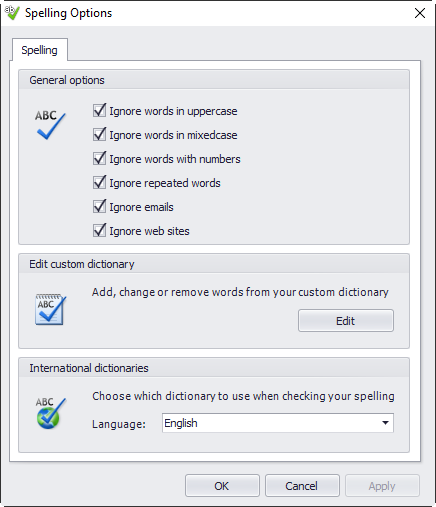
To configure the spell check options, press the "Options" button in the "Spelling" dialog or choose "Spelling options" from the context menu. The following dialog box appears:
General Options
Select the corresponding checkbox to enable/disable the spell check of words in the upper and/or mixed case, repeated words or the ones with numbers, emails and web sites.
Custom Dictionary Editing
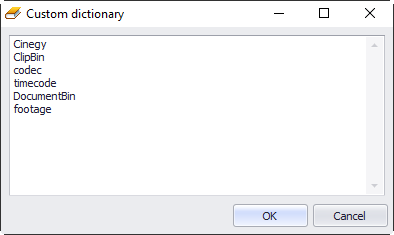
To add, change or remove words from user custom dictionary, press the "Edit" button and make all necessary changes via the keyboard in the following dialog:
International Dictionaries
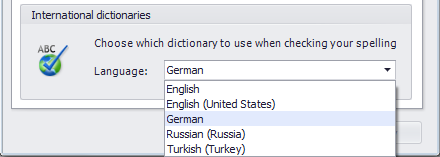
Choose the dictionary to be used for the spell check selecting the corresponding language from the drop-down list.
Spell checker can use the OpenOffice dictionary.
To add a custom spell checker dictionary, find the desired language package, download it and open it with a file archiver, for instance 7-Zip File Manager, as most language packages are in OXT, TAR formats. Copy the dictionary (*.dic) and affix (*.aff) files to the "dictionary" directory in your Cinegy Desktop installation folder.
The corresponding dictionary will appear in the drop-down list:
Clearing a Metadata Field
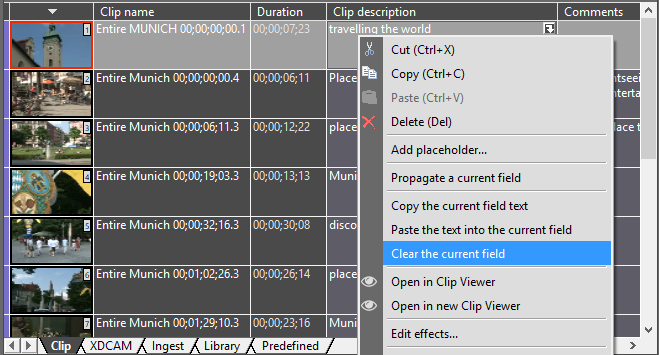
The "Clear the current field" command from the right-click menu deletes the metadata in the marked field:
|
Note
|
This command is also available for Rolls. |
|
Caution
|
This command will clear the metadata even if it is a preset field. |
Adjusting the Cell Size
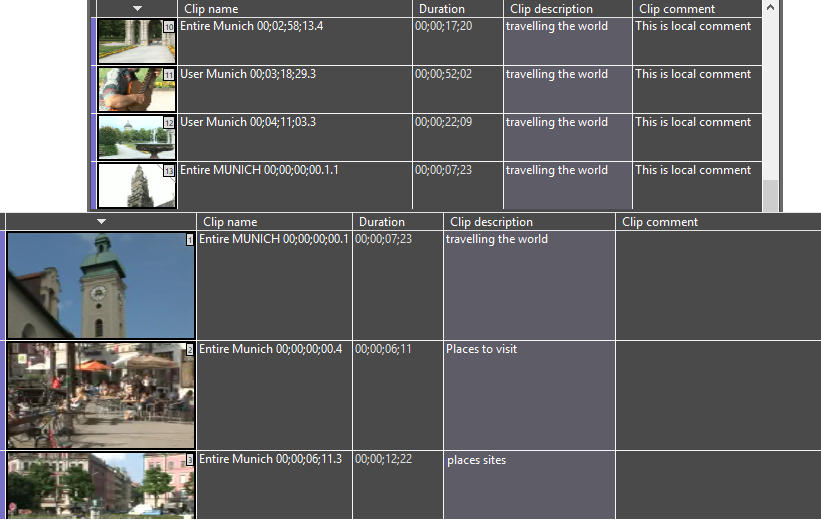
To adjust the width of the column, drag the border of its heading until the column is the width you want. Adjusting the first cell results in scaling of all the thumbnails and changes the height of all columns:
