Audio CD Import
Reading time ~4 minutes
The "Audio CD" plug-in provides user with the ability to import the audio CD tracks together with the associated metadata. The audio CD metadata can be retrieved from the Music Alliance database.
Configuration

|
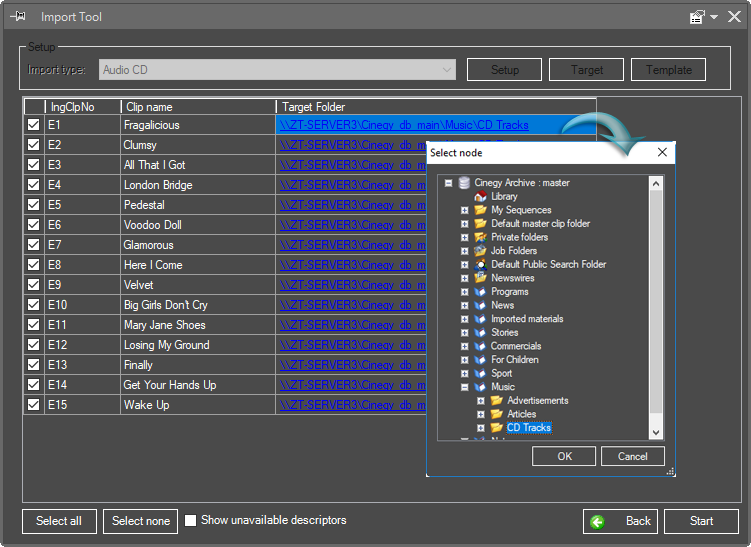
Press the "Target" button to select a destination folder for the imported media. The following dialog box appears: |
|
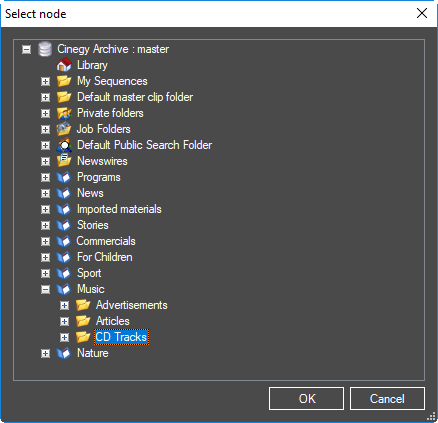
Navigate to the desired folder in your Cinegy Archive database and press "OK".

|
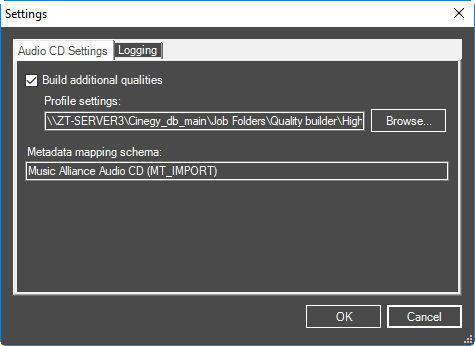
Press the "Setup" button to configure the import settings. The following dialog box appears: |
|
|
Important
|
Refer to the Quality Builder paragraph in the Cinegy Convert Manual for details on the Quality builder task type creation and configuration. |
Audio CD Settings
Build Additional Qualities
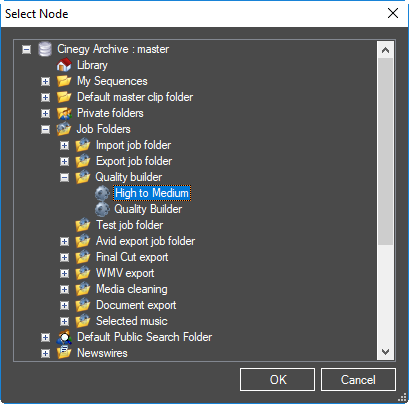
To build extra qualities for the imported tracks, select the "Build additional qualities" checkbox and press the "Browse…" button to specify the required Cinegy Convert quality builder job drop target:
Press the "OK" button for confirmation.
Metadata Mapping Schema
The "Metadata Mapping Schema" field displays the schema assigned for the music import session. If the required schema is not found, the corresponding message will be displayed instead:

|
Important
|
Refer to the Metadata Mapping Schemas article in the Cinegy Archive Manager Manual for details about the metadata schemas management via the metadata mapper editor. |
Logging
On the "Logging" tab, set the logging parameters of your import session:
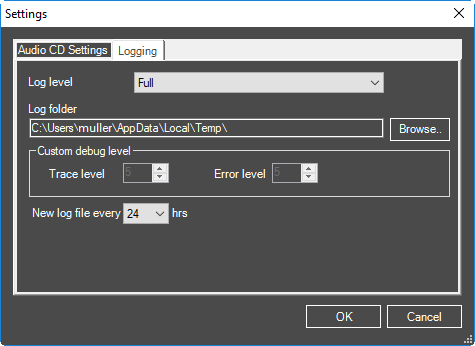
Here you can define the level of the import operation logging. The options available are: full, partial, custom or none for no logging. For the custom log level, you can manually choose the debug log level by changing the values of trace level (0 – 10) and error level (0 – 10).
Press the "Browse…" button to define the folder where log files will be stored.
In the "New log file every" field, you can define how often a new log file is created.
Audio Grabbing
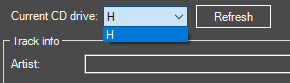
Use the "Current CD drive" drop-down control to select the drive:

|
Select a disk and press the "Refresh" button. If the disk contains audio tracks, you will see them in the "Tracks" list: |
|
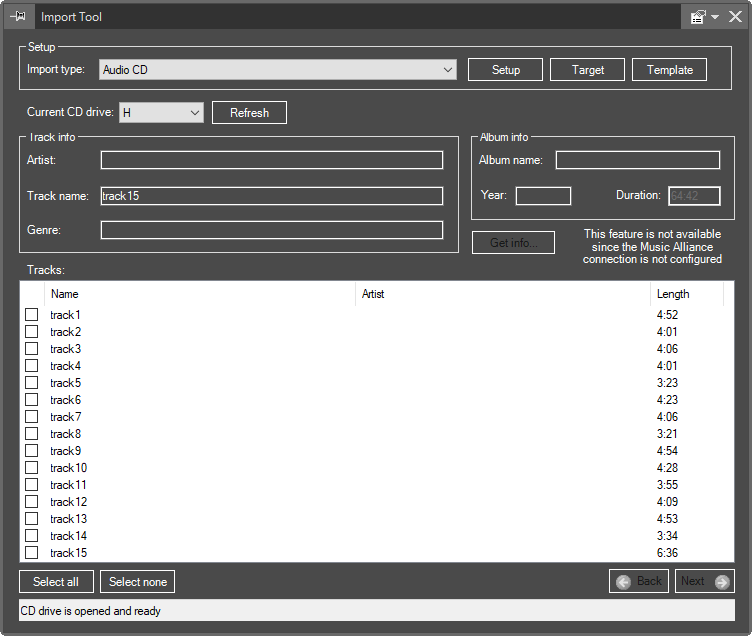
The status of the CD drive is displayed in the field below the tracks list.
|
Note
|
"Get info" is a deprecated functionality. It will be removed in future releases. |
The retrieved music information will be logged to the corresponding fields in the import manager:
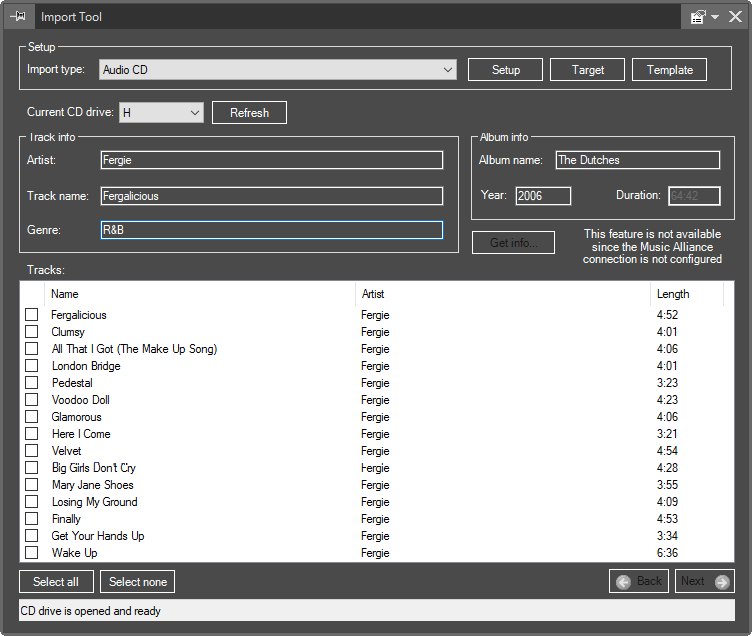
Enter the track and album information for your audio CD to the corresponding fields in the import manager. This music information will be logged to the corresponding metadata fields during import.

|
Select the required audio track(s) or use the "Select all" button to select all the tracks. |
|
The "Select none" button will discard your selection. |
|
Press the "Next" button to proceed with audio grabbing for the selected track(s). |


Metadata Descriptors Management
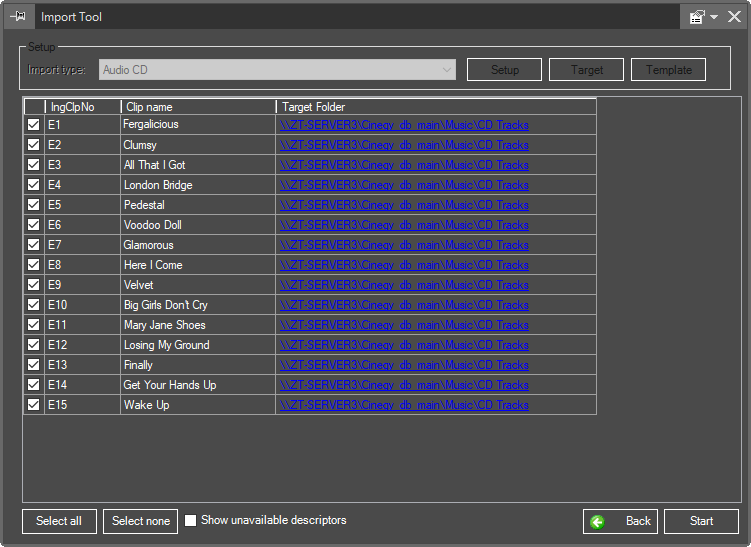
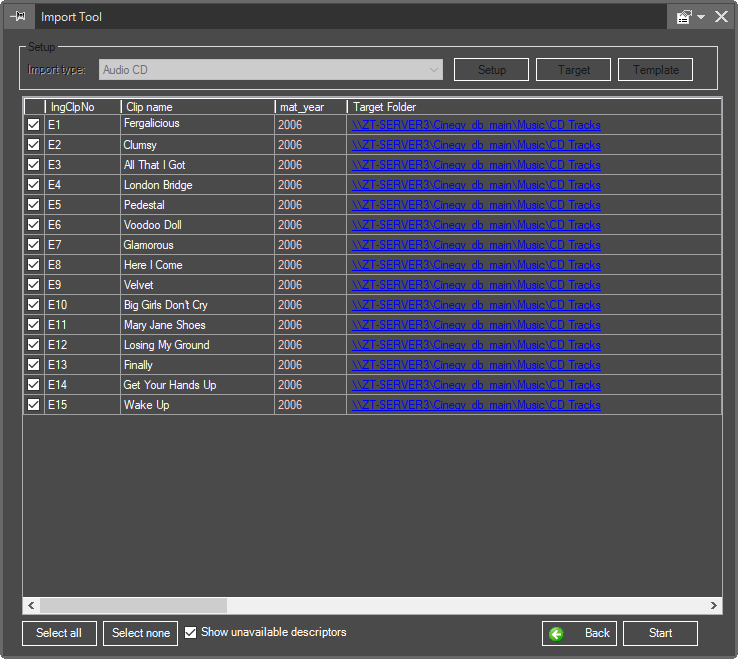
You can manage the metadata descriptors on the second step of the import process:
The "Show unavailable descriptors" checkbox appears if there are any schema metadata parameters that are not associated with the database metadata descriptors. To show unavailable descriptors, select the corresponding checkbox. The unavailable descriptors fields are highlighted in pink:
|
Note
|
The unavailable metadata descriptors are ignored during the import. To enable them, create the corresponding descriptors via Cinegy Archive Manager as it is described in the Descriptors, Presets article within the same manual. |
Here check the tracks to be imported or use the "Select all" button to select all the clips and edit the music information, if needed. Press the "Select none" button to discard your selection.
Furthermore, the destination folder for the imported media can be reassigned individually for each track in the rightmost "Target Folder" field:

|
Press the "Start" button to start import of the selected track(s). Once the import is successfully completed, the following message appears informing you about this: |
|
The corresponding quality building tasks will be created in the defined job drop target and Cinegy Convert will automatically process them according to the predefined settings.
Import Results
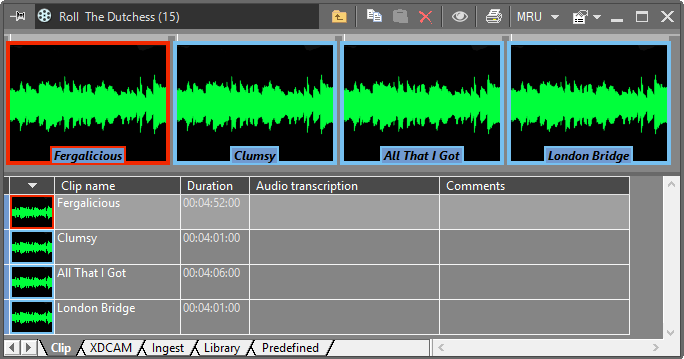
Once the import process is completed, the Roll containing all the track(s) imported as master clip(s) together with the metadata retrieved from the web music database is created:
|
Note
|
When more than one destination folder for the imported media is defined, the Rolls will be correspondingly created in the selected folders. |
The Roll name is substituted by the music album name, while the name for each master clip is populated from the track name accordingly.
The metadata retrieved from the web music database is logged to the corresponding fields against the master clips. The relevant mapping for these metadata fields can be configured via Cinegy Archive Manager.